Owner Installation Instructions GDO-10V3L2 Toro
™
29
F- Transmitter Editing
Appendix
14 ID A B SMITH
OSC PED LGT VAC
14 ID A B SMITH
OSC PED LGT VAC
MENU 1
Code Transmitter
Display Transmitter Record
Using one of the methods below, you can display the required transmitters
details.
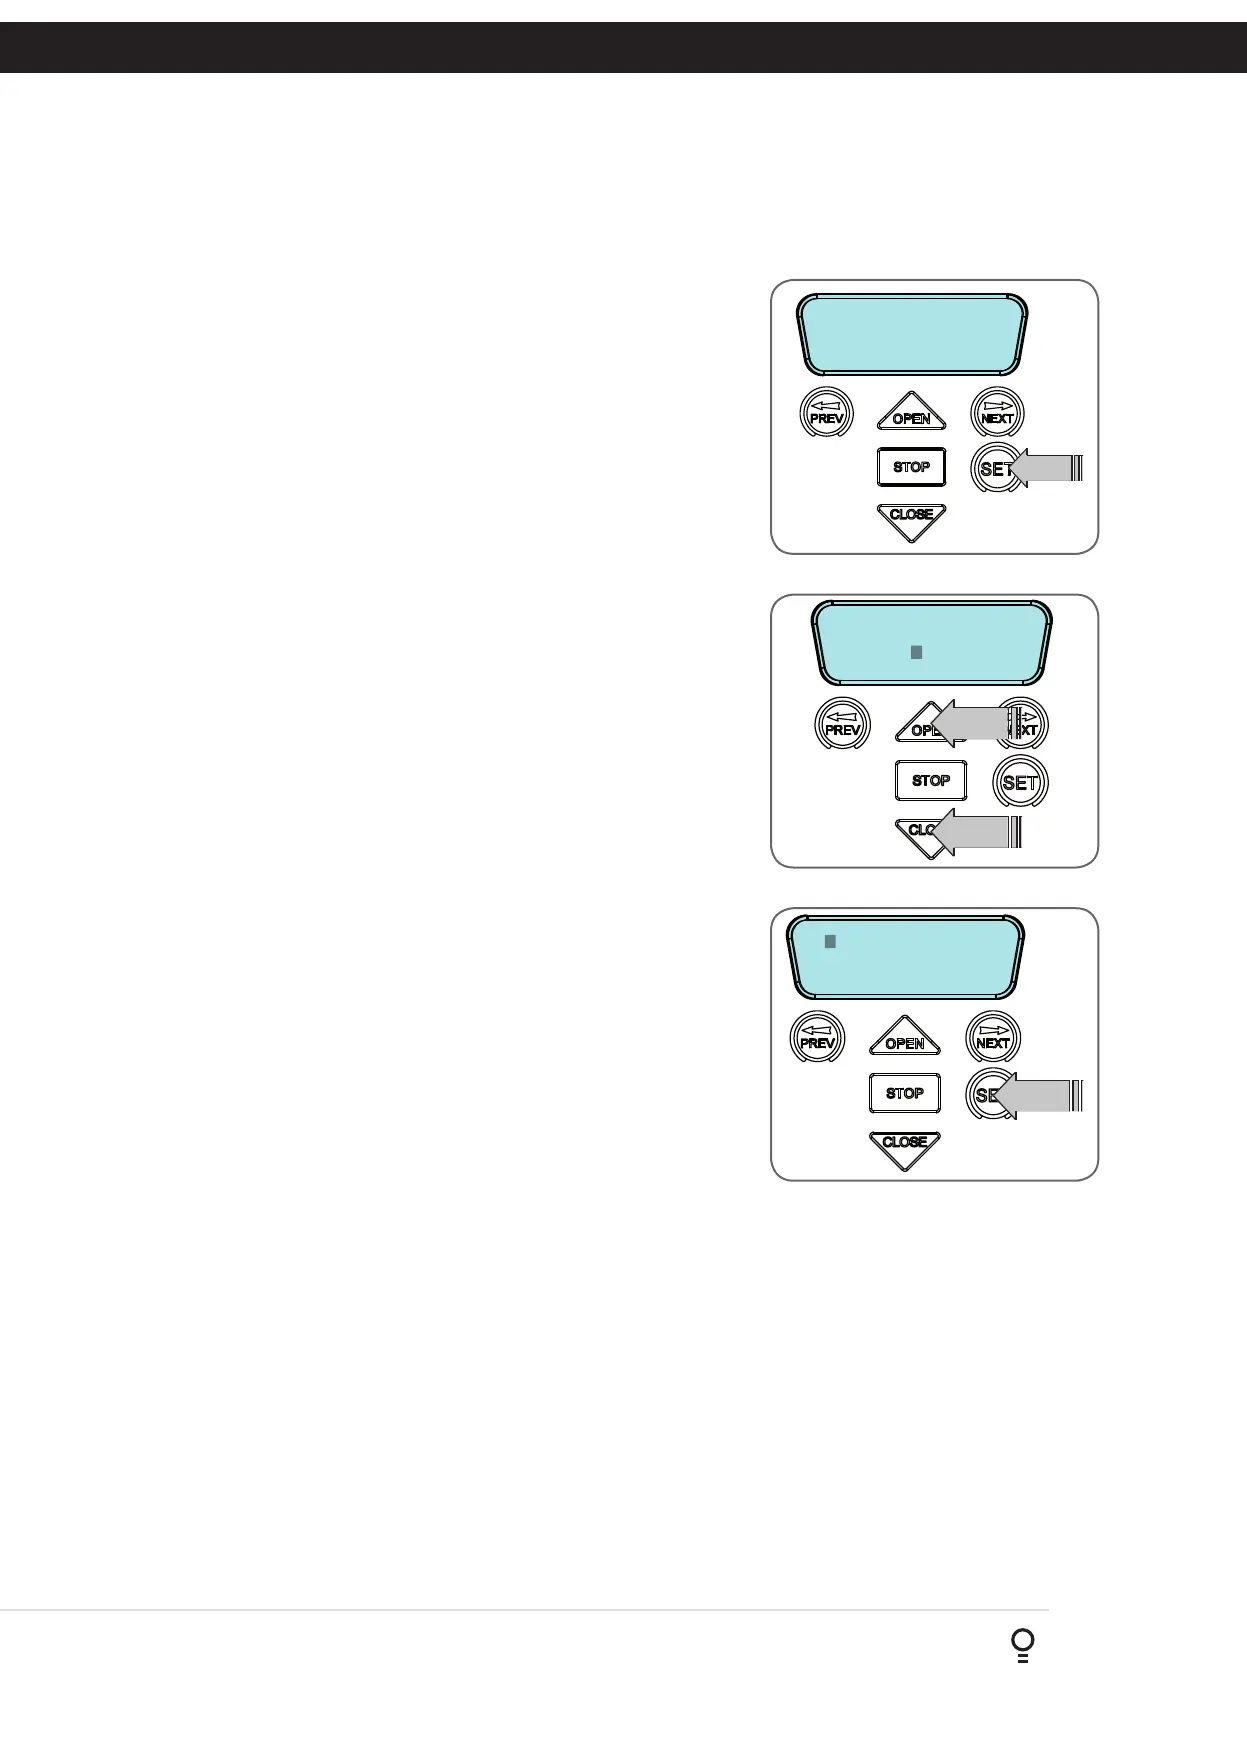
Navigating To “Edit Transmitter” Menu
a. Press NEXT to navigate to Menu 1 (Fig. F.1) .
b. Press SET to enter the transmitter edit procedure.
c. Press NEXT to enter transmitter list and edit mode.
Editing Button Function Field
a. Press NEXT or PREV to move the cursor to the left or right and between
the top and bottom lines to select the desired field.
b. Press OPEN or CLOSE to change the displayed value (Fig. F.2). The
available functions are shown below. Selecting OFF will prevent the
opener responding to that button.
Available functions
OSC (Open/Stop/Close)
PED (Pedestrian access)
SWP (Swipe)
CLS (Close)
OPN (Open)
STP (Stop)
LGT (Courtesy Light)
VAC (Vacation Mode)
AUX (Auxiliary )
OFF (No action)
NOTE: OSC will change to OS and CLS (Close) function is not available in
the case where PE Beams are not installed.
c. Press SET to save changes or press NEXT or PREV to move to the next
field.
i. The example in (Fig. F.3) shows that PED is assigned to the transmitter
button two.
ii. The transmitter in the example is transmitter number 14 which has the ID
label AB Smith.
NOTE: If all button functions are set to OFF, when SET is pressed, the
opener will prompt to confirm if the transmitter is to be deleted. Press SET
to delete or STOP to continue editing.
Fig F.1
Fig F.2
Fig F.3
Fig D.7
Fig D.8