30
GDO-10V3L2 Toro
™
Owner Installation Instructions
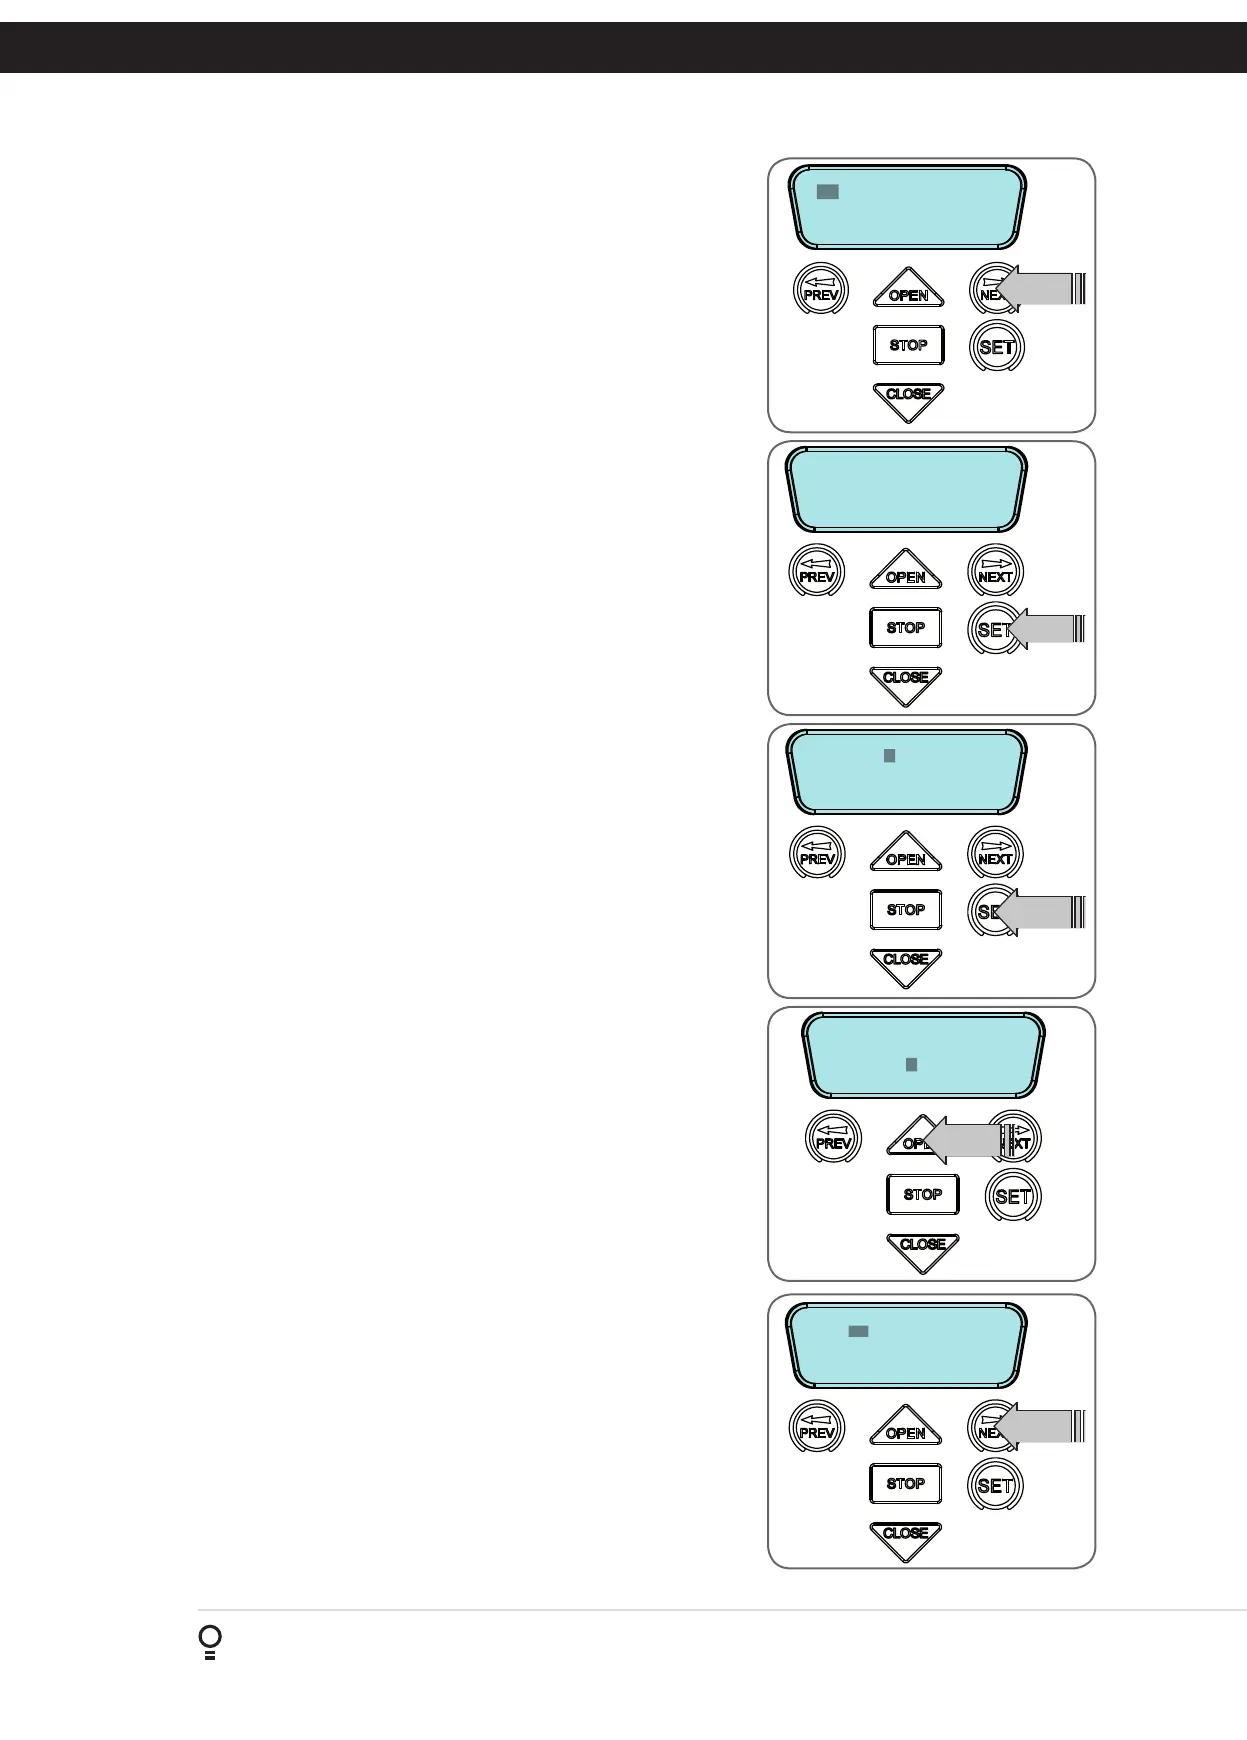
Editing The Store Location
This feature is only available when coding the first button of a new
transmitter.
a. Press NEXT or PREV to move the cursor over Store No. (Fig. F.4)
b. Press UP or DOWN to select new Store No.
c. Press SET to confirm or NEXT/PREV to move to the next field.
This is useful when managing transmitters using a scheme which ties the
store location to the transmitter’s owner.
Selection Of ID or Serial Number Display
a. Press NEXT to navigate to Menu 1 ”Code Transmitter” (Fig. F.5).
b. Press SET to enter the transmitter edit procedure.
c. Press NEXT to enter transmitter list and edit mode.
d. Press NEXT/PREV to move the cursor over the ID field.
e. Press NEXT to reveal the Serial Number (Fig. F.6).
The serial number display is provided for additional means of identification.
The transmitter in this example has serial number 12345.
Editing A Character Field
a. Press NEXT or PREV to move the cursor. (Fig. F.7)
b. Press UP or DOWN to scroll through and select a new character.
c. Press NEXT or PREV to move the cursor to the next character.
d. Repeat step 2.
e. Press SET to record changes.
The second line of the display shows a list of available characters with the
current value indicated at the cursor position (Fig. F.8).
14 ID B B SMITH
56789 AB CDEFGHIJ
14 ID B B SMITH
56789 AB CDEFGHIJ
14 ID [No Name]
OSC PED LGT VAC
MENU 1
Code Transmitter
14 SN 12345
OSC PED LGT VAC
Appendix
F - Transmitter Editing
Fig F.4
Fig F.5
Fig F.6
Fig F.7
Fig F.8