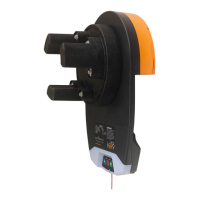
Owner Installation Instructions GDO-10V3L2 Toro
™
13
Fig 9.1
Fig 9.2
Fig 9.3
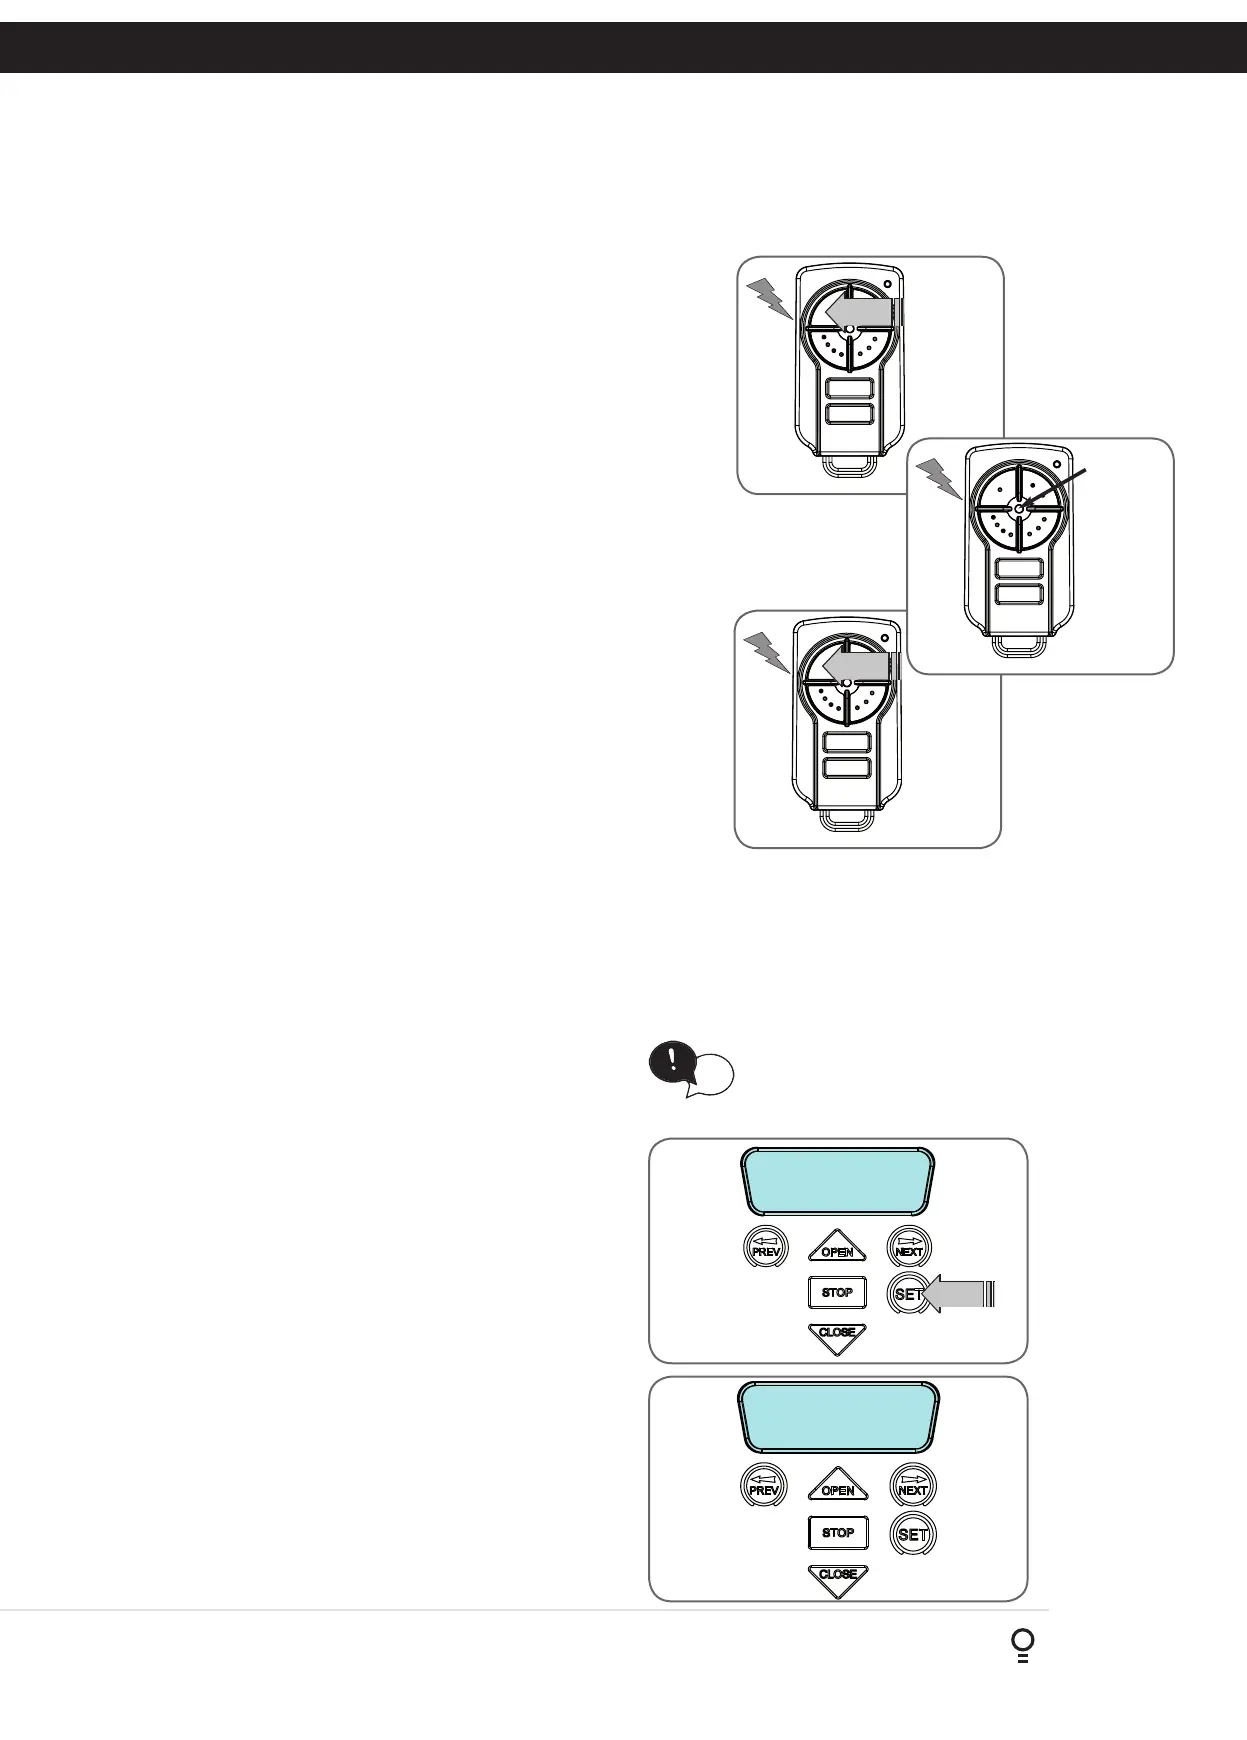
Existing
transmitter
If a transmitter is already coded into the opener, additional transmitters
can be coded without being in direct contact with the opener’s wall
console unit.
NOTE: Only the function of the existing transmitter button can be
assigned to new transmitter. Please read instructions prior to proceeding
- there is a time-out facility for security reasons.
10.1 Selecting The Function To Be Coded
a. Using the existing transmitter, operate the Door with the transmitter
button which has the function to be coded (Fig. 10.1) (e.g. Button 1
has been coded with the OSC function assigned).
b. If the button’s function activates the Door (PED, SWP, OSC, CLS, STP
or OPN) wait for the Door to complete its cycle.
After completing the limit setup procedure the Pedestrian Access position is automatically set to a position which is
approximately in the middle of the door travel. The position can be manually set by following the Setting Pedestrian
Position procedure.
11. Setting Pedestrian Position
MENU 10.3
Set Pedestrian
Ped’n Access
FRI 11:06:44 STD
Fig 11.1
Fig 11.2
HELPFUL TIP: To access the PREV, NEXT
and SET buttons, unscrew the screws at
the bottom of the logic console cover and
remove cover.
tip
PRESS
New
transmitter
Fig 10.3
10.2 Activate Remote Code Set Mode
a. Use a small pin / pen to press and hold through the Coding Hole of the
existing transmitter for 2 seconds (Fig. 10.2).
b. Within 10 seconds, press the button on the new transmitter you wish
to code for 2 seconds (Fig. 10.3).
c. Press the same button again (within 10 seconds) for confirmation.
d. Test Operation. The new transmitter button should now function as
the existing transmitter.
NOTE: To Manage your Transmitters, refer to Transmitter Management
in Appendix G.
10. Remotely Coding Transmitters
11.1 Setting Pedestrian Position
a. Drive and stop the door at the desired Pedestrian Access
position by using a transmitter or wall control unit.
b. Press PREV to navigate to Menu 10.
c. Press SET. MENU 10.1 will be displayed.
d. Press NEXT to go to MENU 10.3
e. Press SET on the wall control unit to save the Pedestrian
Access position (Fig. 11.1).
f. Press the STOP button to exit to the main screen.
11.2 Checking Pedestrian Position
When activated by a transmitter button which is coded as Ped
mode, the opener drives the door to the preset position from
either above or below. Ped Mode’s active status is indicated
on the display (Fig. 11.2). If a Ped Mode button is pressed
while the door is moving, the door will stop. If a Ped Mode
button is pressed when the door is in the Ped position, then
the door will close.
11.3 Error Displays
During the above procedure many error checks are performed.
If an error is detected, a message will be displayed indicating
the error.
PRESS
Existing
transmitter
Fig 10.2
Fig 10.1