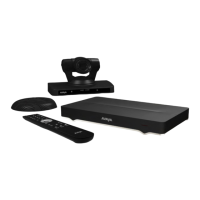
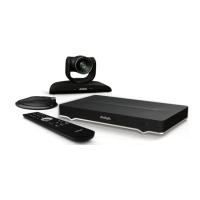
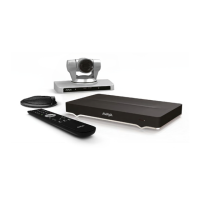
Figure 18: Access the Quick Setup Wizard
The quick setup wizard guides you through many basic configuration tasks.
Related links
Applying basic settings on page 32
Setting the System Name, Language, and Call Method on page 35
Adjusting the Image Position on page 36
Configuring Basic Network Settings on page 37
Configuring Basic Gatekeeper Settings on page 38
Configuring Basic SIP Settings on page 38
Installing Avaya IX Room System XT Control to Use Keyboard and Mouse (Avaya XTE240) on
page 39
Applying the Automatic Provisioning to Avaya XT Series Endpoints on page 33
Setting the System Name, Language, and Call Method
About this task
Note:
This step is for the manual configuration of your XT Series. If you have chosen the auto-
provisioning (cloud) method of configuration, this step is not available.
The first screen in the Quick Setup wizard enables you to define the name of your Avaya XT
Series, the country, the menu language, and the protocol the system uses for calls. The unit's
name is displayed on the system's title bar and to other meeting participants. For example, Hong-
Kong, 9th-Floor-Room, or NY-Office. There is also a unicode system name to enable non-
English characters, available on the web interface only. For more advanced settings of the system
name, see Deployment Guide for Avaya XT Series.
After initial setup, you can modify these settings by selecting Configure > General from the
endpoint's menus, or from the web interface select Basic Settings > Preferences > General.
Applying basic settings
June 2019 Avaya IX Video Conferencing XT Series User Guide 35
Comments on this document? infodev@avaya.com

 Loading...


