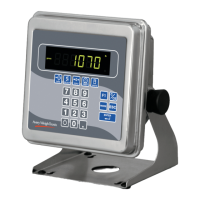
E1070 Service Manual 79
3.4 Service Menu
21. Press the UNITS key…
CELLS is displayed. Use this to check the mV/V level of each cell.
22. Press the PRINT key…
1 is displayed. This stands for cell 1.
23. Press the PRINT key…
on or oFF is shown for the chose cell.
24. Toggle between the choices by using the TARE or UNITS key and press F1 to
select the displayed choice…
1 is displayed.
25. Press the UNITS key to scroll to the next cell.
26. Repeat steps 22 through 25 for each cell you need to enable.
27. Repeatedly press the SELECT key until…
SEnSor is displayed.
NETS (Network setup)
1. With SEnSor displayed, press the UNITS key…
nEtS is displayed. Use this to set up the networks that are used with the
indicator.
2. Press the PRINT key…
nEt 1 is displayed.
Cells must be enabled in order (1-4). Only one scale can be connected to the
SensorComm box.

 Loading...