4.4 Creating a Configuration
The following steps are required to complete and confirm (write to controller) the configuration:
1. Install XS26-2 Expandable Safety Controller software. See Installation on page 13.
2. Become familiar with the PC Interface options. See PC Interface Overview on page 15.
3. Start a new project by clicking New Project/Recent Files.
4. Define the Project Settings. See Project Settings on page 17.
5. Customize the Base Controller module and add Expansion Modules (if used)(see Equipment on page 18).
6. Add Safety Input devices, Non-Safety Input devices, and Status Outputs. See Adding Inputs and Status Outputs on
page 19.
7. Design the control logic. See Designing the Control Logic on page 44.
8. If used, configure the network settings. See Network Settings on page 46,
9. Save and confirm the configuration. See Saving and Confirming a Configuration on page 53.
The following steps are optional and may be used to aid with the system installation:
• Modify the configuration access rights. See Password Manager on page 53.
• View the Configuration Summary for the detailed device information and response times. See Configuration
Summary on page 51.
• Print the configuration views, including the Configuration Summary and Network Settings. See Print Options
on page 52
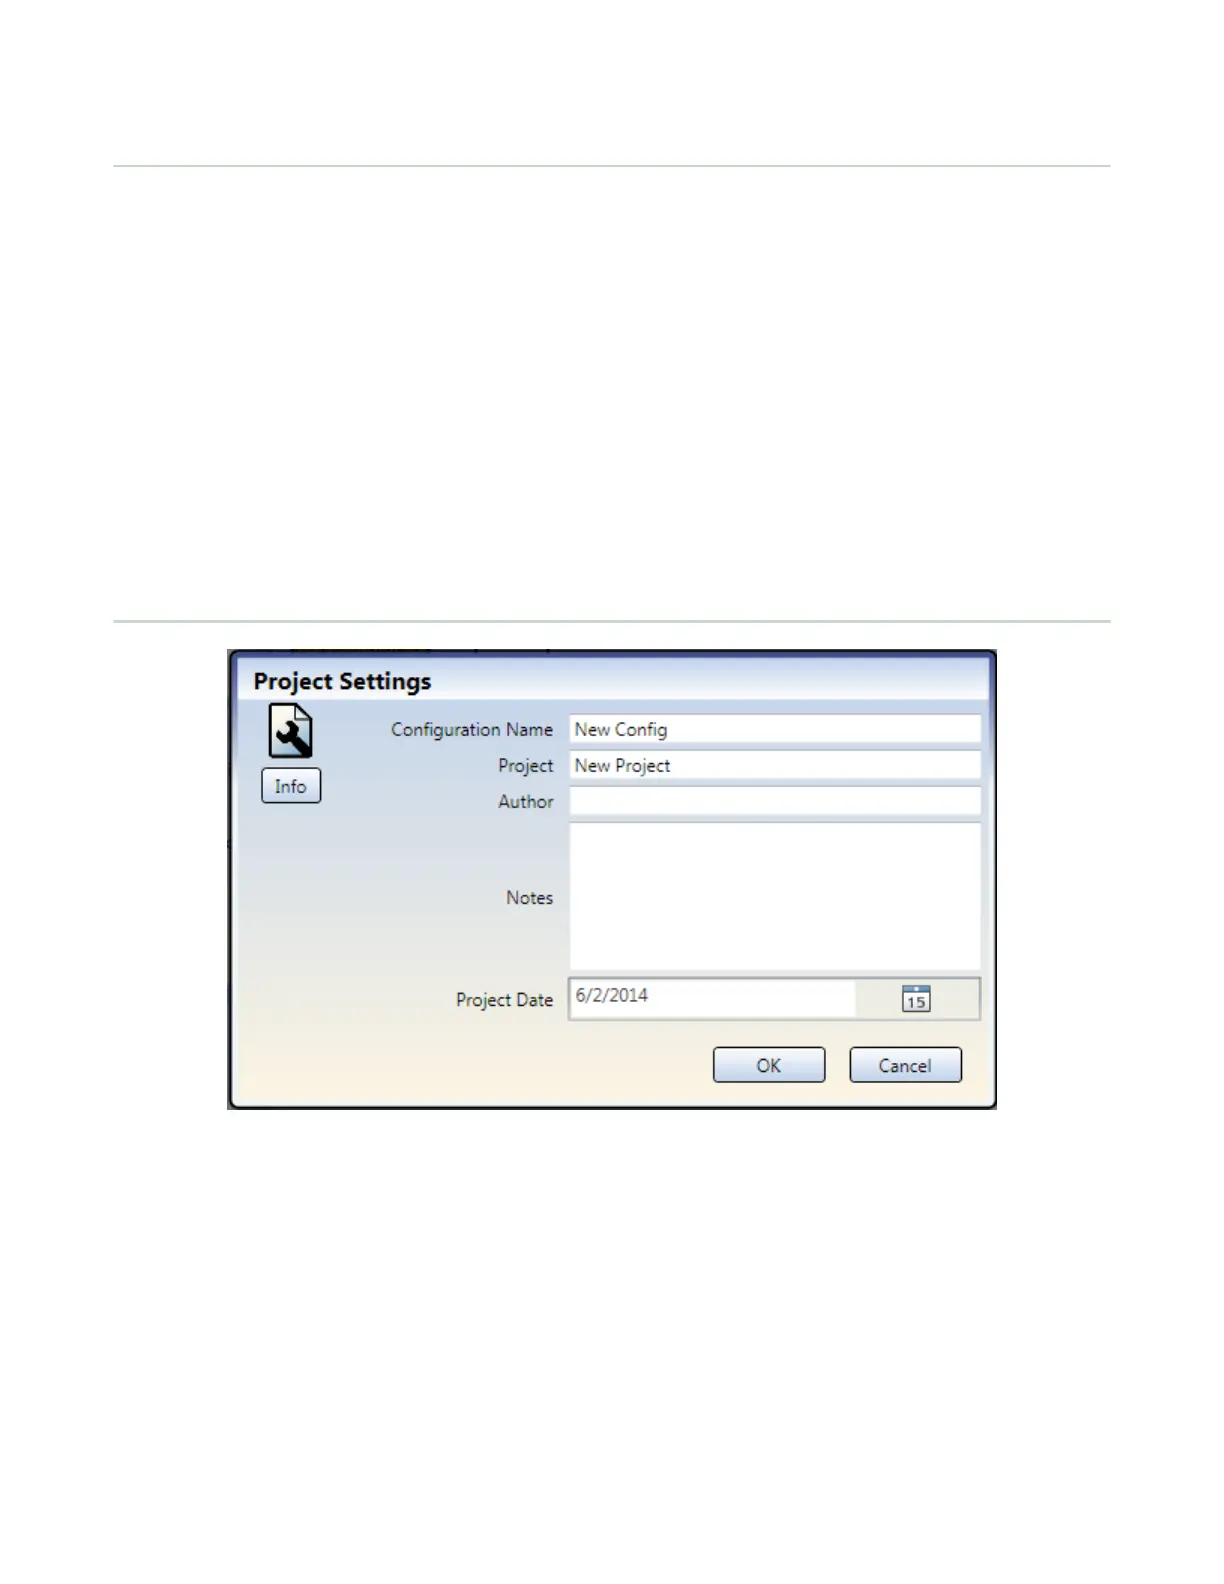
4.5 Project Settings
Figure 5. Project Settings
Each configuration has an option to include additional project information for easier differentiation between multiple
configurations. To enter this information click Project Settings.
Configuration Name
Name of the configuration; displayed on the controller (models with display); different from file name.
Project
Project name; useful for distinguishing between various application areas.
Author
Person designing the configuration.
Notes
Supplemental information for this configuration or project.
Project Date
Date pertaining to the project.
XS/SC26-2 Safety Controller
17