41R5914654 /04 G62 series
3.6 Software preparation of the projector to receive
the UST lens
About the software preparation
Set the start mode of the projector to get it ready for the UST lens installation. During the setup process, the
projector reduces the image brightness and performs a lens calibration to center the lens position.
How to set
1. Remove the lens cap.
2. Install an non-ultra short throw (non-UST) lens on the projector.
3. Connect the AC power cord and switch on the power button.
4. Turn on the projector.
5. Enable the UST Install mode. There are 2 possibilities:
1. You have another projection lens available: use the on screen display (OSD) menu.
a) Select Menu → Settings/Service.
b) Enter the service password “1”, “5”, “9”, “0” on the remote control and press OK.
c) Select UST Install → Start.
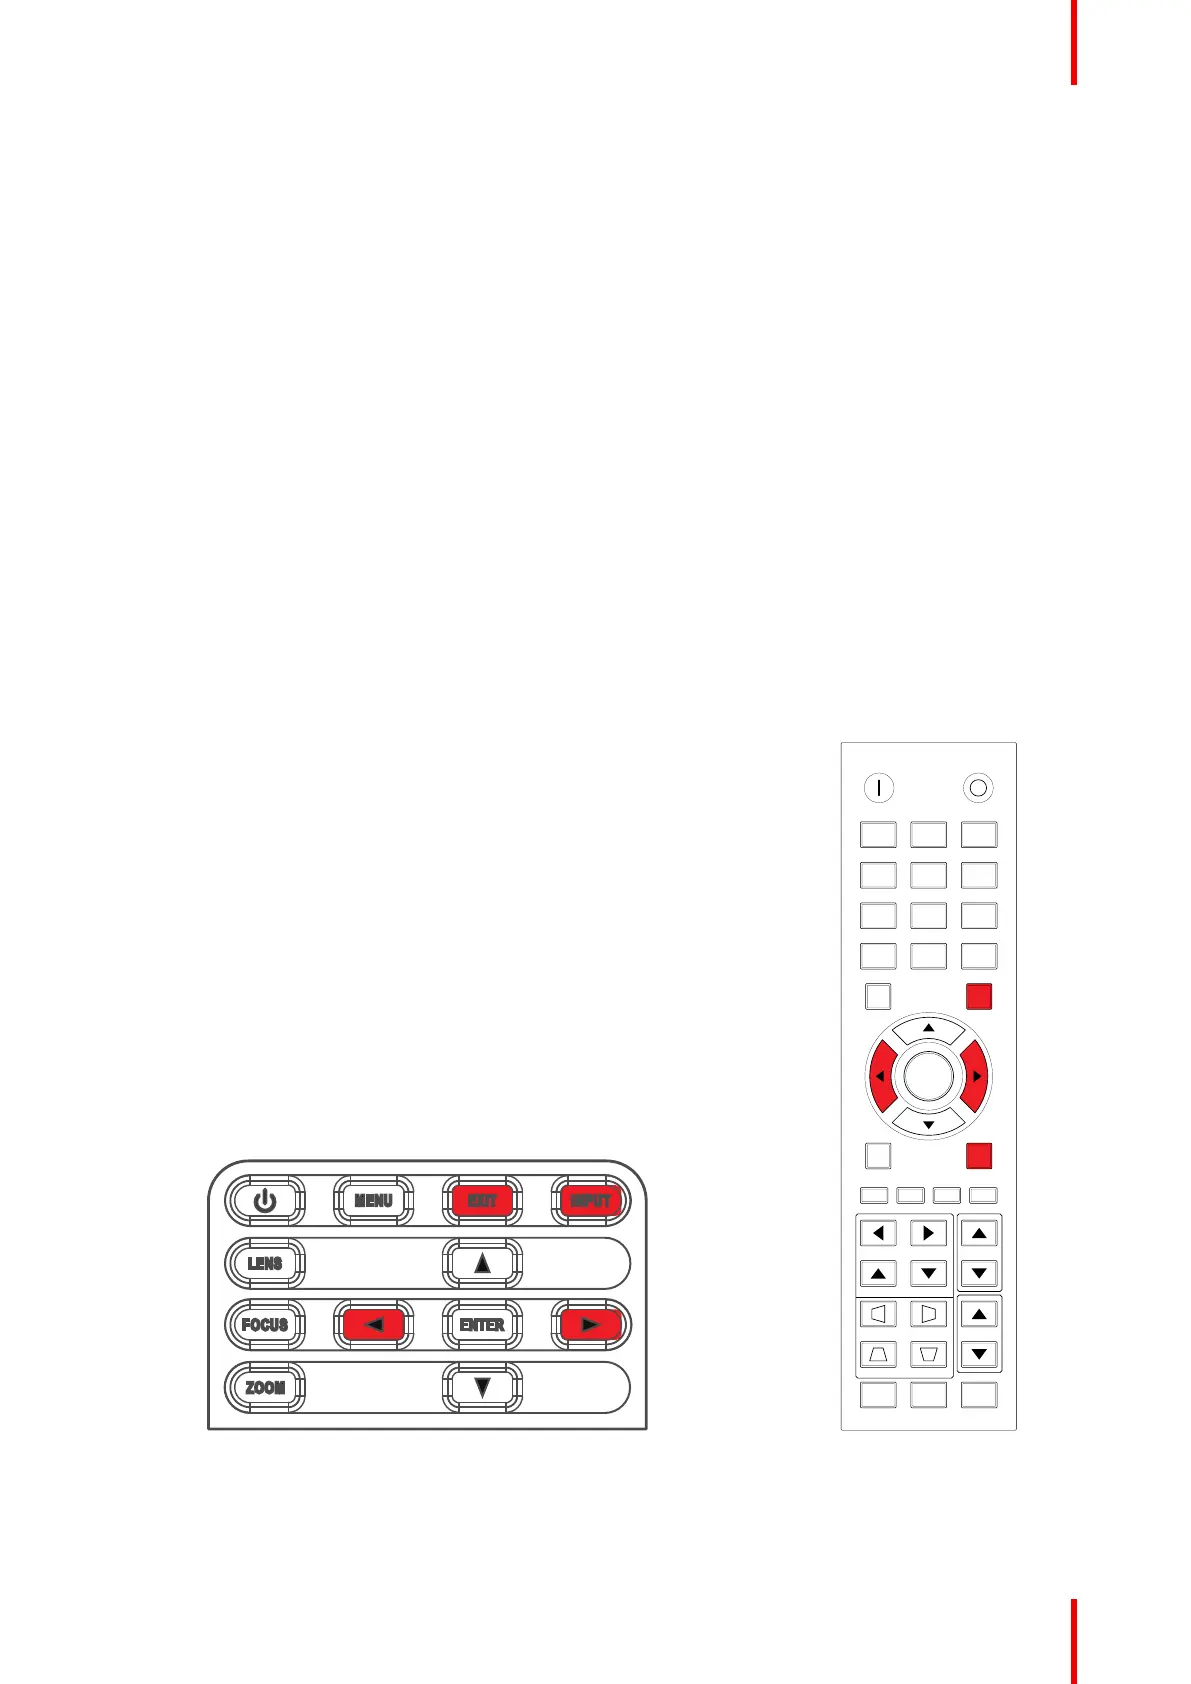
2. You do not have another lens available: use the shotcut keys on the local keypad
a) Enable the UST Install mode by pressing the following keys on the local keypad or on the remote
control unit: ‘Exit / Input / Left / Right’.
Z
INPUTEXIT
MENU
LENS
FOCUS
OOM
ENTER
Image 3–7
ON OFF
21 3
54 6
87 9
Gamma Bright Cont. PIP
0
Info
Mode
Auto Input
Menu Exit
Hot Key
Shutter
(AV Mute)
Pattern
Focus
Lens H
Lens V
Keystone H
Keystone V
Zoom
Enter
Image 3–8
6. A lens calibration is performed automatically.
7. After the calibration, the projector will automatically shut down. If not, press the “Exit” key on the remote
control to power off the projector and making it ready for the install of the UST-lens.
UST lens R9801785(1)
 Loading...