AW00061111000 Installing a GigE Camera
Installation and Setup Guide for ace CL, aviator, beat, pilot, racer, runner, and scout Cameras (Windows) 33
4.6.4 Changing a Camera’s IP Configuration
An application called the pylon IP Configurator is included as part of the Basler pylon Camera
Software Suite. The pylon IP Configurator shows you the current IP configuration of your camera
and allows you to change it.
When you start the pylon IP Configurator it scans the computer for network adapters
("connections") and attached cameras. All discovered network adapters and cameras will be
displayed in the top pane. Detailed information about the item selected in the top pane will be
displayed in the central area below.
Depending on the firmware version of your camera, the process to change the IP configuration can
differ. With older cameras, an intermediate step may be necessary in which you assign a temporary
IP address in order to establish communication between the camera and the computer. If this is the
case, the pylon IP Configurator will automatically open the Assign Temporary IP Address (Force
IP) dialog. For newer cameras this is not necessary, because they can automatically establish
communication with the computer.
During normal operation, you may want to change the camera's IP configuration in e.g. the following
typical situations:
A different way of IP address assignment is desired for operational reasons, e.g. via a DHCP
server instead of using a static IP address.
A temporary IP address has to be assigned when the camera is moved to a different port or
network adapter and therefore has to operate in a different subnet.
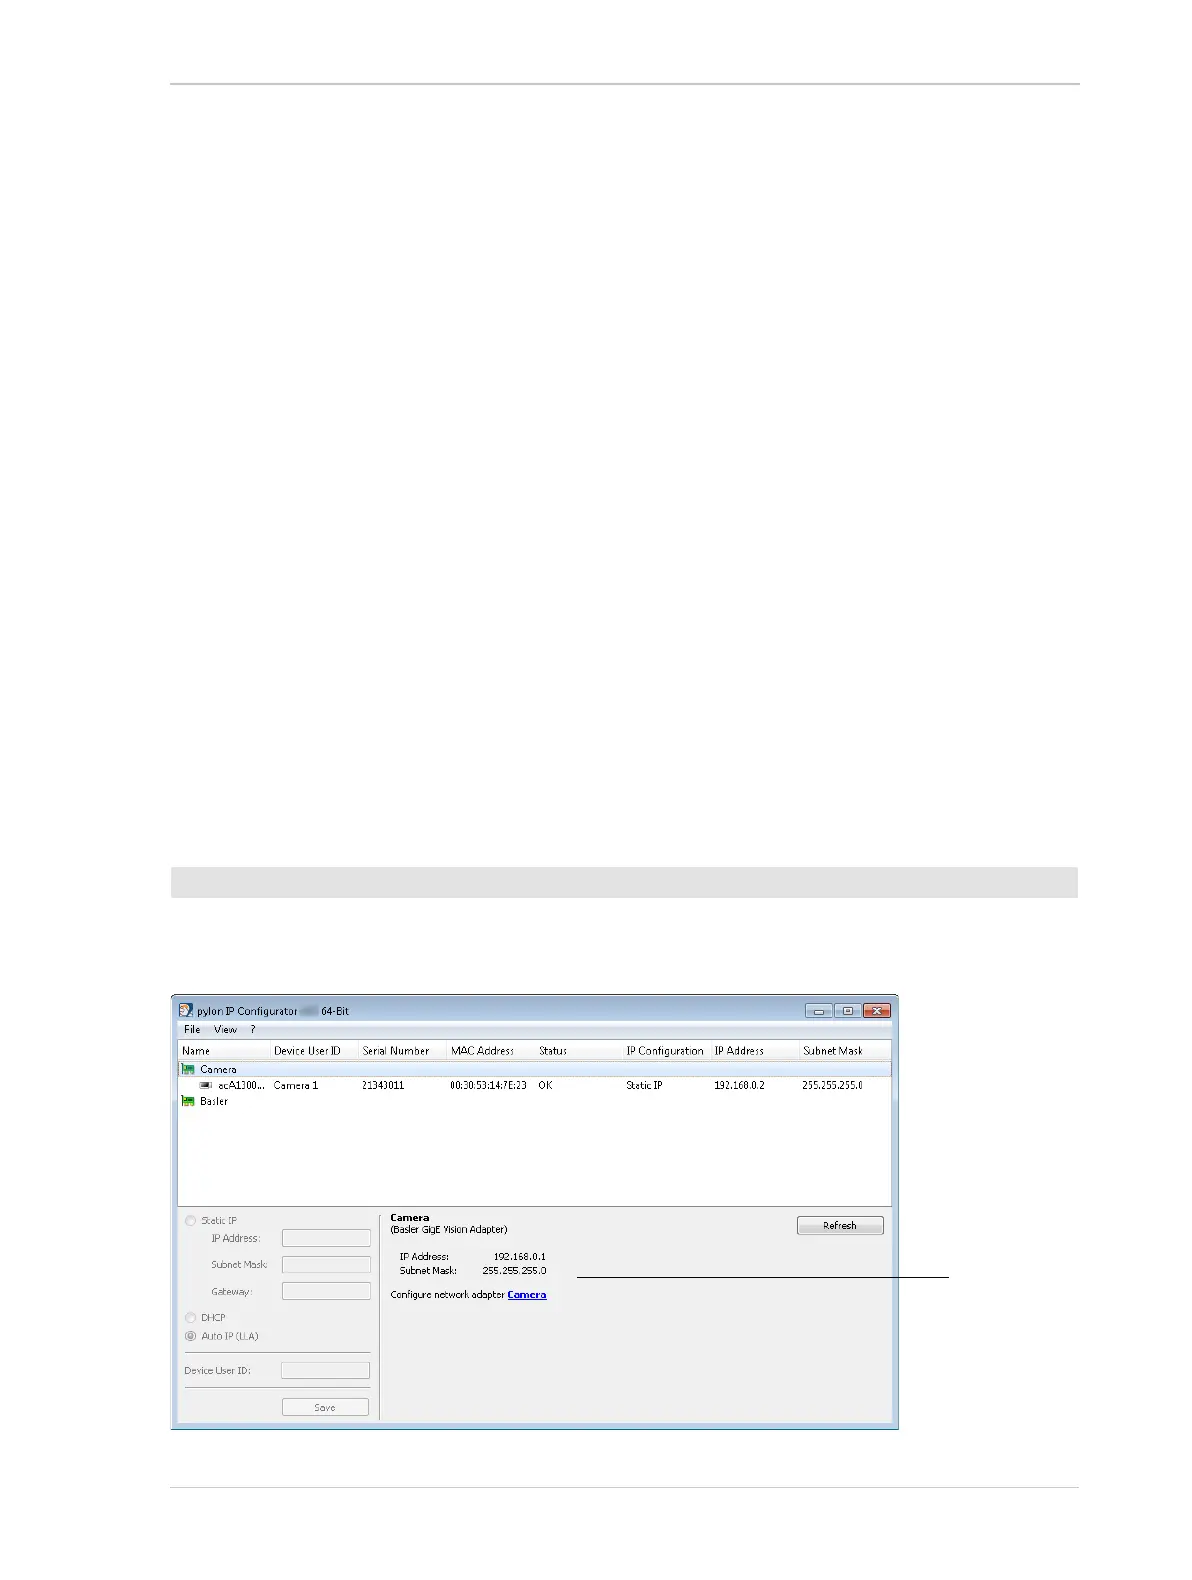
pylon IP Configurator
’
1. Double-click the pylon IP Configurator icon on your desktop.
The following figure shows the pylon IP Configurator when a network adapter is selected.
To open the pylon IP Configurator: