Mounting
Instruction handbook b maXX (BM4-F-)AIO-XX (Analog IO module)
Document No.: 5.01045.08
35
of 82
6
4 Turn the twist lock beyond and beneath by 90°.
The twist locks now are standing horizontally.
5 Take the front panel cover towards the front off. Keep this cover.
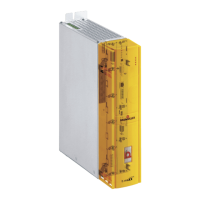
6 Take the BM4-F-AIO-XX out of its transport packing. Avoid the contact with electronic
parts of the plug-in module.
7 Plug the BM4-F-AIO-XX module into the guide supports of the slot. The handle must
point to the same side as the other handles in this slot strip (here: right side).
8 Press with two fingers on the front panel until the BM4-F-AIO-XX module within the
device sensible latches tightly into the end position.
9 Turn the twist lock beyond and beneath by 90° into the vertical position (locking posi-
tion).
10 Connect cable of the BM4-F-AIO-XX module with the Sub-D connector.
11 Put the design cover on the device again.
Thus the mounting of the BM4-F-AIO-XX is completed.
NOTICE!
Note electrostatic discharge!
The BM4-F-AIO-XX contains ESD sensible parts.
Therefore:
m Regard the described ESD procedures when handling the plug-in module.
m Touch the plug-in module only at its handle.
NOTE
If you, within the scope of a repair of the BM4-F-AIO-XX, simply displace it by a sim-
ilar plug-in module, you can shorten the further operation, installation, commissioning
and so on. Then you simply must put on the connector to the plug-in module, put on
the design cover again and you can turn on the device again.
 Loading...