User Manual 55
Detach print from build plate
One the print job is finished, it will be indicated on the touchscreen.
There are several methods to detach the print. The process varies slightly on with what material you have used to
print. It is very important in order to prevent chipping from the glass and extend its useful lifespan.
Use a spatula
• Once the print job has finished, allow the build plate and the print to cool down 15 minutes.
After this time, the material will contract as it cools, allowing you to easily remove the print.
• If your printed part is still adhered to the glass surface, remove the glass out from the printer as shown in the
Set up section and place it on a clean and flat surface.
Removing the part inside of the printer can result in disruption of the calibration.
• Place the spatula (included in the Upper box) under the part, parallel to the build surface, avoiding too steep
angles, and apply a small amount of force to remove the print.
Always remove the parts with a movement that is made from your body. Remember to be cautious of where
you are having your second hand while removing the print to avoid hurting yourself.
• A tip is to tilt the glass so you have the underside visible to see what parts of the print are already detached.
• This process is recommended for materials like: PLA, PVA, PP, PA, PAHTCF, PPGF, PET-G.
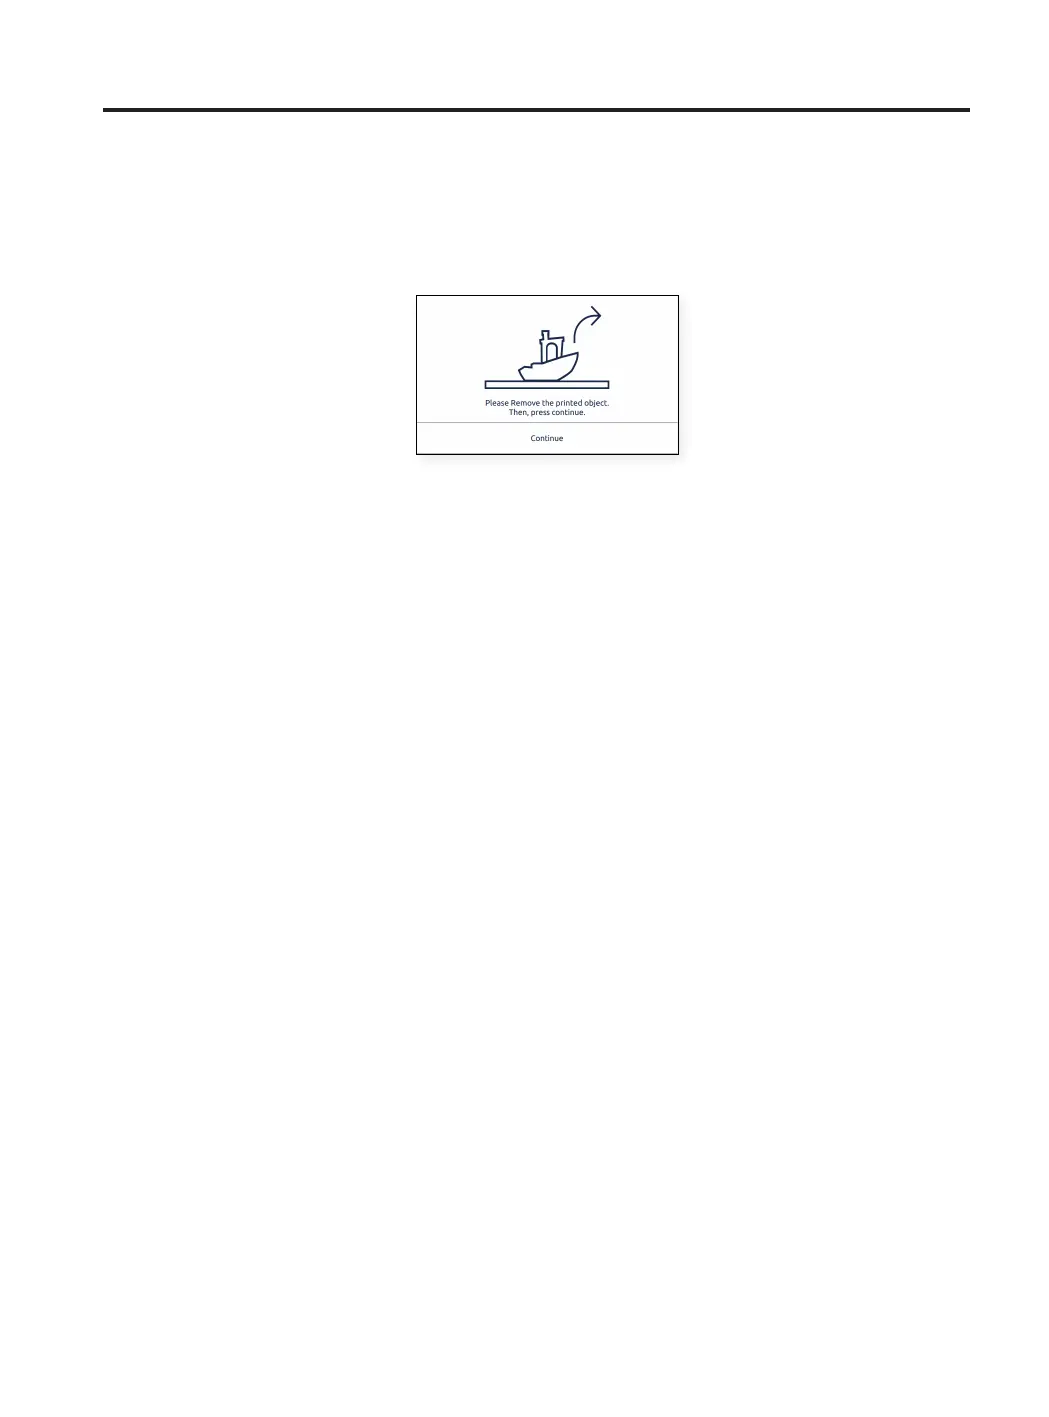
• When the print has been removed, place the glass surface back in the printer and press the Continue button.