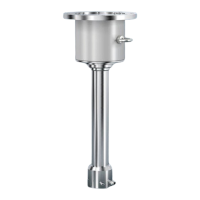
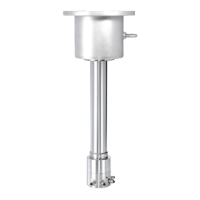
Density Meter LB 444 SECTION 5. GETTING STARTED
48
11. Accept result with <
enter
>. Cursor jumps to next row.
12. Enter the density value of the sample(s) determined in the lab in g/cm³ and
confirm with <
enter
>. Cursor jumps to third row.
13. Confirm current product temperature with <
enter
>.
14. Proceed in the same manner for the other rates. Rates that are not used
must contain "0". If “0” is already there, press <
more
>. Otherwise, delete
values with <
clear
> and confirm each with <
enter
>.
15. With <
sk2
>, select Calculate.
16. Select calibration mode according to the number of entered value pairs (lin
for 2, squ for 3 and cub for 4 and more value pairs; if you chose auto, the
program automatically selects the best calibration mode. Prerequisite: 4
value pairs).
Upon confirmation with
<
enter
>,
calibration is carried out and the cal-
culated coefficients can be viewed.
17. The program calculates the linear absorption coefficient and displays it at
Result a1.
18. The calculated zero countrate I0 is displayed.
19. Depending on the selected calibration mode, the program calculates the
following coefficients and displays them:
Coefficient a1, a2, a3 and the square error
20. If necessary, enter a factor for multiplicative correction of the measured
values.
21. If necessary, enter an Offset for additive correction of the measured values.
22. Display of temperature-corrected density values.
23. Return to submenu group with <
done
>.
24. Press <
run
> to start the measurement.
25. Calibrate once more (step 16.) if the current output limit value changes (see
page 19).