B
bbryanJul 28, 2025
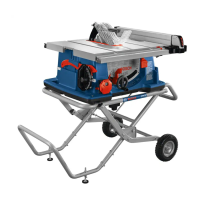
Why won't my Bosch GTS15-10 Saw start?
- JJoseph LongJul 28, 2025
If your Bosch Saw doesn't start, several factors could be at play. First, ensure the power cord is securely plugged in. If it is, check your fuse or circuit breaker, and replace the fuse or reset the breaker if necessary. A damaged cord or a burned-out switch could also be the culprit, in which case you should have it replaced by an Authorized Bosch Service Center or Service Station. For other potential issues, it's best to have the tool reviewed by a qualified technician at an Authorized Bosch Service Center or Service Station.