28
__
II
I
I
__
__,
'\ \
I
I,
:REVERSe:
,
...
't I''
2.
Press the
NORMAL/REVERSE
button to make
REVERSE light.
1.
Press the
pad which
contains
the
sample that you
wish
to playback in reverse. (Specify
the current
pad)
The pad will light, and the sample will
sound
.
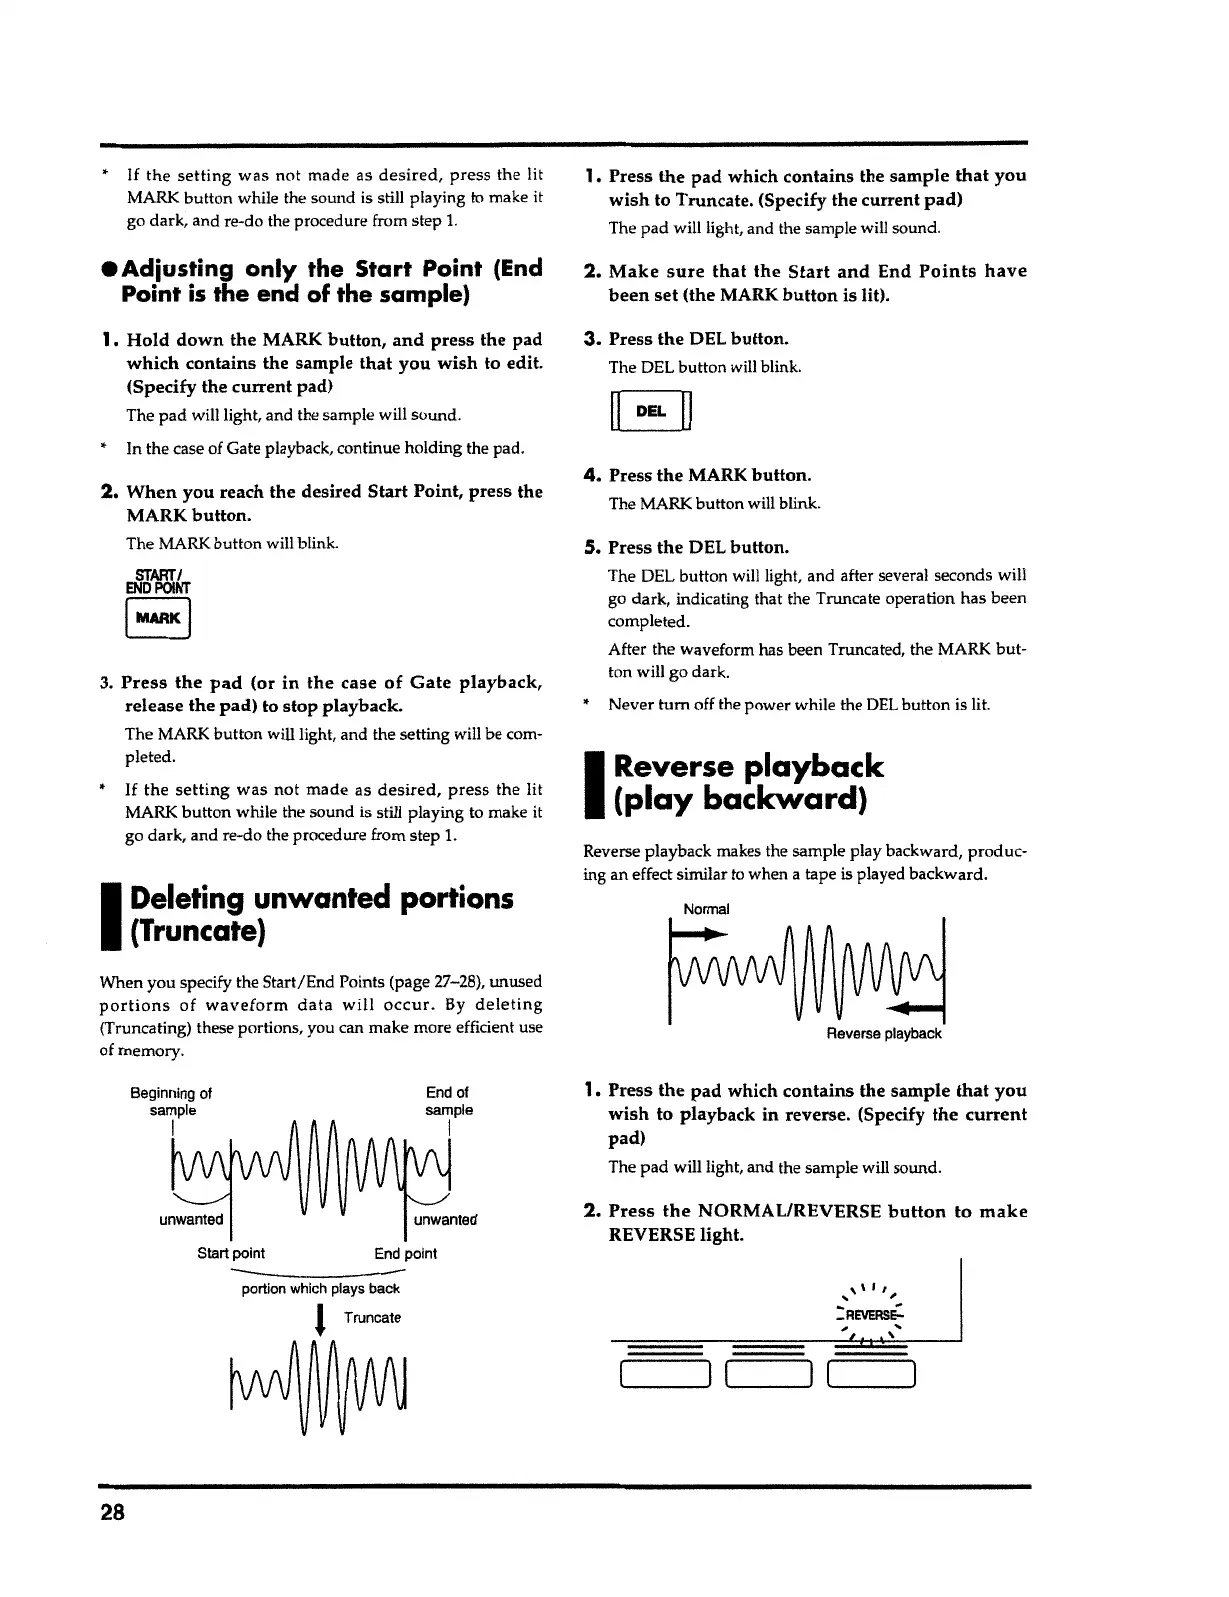
Reverse playback
Normal
Reverse playback makes the sample play backward, produc-
ing an effect similar to when
a
tape is played
backward
.
I
Reverse
playback
(play backward)
5.
Press
the
DEL
button.
The DEL button will light
,
and after several seconds will
go dark, indicating that the Truncate operation has been
completed.
After the waveform has been Truncated, the MARK but-
ton will go dark.
•
Never
tum
off the power while the DEL button is lit.
4.
Press
the
MARK
button
.
The MARK button will
blink
.
3.
Press
the
DEL
button.
The DEL button will blink.
E]
2.
Make sure that the Start and
End
Points have
been set
(the MARK
button
is lit).
1,
Press
the
pad which
contains
the
sample that you
wish
to Truncate. (Specify the current
pad)
The pad will light, and the sample will sound.
----
portion which plays back
J
Truncate
End point Start point
unwanted unwanted
End of
sample
I
Beginning of
sample
I
When you specify the Start/End Points (page 27-28), unused
portions
of
waveform data will occur.
By
deleting
(
Truncating) these portions, you can make more efficient use
of
memory
.
I
Deleting
unwanted portions
(Truncate)
•
If
the
setting was
not made as
desired, press
the lit
MARK button while the sound is still playing to make
it
go dark, and
re
-
do the procedure from step
l.
3.
Press the pad
(or
in the
case
of Gate playback,
release the pad)
to stop playback.
The MARK button will light, and the setting will be com-
pleted.
START/
ENDPOINT
EJ
2.
When
you reach
the
desired Start Point, press the
MARK
button.
The MARK button will
blink
.
1.
Hold down the
MARK
button, and press
the pad
which contains
the sample
that you wish
to edit.
(Specify the
current
pad)
The pad will light, and the sample will
sound
.
• In the case of Gate
playback
,
continue holding the pad.
• Adiosting only the Start Point
(End
Point
is
the
end
of
the
sample)
•
If
the
setting
was not made as
desired
,
press
the lit
MARK button while the sound is still playing to make it
go dark, and re-do the procedure from step
l.