3-26
Confidential
9.3 The Head/Carriage Unit, CR Timing Belt, and Leveler Roller ASSY
During disassembly, leave the head/carriage unit attached to the machine except when removing the
ink refill ASSY or engine unit (including the maintenance unit).
When removing the head/carriage unit, ink refill ASSY or engine unit, you need to remove all four
ink cartridges first and set the protective part instead (refer to page 3-24). Insert the protective part
firmly until it hooks on to the right side to prevent ink from leaking from the ink supply tube and
staining the machine.
Note • When replacing the head/carriage unit, put on a grounding wrist band and perform the job
on a static mat. Also take care not to touch the conductor sections on the flat cables.
• During the removal or installation of the head/carriage unit, be careful not to contaminate
the CR encoder strip or PF encoder disk with ink or grease.
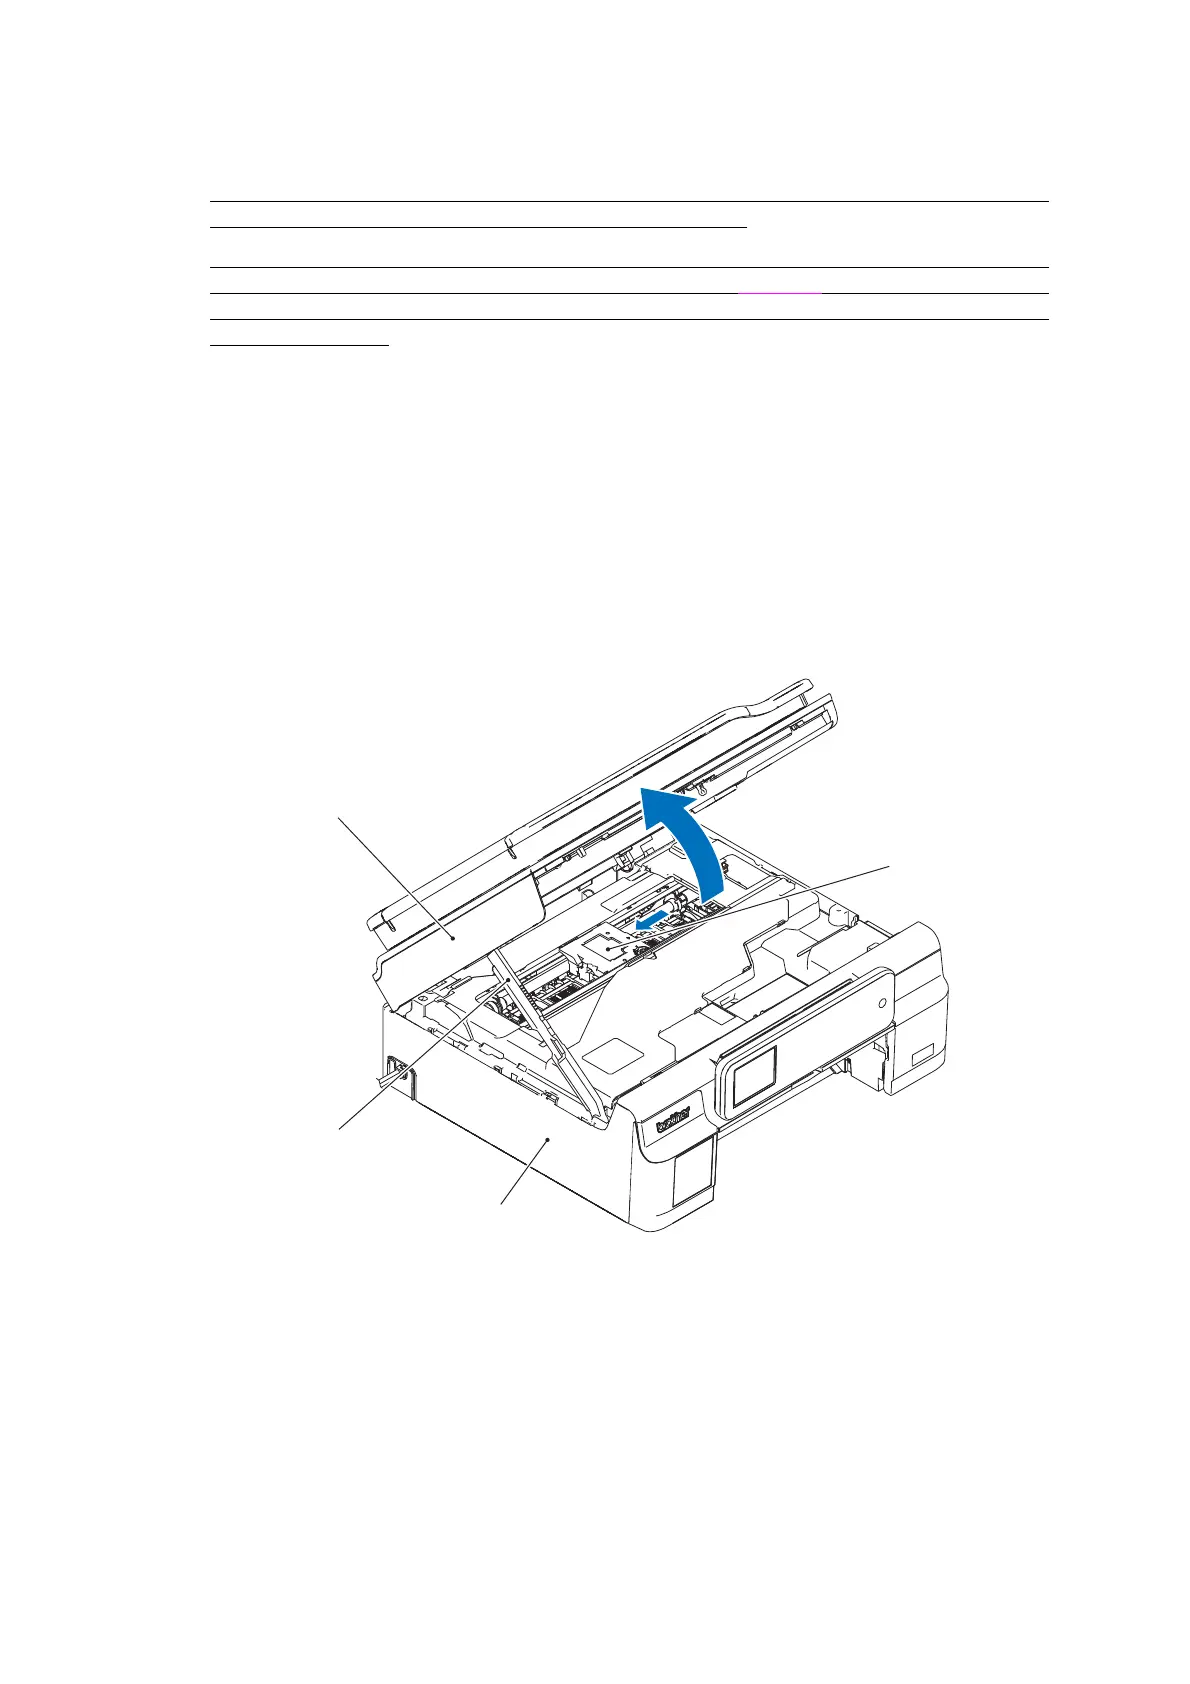
(1) Plug the power cord into an electrical outlet.
(2) Open the document scanner unit until it locks.
The "Cover is Open." message appears on the LCD.
(3) Press and hold the [X] or [Stop] key displayed inside the panel to move the head/carriage unit
to the center.
(3_033)
Upper cover
Head/carriage unit
Document scanner unit
Scanner cover support
 Loading...