Operation
7
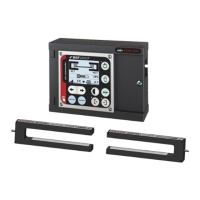
ekr CON 600, ekr CON 600 net – Master-Slave Guiding with Sensor Positioner 37/47
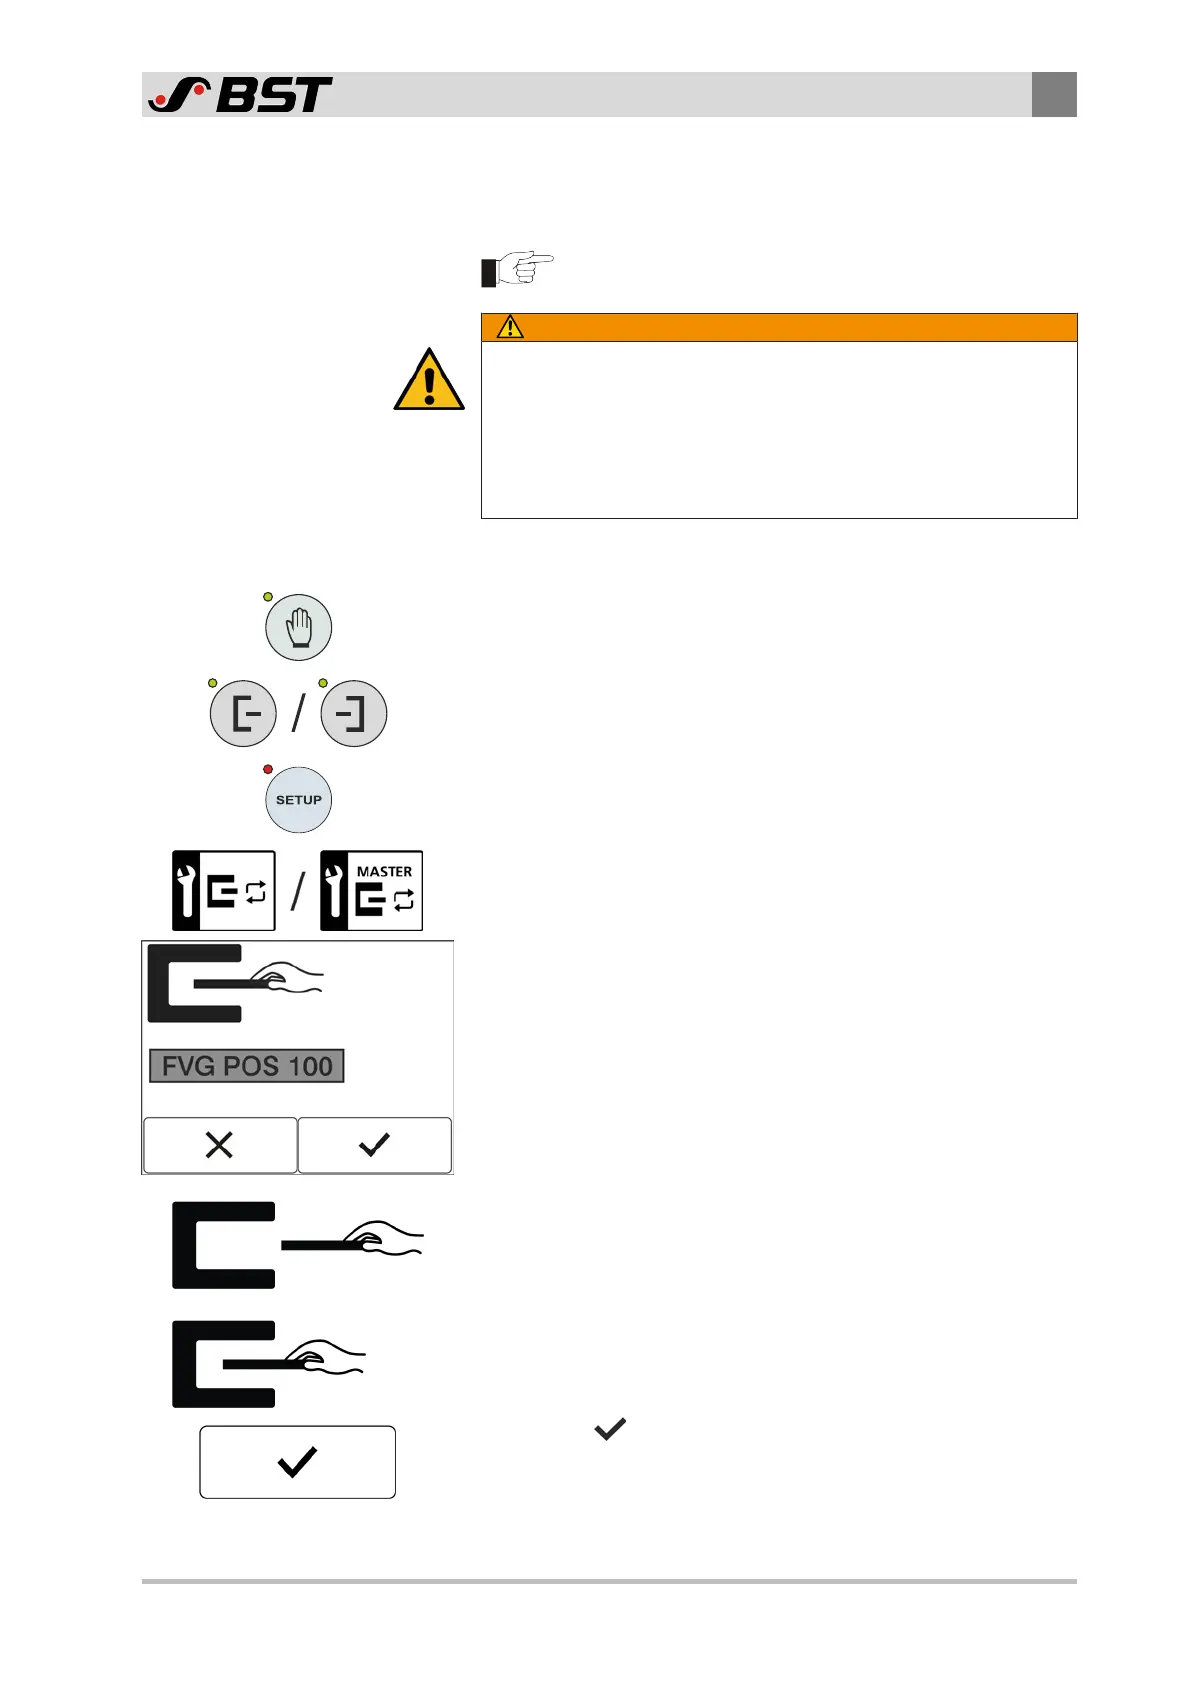
7.4.5 Automatic Material Setup
This chapter describes the normal procedure for saving the
bright / dark values.
You have to perform the material setup for each edge
sensor separately.
WARNING
Danger of cutting on sharp edges of the material web!
Severe cutting injuries caused by the edges of the moving material
web.
►
Never touch the edges of moving material webs.
►
Carry out the material setup only when the production machine
is stationary.
1. Remove any material that may be present from the connected
edge sensors and clean the sensor scanning areas.
2. Press the Manual mode key.
The LED of the key will illuminate.
The controller switches to manual mode.
3. Select the desired sensor by pressing the respective key on the
controller.
The LED of the key will illuminate.
4. Press the SETUP key.
The controller changes to setup mode.
The first page of the setup menu will be displayed on the screen.
5. Select the automatic material setup for the SLAVE or MASTER
web by tapping the corresponding button in the setup menu
(see Activating the Material Setup, page 36).
The adjacent screen appears in the display (here with Sensor
1selected). The animation shows the operating steps necessary
for generating the bright / dark values:
The hand moves the material into the sensor scanning area
(dark value) and back out again (bright value).
6. Completely clear the selected sensor's scanning area (no ma-
terial in the scanning area).
The bright value measured is displayed.
7. Completely cover the selected sensor's scanning area with the
material to be scanned for at least 2 seconds.
The dark value measured is displayed.
8. Press the button.
The material setup for the selected sensor is completed.
The bright / dark values determined are saved.
ð The setup menu is displayed.

 Loading...