T104 Series Indicators EN-25
Note:
If after waiting for 40s the calibration is still not successful, is displayed for 3 seconds and the
previous calibration data is restored.
9. Repeat step 6 and 7.
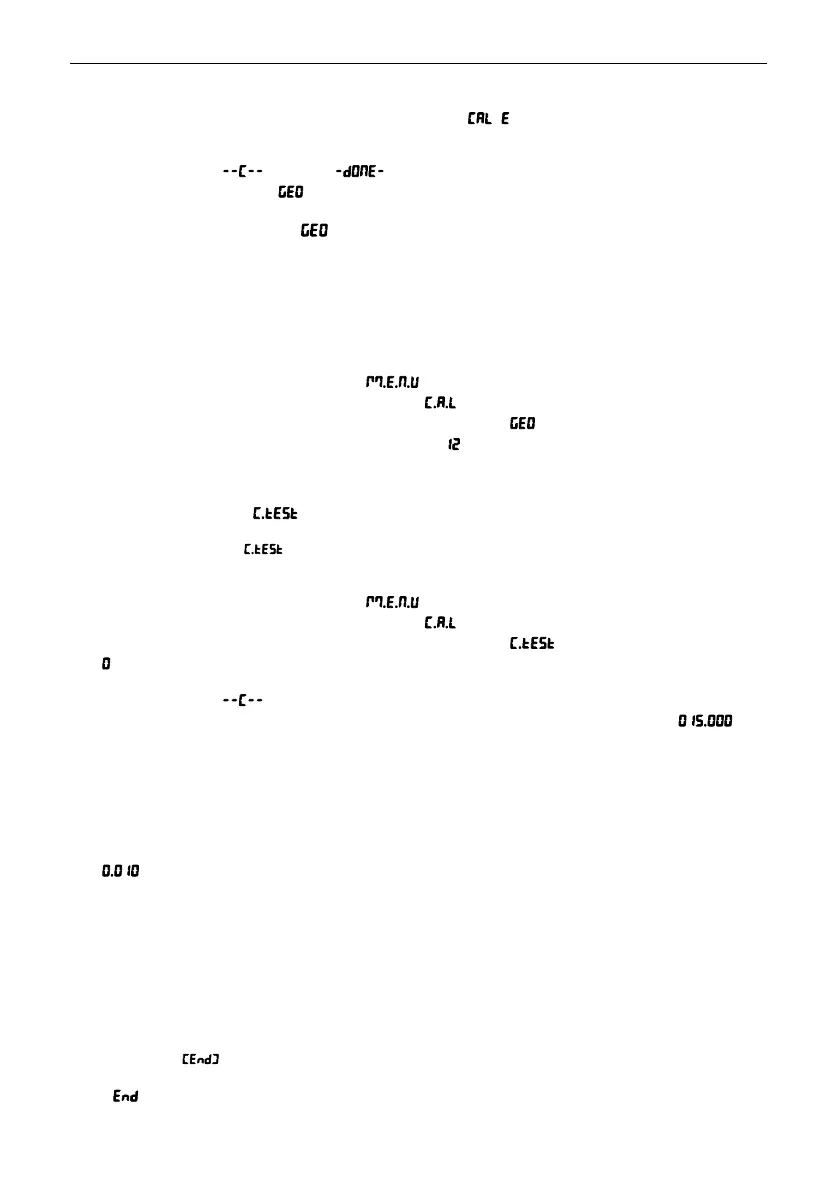
10. The display shows , and then when the Linearity calibration is finished.
11. After that the display shows . Press the Exit button to exit.
4.2.4
GEO Code Adjustment
[ ]
Geographical Adjustment Factor (GEO) code is used to adjust the calibration based on the current location.
Settings from 0 to 31 are available with 12 being the default.
Please refer to
the
Table of Geo Code Values section in the Technical Data chapter to determine the GEO
factor that corresponds to the indicator's location.
To set the GEO factor:
1. Long press the Menu button until you see .
2. Release the button and wait for the display to show . Press the Yes button.
3. Short press the No button several times to navigate until you see
.
Press the Yes button.
4. The Geo point is flashing on the display (For example, ).
5. Short press the No button several times until the desired GEO number appears. Press the Yes button to
accept.
Note: Press the Back button can decrease the digit.
6. Then the display shows . Press the Exit button to exit.
4.2.5 Calibration Test [ ]
Calibration test procedures:
1. Long press the Menu button until you see .
2. Release the button and wait for the display to show . Press the Yes button.
3. Short press the No button several times to navigate until you see . Press the Yes button.
4. and the calibration unit are flashing on the display based on the capacity and unit you set in the setup
menu. With no weight on the pan, press the Yes button to establish the zero point.
5. The display shows while the zero point is recorded.
6. The calibration weight and the unit of the last time are flashing on the display. (For example, kg).
6. To change the test calibration weight:
a) Short press the No button several times until the desired number appears.
Note: press the Back button can decrease the digit.
b) Short press the Yes button to accept the number and move on to the next digit.
c) Repeat the process until all the digits are correct.
d) Press the Yes button to accept the calibration point. It is flashing on the display.
7. Place the specified test weight on the pan and press the Yes button.
8. The difference between the calibration data and the test weight is flashing on the display. (For example,
kg). If the indicator is connected to a printer or other devices, the result will be printed.
Note: the printed result will appear as below:
Example:
--------- Cal Test ---------
New Cal:6.0000kg
Old Cal:6.0000kg
Diff Cal:0.0000kg
Wt. ID:_____________
------------ End -----------
9. After 5 seconds, the test ends and the scale returns to the active weighing mode, displaying the current
weight.
4.2.6 End Cal
When is displayed, press the Yes button to exit this menu and advance to the next sub-menu, or press the
No button to advance to the first menu item in the this sub-menu.
 Loading...