EN
76
6.6 Installation of the external conductivity
measuring system
˳Mount the digital conductance measuring device on the
wall or any other suitable site.
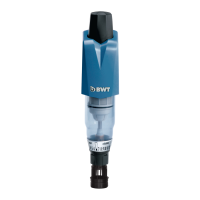
6.6.1 Connector for conductivity value
type EOS
Connector for conductivity value
Fig. 16: Cable for conductivity measurement
˳Connect the cable for the conductance measuring
device.
6.6.2 Connector for conductivity value type EOSP
˳Connect the cable for the conductance measuring device.
˳Connect the cable for the potential-free contact to the
corresponding device.
7. Electrical connection
7.1 Electrical installation
CAUTION:
˳bóÖã©Ööþݯò¯öݯ¯Æò³©þÆď³ö³˺¾˺Zq˵q
and the technical specifications must be observed.
˳ɷɸɵqɺɵ(ěÜÆÝö©ãÝݳ©þÆãÝöã©Ô³þ
should be available nearby. The cable length of the
adapter is 1.5 m.
˳ÝöĂò³þó³Ö³©þòÆ©ÖÜÆÝö©ãÝݳ©þÆãÝÆöÆÝöþÖÖ³¯
by a licensed electrician.
You must only establish the electrical connection when
the installation conditions listed in Part 3.4 have been
met.
CAUTION:
˳rãòÔãÝþó¯ïþ³òÆöãÝÖĖï³òÜÆþþ³¯Æ½þó
plug has been removed from the socketfirst.
˳bó³Ö³©þòÆ©Ö©ãÝݳ©þÆãÝ©¨Ö³ÜĂöþ¨³¯³³Ý³ò-
gised (free from tension) during installation.
8. Venting and commissioning
The device has the correct hydraulic and electrical connec-
tion (see Part 6.3 “Mounting the head onto a plastic cart-
ridge”). Adhere to the safety instructions.
˳bóïãöÆþÆãÝã½þóó¯ãÝþó@+A+Zb+:©òþòƯ¾³¯³þ³ò-
mines the venting or operating mode.
˳SÖ©³þó©ãÝþòãÖó¯ÆÝþó¯³öÆò³¯ïãöÆþÆãÝãÝþó
cartridge, lock the cartridge fixing and make sure that it is
closed (lock symbol).
8.1 Venting position A of the cartridge
˳bó¯³ďÆ©³ö¯ãÝãþÃď³ÝÆݨĂÆÖþď³ÝþÆÖþÆãÝďÖď³
˳bã©ÃƳď³ãïþÆÜĂÜò³öĂÖþö˵þó@+A+Zb+:©òþòƯ¾³ÜĂöþ
be vented before operation
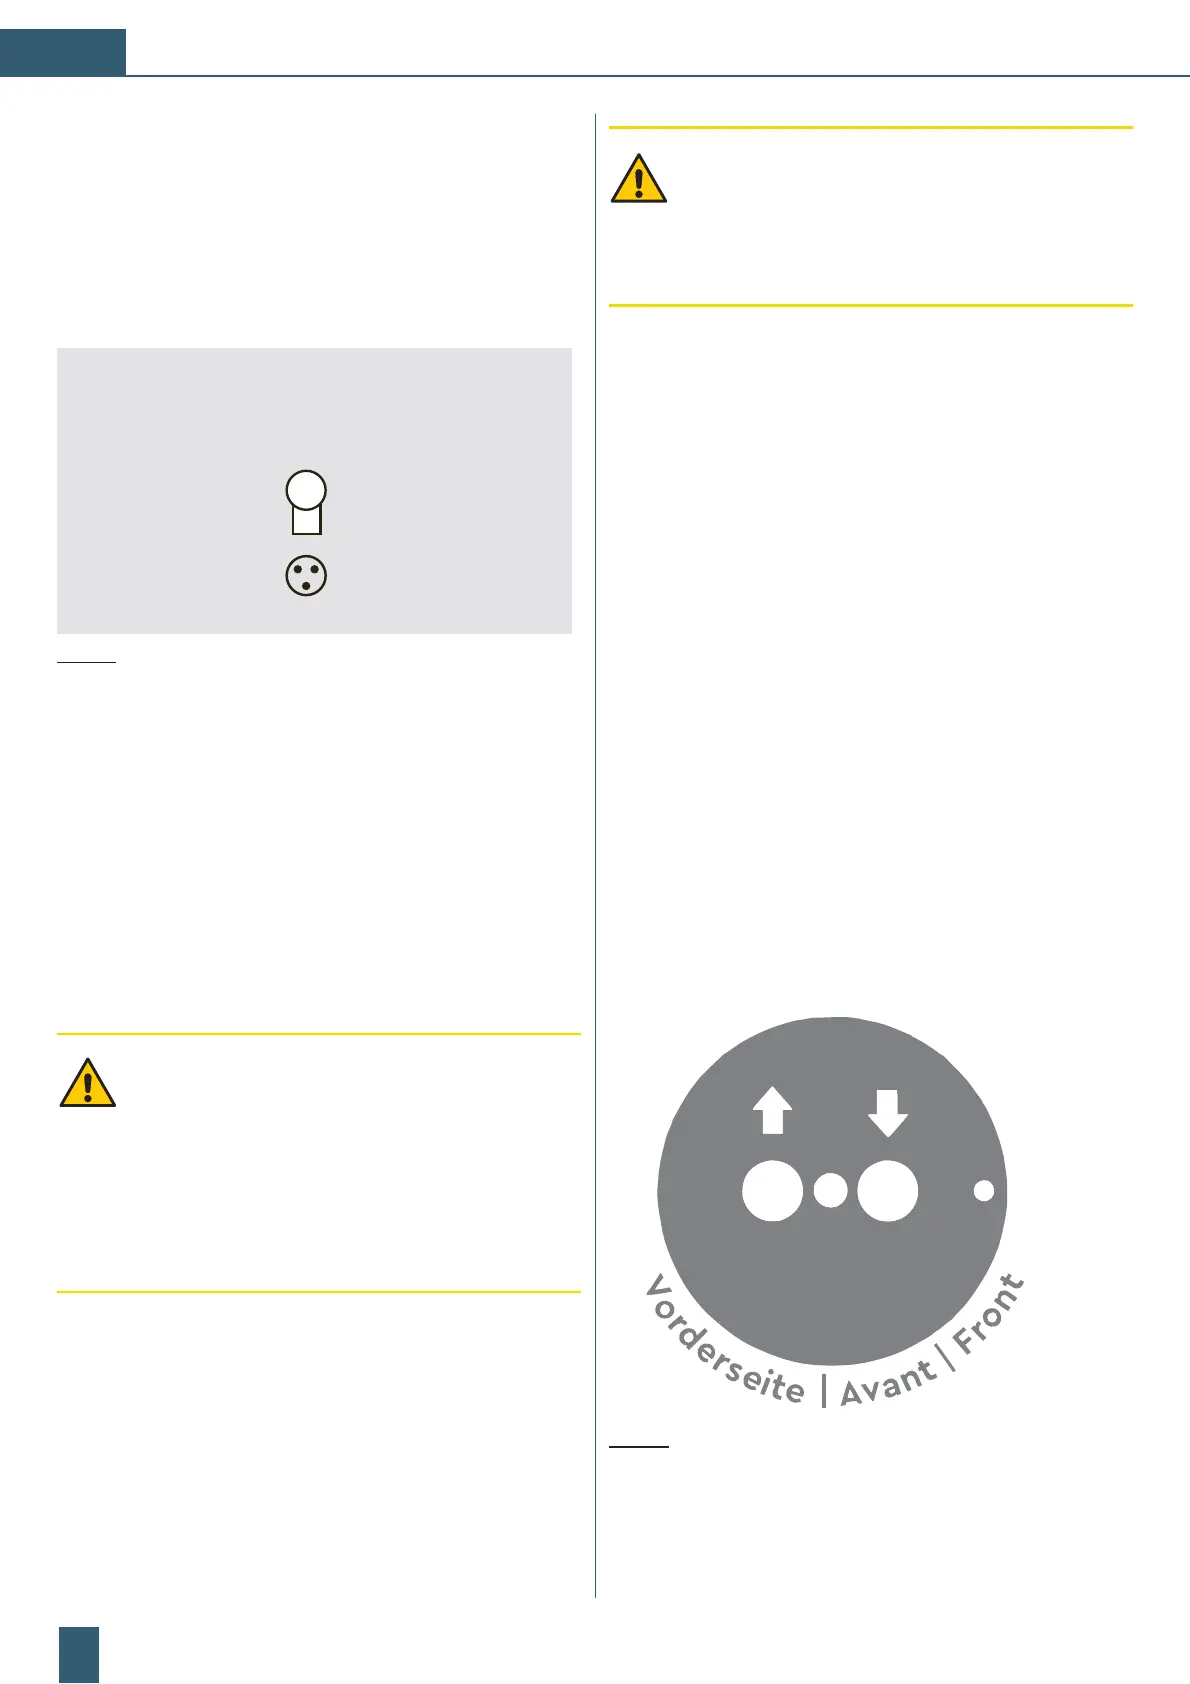
Designations:
1: Inlet (drinking water / raw water)
2: Outlet (completely desalinated water / purified water)
˳ÖƾÝþó©òþòƯ¾³ãÝþó½òãÝþöƯ³öãþÃþþórb
type plate points towards you
Patrone
Cartouche
Cartridge
Fig. 18: Direction of assembly control head on cartridge
 Loading...