Chapter 3
3-30
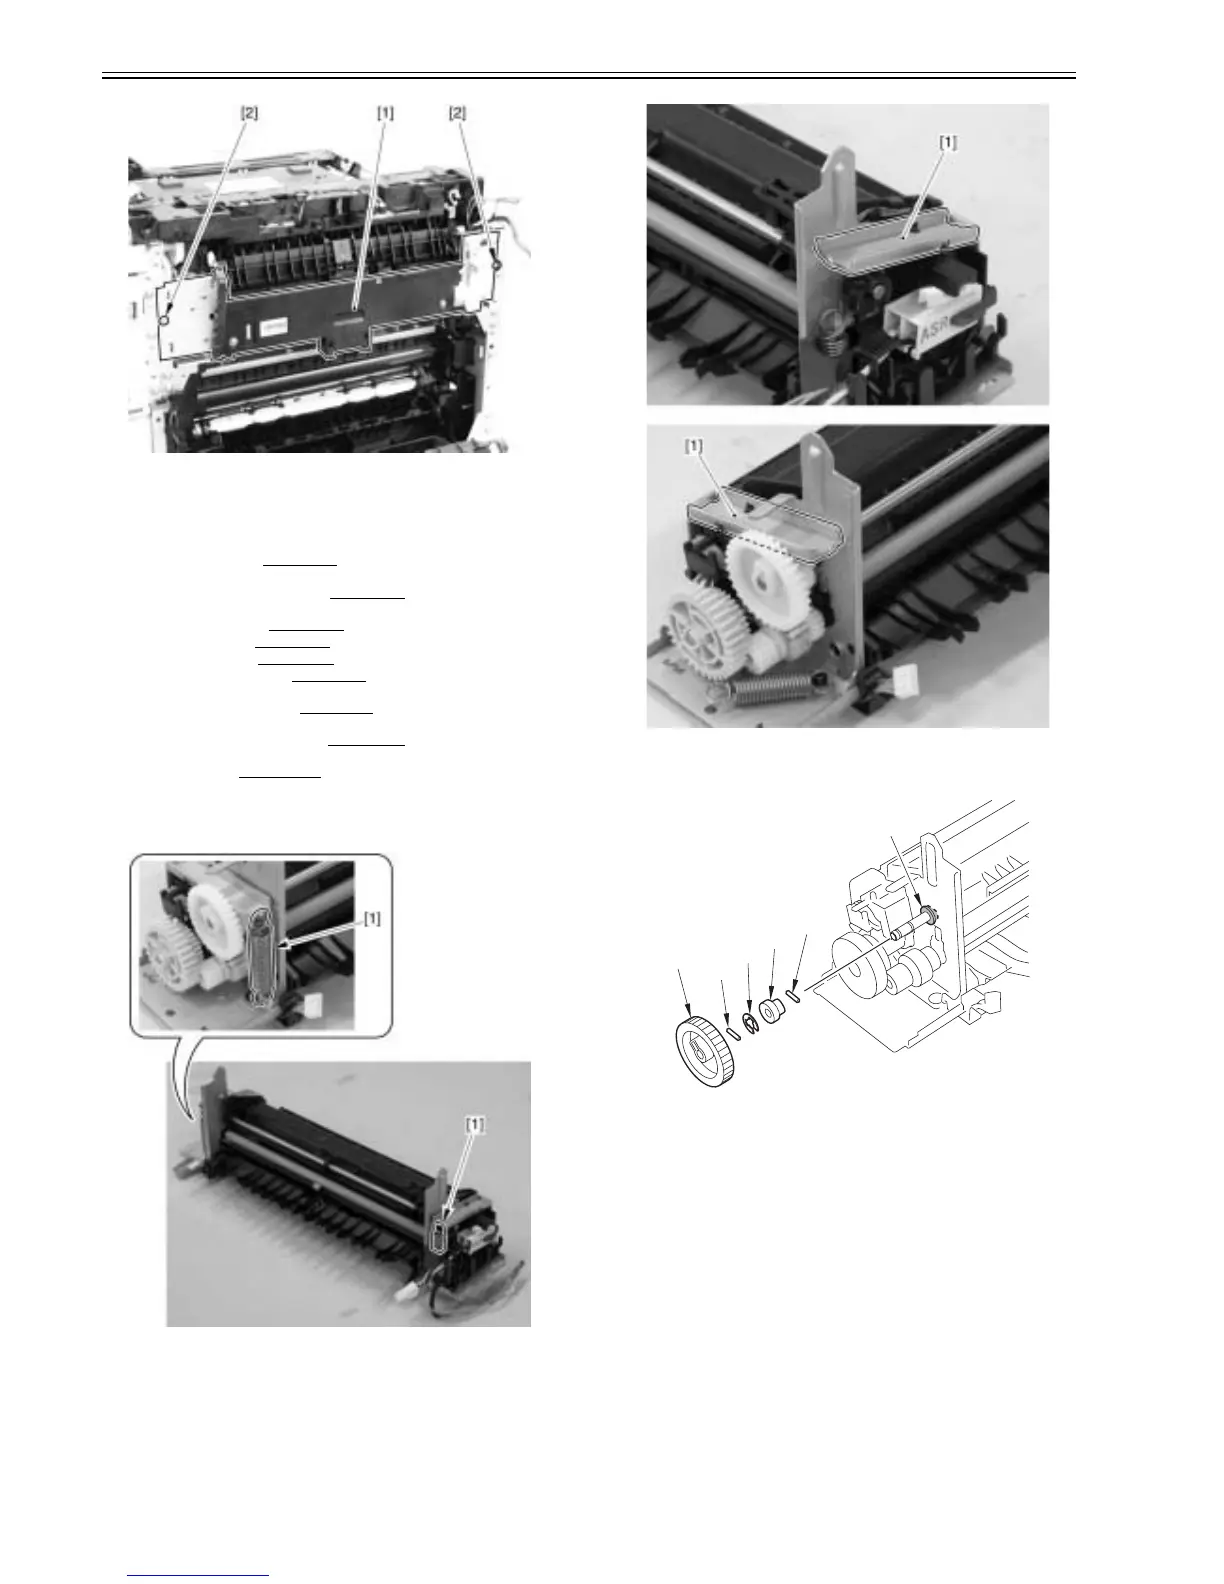
F-3-127
3.5.2 Fixing Film Unit
3.5.2.1 Pre-procedure for removing fixing film unit
0021-4287
1) Remove the right cover.(page 3-9)Reference[Removing duplex reverse
drive unit]
2) Remove the upper rear cover (left).(page 3-1)
Reference[Removing up-
per rear cover (left)]
3) Remove the upper cover.(page 3-5)
Reference[Removing upper cover]
4) Remove the left cover.(page 3-1)
Reference[Removing rear cover]
5) Remove the rear cover.(page 3-1)
Reference[Removing rear cover]
6) Remove the lower rear cover.(page 3-1)
Reference[Removing lower rear
cover]
7) Remove the rear cover lib unit.(page 3-1)
Reference[Removing rear cov-
er lib unit]
8) Remove duplex reverse drive unit.(page 3-9)
Reference[Removing du-
plex reverse drive unit]
9) Remove fixing unit.(page 3-29)
Reference[Removing fixing unit]
3.5.2.2 Removing fixing film unit
0021-4288
1) Remove the pressure springs [1] at the left and right sides.
F-3-128
2) Remove the pressure plates [1] at the left and right sides.
F-3-129
3) Remove the gear [1], 2 parallel pins [2], E-ring [3], cam [4], and bushing
[5].
F-3-130
4) After removing the shaft [1], sensor flag [2], cam [3], and parallel pin [4],
remove the guide plate [4].
[2]
[2]
[3]
[4]
[1]
[5]



 To Next Page