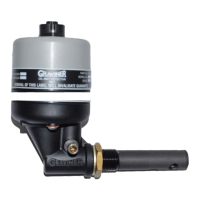
6.1.1 Main Control Processor PCB Replacement
1. Prior to powering down the Mk6 OMD system use read and make note of the parameters below.
These values will need to be re-entered into any replacement Main Control Processor PCB.
a. The number of engines.
b. The number of Detectors connected to each engine,
c. The Average Alarm level for each engine.
d. The Deviation Alarm levels for each detector.
Average Alarm: adjustable between 0.3 - 1.3mg/l
(Factory Default level of 0.7mg/l).
Deviation Alarm level: adjustable between 0.05 – 0.5mg/l
(Factory Default level of 0.3mg/l).
2. Power down the system.
3. Remove all connectors, PLG1, PLG2, PLG4, PLG5, PLG8, PLG9 and PLG1O noting the orientation.
4. Remove the 8 fixing screws and washers.
5. Remove the PCB.
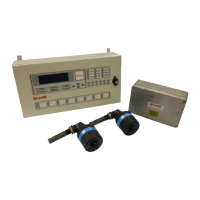
Figure 160 Control Panel Main Control Processor Board
Removed
6. Fit the replacement PCB with the 8 fixing screws and washers, re-fit all connectors.
7. Switch on system and allow it to initialise.
8. Re-program the system to the required configuration.
Note: After changing the Processor PCB, it may be necessary to adjust gain control R2 to ensure the
clarity of the LCD.
6.1.2 LCD Display Replacement
To replace the LCD follow the steps detailed in section 5.2.15
6.1.3 Status Display PCB Replacement
1. Power down the system.
2. Remove the Main Control Processor Board as described in section 6.1.1
3. Remove all connectors, PLG1 PLG4 noting the orientation.
 Loading...