DRSplus – Operating Manual
h. SUPERIOR-NASAL: centered approx. 12° superiorly and 7° nasally to the foveal pit;
i. INFERIOR-TEMPORAL: centered approx. 12° inferiorly and 7° temporally to the foveal pit;
j. INFERIOR-NASAL: centered approx. 12° inferiorly and 7° nasally to the foveal pit.
❖ Give the patient detailed information about the device operation before
placing the patient on the device.
❖ The configuration of many fields ends in different portions of the retina being
acquired. Such fields can be stitched together using the Mosaic feature
(available under license). See §33 11.5.
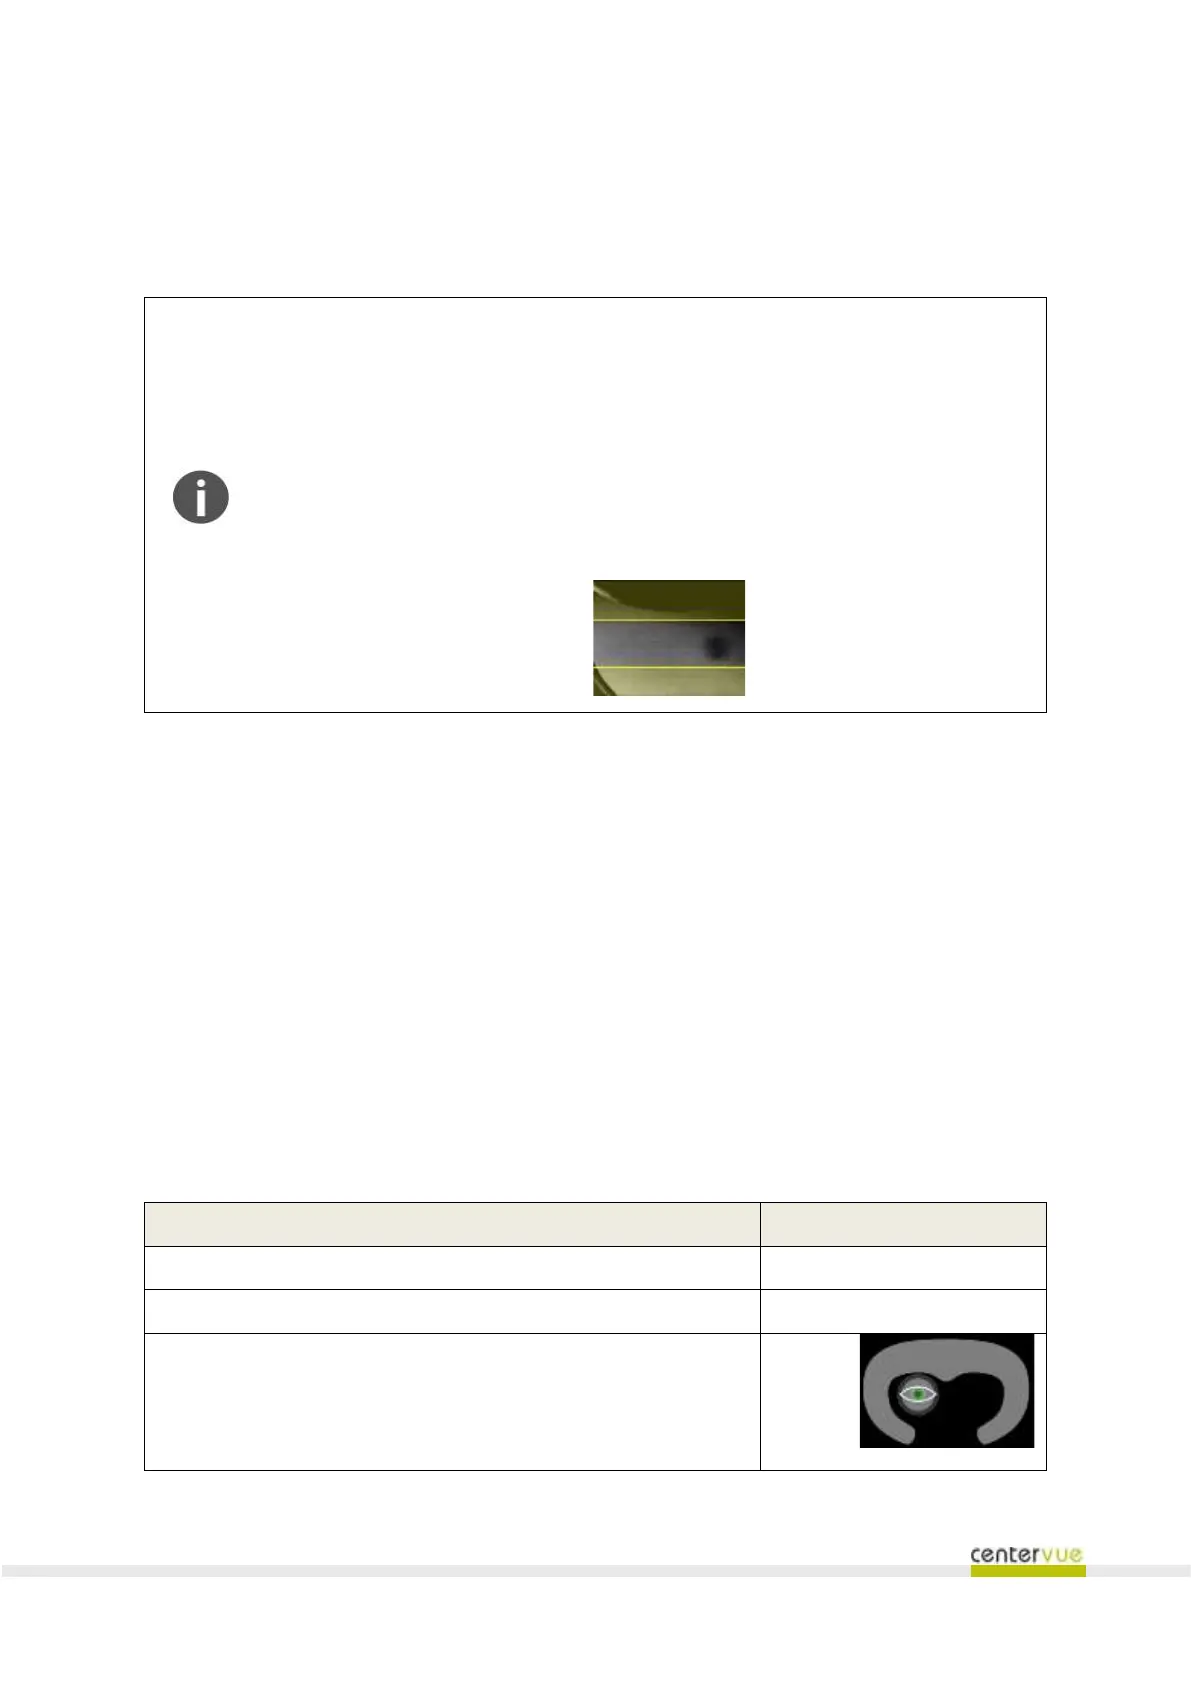
❖ The live view on the left is used to visualize the position of the patient’s pupil
from the frontal lens. To ensure the correctness and speed of image
acquisitions the pupil shall fall in the area delimited by yellow bands.
When the patient is ready and the acquisition is configured, press the START EXAM button to begin
the image acquisition procedure.
9.2 Automatic acquisition of images
drsplus automatically:
a. Aligns the frontal lens toward the patient’s pupil;
b. performs the autofocus of the retina in order to correct spherical errors;
c. flashes the patient’s retina and acquires one or more images according to the number of
selected fields;
d. saves the images in the local storage for a later review.
Information shown during the acquisition process
Exam phase (aligning, focusing, waiting, waiting picture)
The position of the eye, with respect to the headrest