• #1 flat-head screwdriver—Supplied with replacement CPU.
• CPU assembly tool for M6 processors—Supplied with replacement CPU. Can be ordered separately as
Cisco PID UCS-CPUATI-3.
• Heatsink cleaning kit—Supplied with replacement CPU. Can be ordered separately for the front or rear
heatsink:
• Front heatsink kit: UCSX-C-M6-HS-F
• Rear heatsink kit: UCSX-C-M6-HS-R
One cleaning kit can clean up to four CPUs.
• Thermal interface material (TIM)—Syringe supplied with replacement CPU. Use only if you are reusing
your existing heatsink (new heatsinks have pre-applied TIM). Can be ordered separately as Cisco PID
UCS-CPU-TIM=.
One TIM kit covers one CPU.
Removing the CPU and Heatsink
Use the following procedure to remove an installed CPU and heatsink from the blade server. With this
procedure, you will remove the CPU from the motherboard, disassemble individual components, then place
the CPU and heatsink into the fixture that came with the CPU.
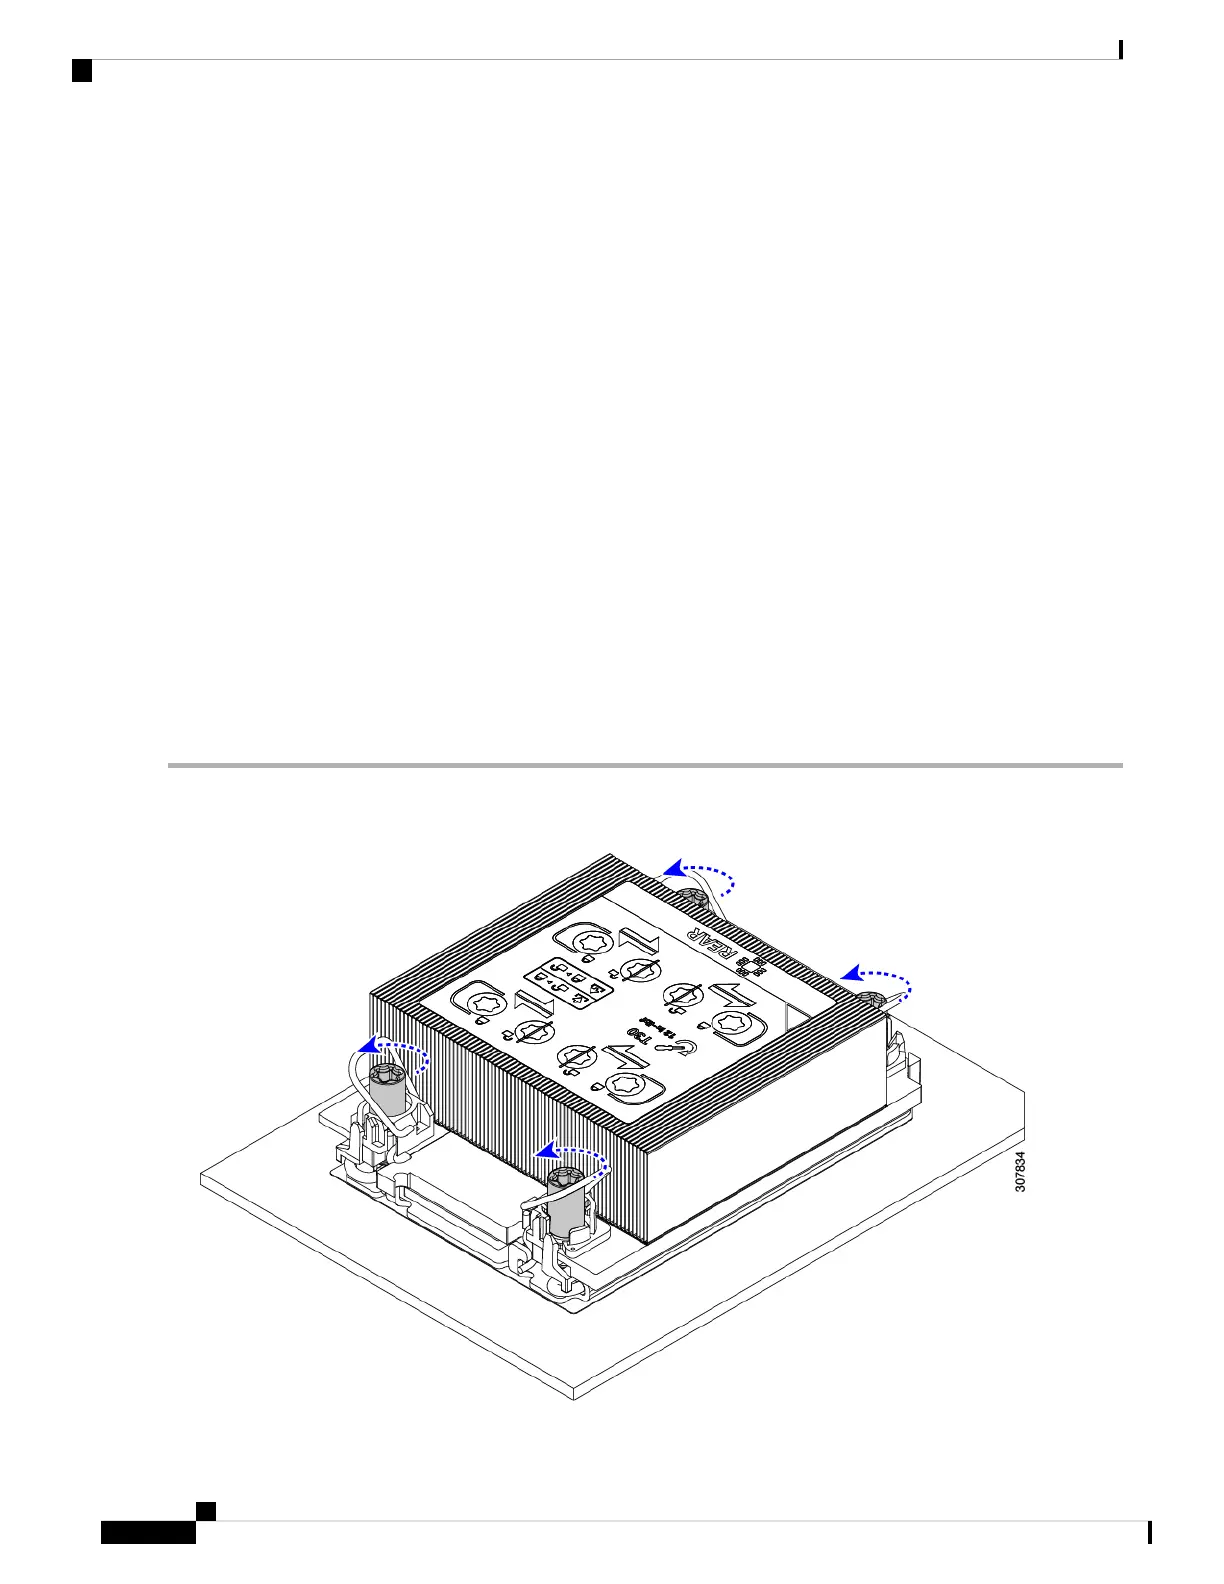
Step 1 Detach the CPU and heatsink (the CPU assembly) from the CPU socket.
a) Using the T30 Torx driver, loosen all the securing nuts in a diagonal pattern, you can start at any nut.
Cisco UCS X210c M6 Compute Node Installation and Service Note
36
Servicing a Compute Node
Removing the CPU and Heatsink
 Loading...