Home
Clevo
Laptop
Notebook
Page 9 (Power Cord and Battery Handling)
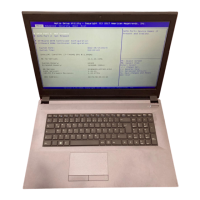
Clevo Notebook - Power Cord and Battery Handling
151 pages
Manual
Save Page as PDF
To Next Page
To Next Page
To Previous Page
To Previous Page
Loading...
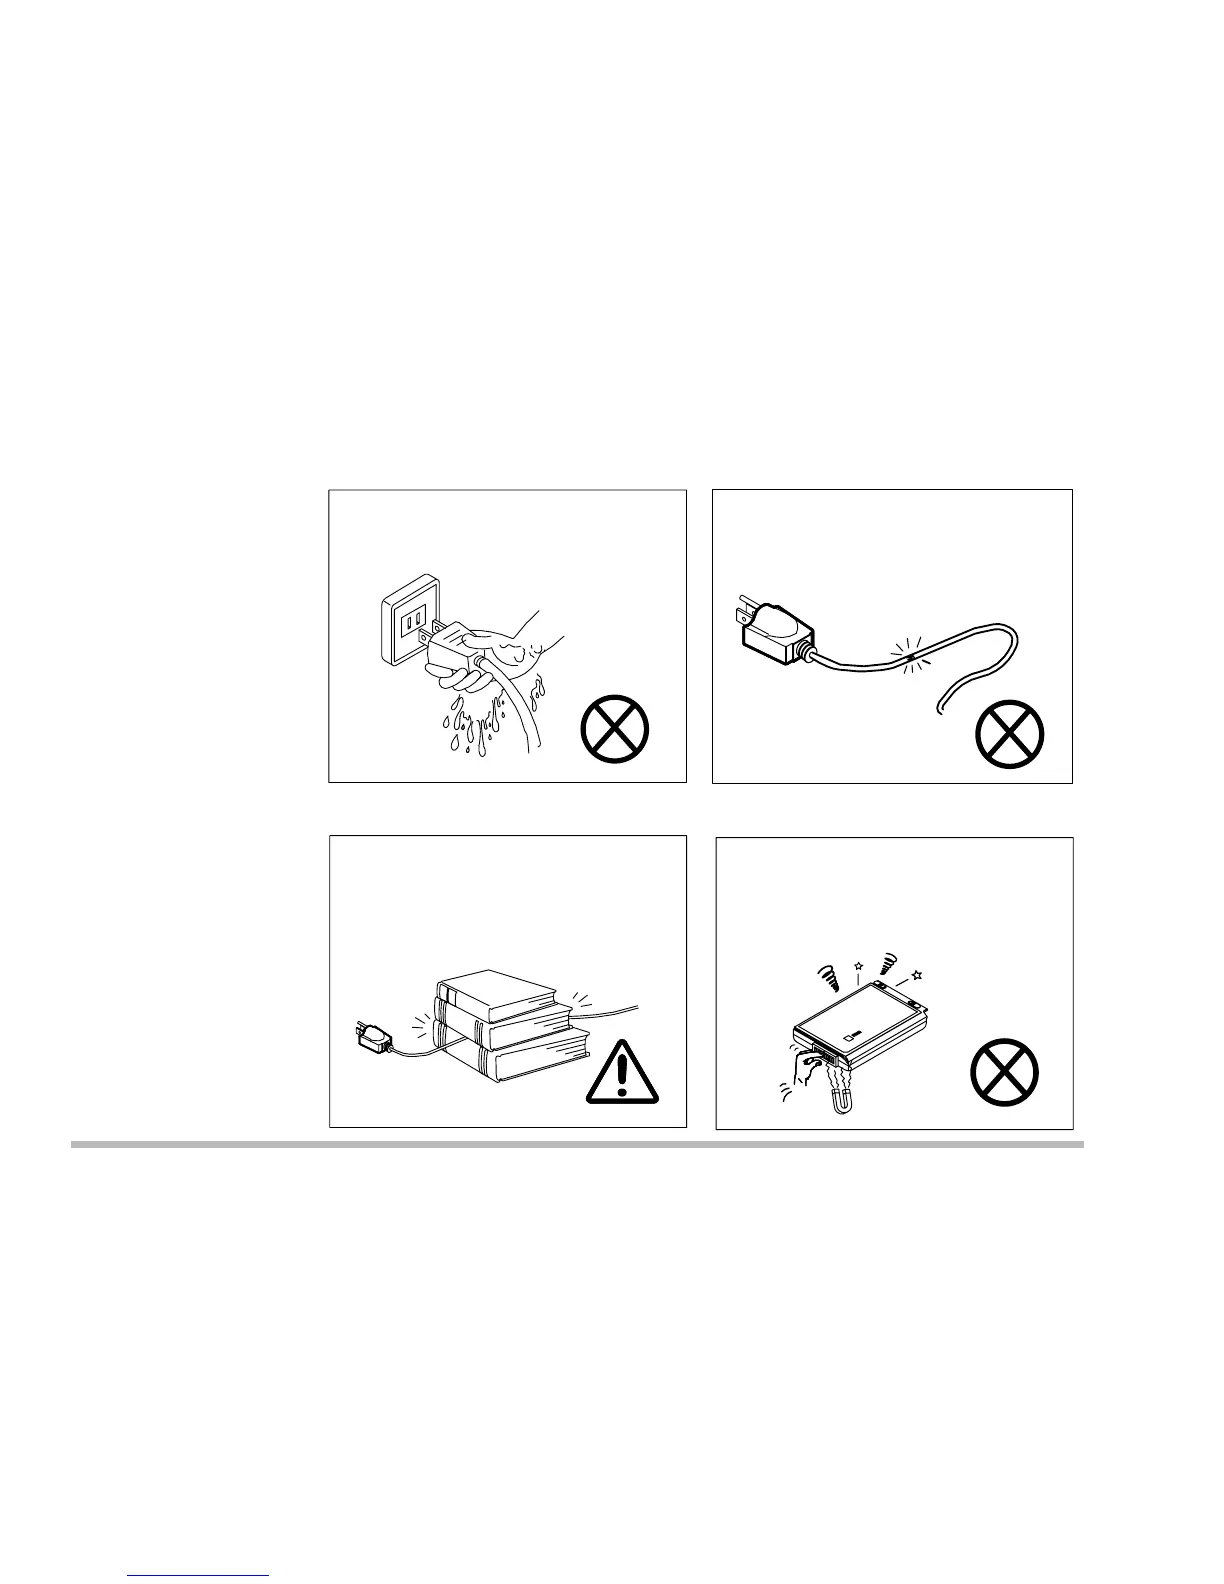
Handling of the Power Cord & Battery
Do not plug in the power cord if you
are wet.
Do not use the power cord if it is
broken.
Do not place heavy objects on the
power cord.
Do not touch the battery contacts
with your hands or any metal
objects.
8
10
Table of Contents
Main Page
Default Chapter
14
Table of Contents
14
Chapter 1. Getting to Know Your Computer
22
Checking the Items
23
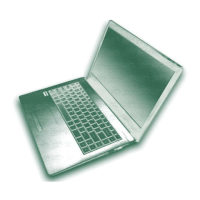
Top View with LCD Display Closed
24
Top View with Display Open
25
LCD Display
26
Microphone
26
LED Status Indicators
26
Three Hot-Key Buttons
26
Power Button
26
Keyboard
27
Stereo Speakers
27
Trackpad and Buttons
27
LED Power Indicators
27
Right Side View
28
5.25" CD-ROM or DVD-ROM Drive
28
Vent
28
Security Slot
28
Attaching a Security Lock
29
Rear View
30
DC-In Jack
30
PS/2 Type Port
30
Parallel Port
30
Vent
31
External Monitor (CRT) Port
31
Dual USB Ports
31
TV out
31
Ieee 1394
32
LAN Jack/Phone Jack
32
Left Side View
33
Microphone-In Jack
33
Speaker-Out Jack
33
Audio Volume Control
34
PC Card Slot
34
Infrared Port
34
FDD (Floppy Disk Drive)
34
Bottom View
35
RAM Cover
35
Battery Pack Cover
35
Peripheral Devices
36
Chapter 2. Using the Computer
40
The Power Sources
41
AC Power Adapter
41
Battery
42
Recharging by AC Power
43
Proper Handling of the Battery Pack
43
Turning on the Computer
44
LED Indicators
44
LED Power Indicators
45
LED Status Indicators
46
The Hard Disk Drive (HDD)
47
Removing the HDD
47
Inserting the HDD
49
The Floppy Disk Drive (FDD)
50
Inserting \ Removing Diskettes
50
The CD-ROM/DVD-ROM
51
Loading Compact Discs
51
Handling Cds or Dvds
52
The PC Card Slot
53
Inserting PC Cards
53
Removing PC Cards
53
PC Card Problem in Windows 98
54
Hot Keys
55
Three Hot-Key Buttons
55
Programming the Hot Keys
56
Function Keys
57
The Numeric Keypad
58
Chapter 3. Power and Battery Information
60
Power Management
60
Advanced Configuration and Power Interface (ACPI)
60
Advanced Power Management (APM 1.2)
60
Conserving Power through Individual Components
61
Conserving Power Throughout the Whole System
61
Suspend and Resume
61
Setting the Power Management Functions
63
Creating a Partition on Your Hard Drive
64
Battery Information
65
Removing the Battery
67
Chapter 4. Upgrading the Computer
68
Replacing the HDD
69
Upgrading the Memory
71
A: Removing a Memory Module
72
B: Installing a Memory Module
74
C: Setting the SW6 Jumper Switch
75
Upgrading the Processor
77
Chapter 5. BIOS Utilities
78
Power on Self Test (POST)
79
POST Message: Normal Operation
79
POST Message: Error Detected
80
System Configuration Utility
81
Information in the System Configuration Utility (SCU)
81
Initiating the System Configuration Utility
82
Working with the Menu Bar
83
System Configuration Utility Options
85
Startup Menu
85
Memory Menu
88
Disks Menu
89
Components Menu
90
Power Menu
93
Exit Menu
95
SCU Screen Samples
96
Startup Screen
96
Memory Screen
96
Disks Screen
97
Components Screen
97
Power Screen
98
Exit Screen
98
Chapter 6. Driver and os Installation
100
Before Installing Windows os
101
Installing Windows 98 SE (for Reference Only)
102
Installing Windows Me (for Reference Only)
103
Installing Windows 2000 (for Reference Only)
104
Installing Drivers in Windows 98 SE
106
Step 1: Installing the VGA Driver
106
Step 2: Installing the Audio Driver
106
Step 3: Installing the Hot Key Driver
107
Step 4: Installing the LAN Driver
108
Step 5: Installing the PCMCIA Driver (Optional)
108
Step 6: Installing the Modem Driver (Optional)
109
Installing Drivers in Windows Me
111
Step 1: Installing the VGA Driver
111
Step 2: Installing the Audio Driver
111
Step 3: Installing the Hot Key Driver
112
Step 4: Installing the LAN Driver
113
Step 5: Installing the Modem Driver (Optional)
113
Installing Drivers in Windows 2000
115
Step 1: Installing the Siside Utility
115
Step 2: Installing the VGA Driver
115
Step 3: Installing the Audio Driver
116
Step 4: Installing the Hot Key Driver
116
Step 5: Installing the LAN Driver
116
Step 6: Installing the Modem Driver (Optional)
117
Installing Drivers in Windows NT4.0
119
Step 1: Installing the VGA Driver
119
Step 2: Installing the Audio Driver
119
Step 3: Installing the Hot Key Driver
120
Step 4: Installing the LAN Driver
120
Step 5: Installing the Modem Driver (Optional)
121
Chapter 7. Troubleshooting
124
Audio
125
Battery
125
Boot Password
127
Floppy Disk Drive (FDD)
129
Hard Disk Drive (HDD)
130
Hardware Installation
130
LCD Panel
131
Microphone In-Jack
131
Memory Module
132
PC Card
133
Power
133
Printer
134
Appendix A. Specifications
136
Glossary
142
Related product manuals
Clevo NP50DB
106 pages
Clevo NJ70CU
100 pages
Clevo N150RD
116 pages
Clevo N240WU
92 pages
Clevo N150ZU
100 pages
Clevo NP50DE
106 pages
Clevo N870HZ
108 pages
Clevo N240JU
92 pages
Clevo NL40CU
144 pages
Clevo N550RN
106 pages
Clevo N170SD
110 pages
Clevo NP70HH
112 pages