e-mark create marking device Chapter 5 Operation
CODI Standard 1.0 30/60
Operating and Maintenance Manual
Fig. 17: Remove e-mark create from the docking station
3. Remove the e-mark create from the docking station (Fig. 18).
4. An automatic self-cleaning process starts when removed from the docking station (see chapter 5.4). Then
place the e-mark create on the surface to be printed.
5. Printing can be done from right to left or from left to right.
6. The e-mark create automatically detects the direction of movement (indicated by a white LED to the right or
left) and starts printing. A signal sounds when printing is complete (end position reached).
Use the e-mark create for printing as follows:
1. Position the e-mark create with the lugs on the left edge of the selected printing area. The recesses in the
lugs indicate the middle of the printing area.
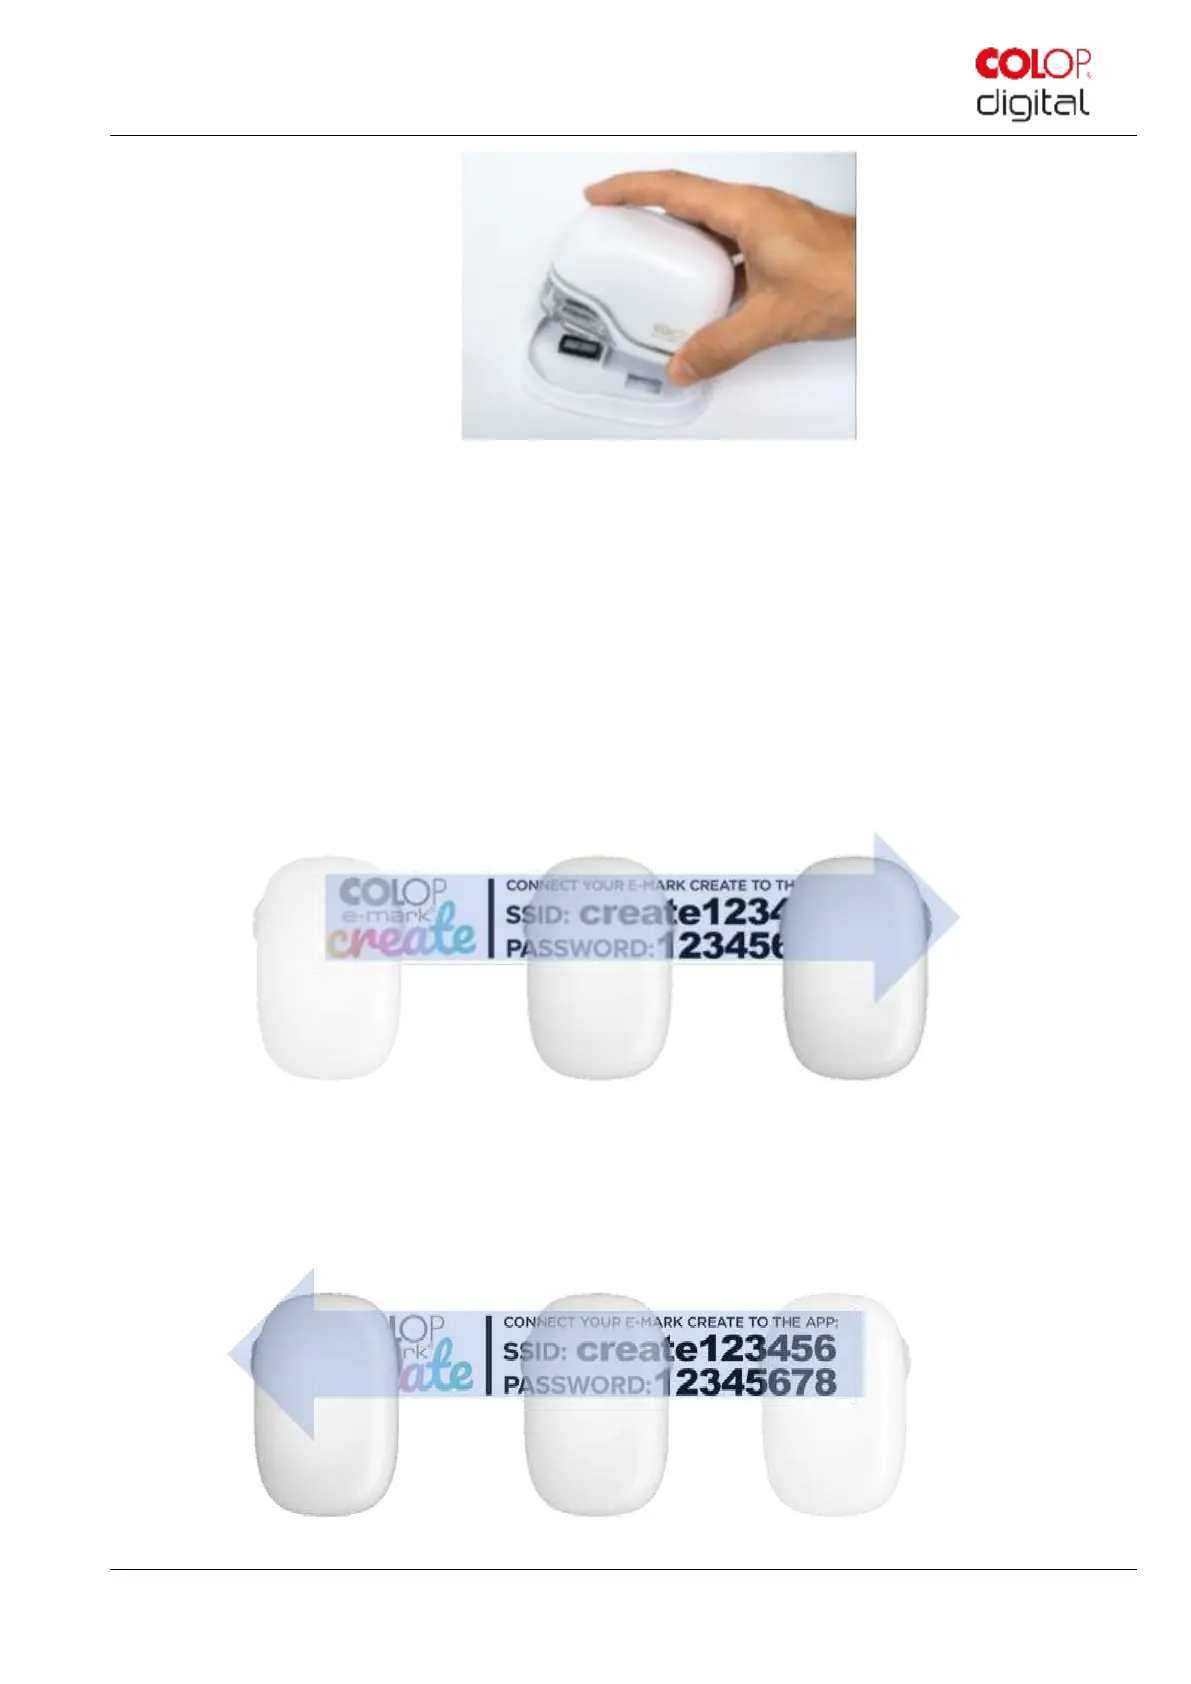
Fig. 18: Printing from left to right
2. Move the e-mark create slowly and in a straight line from left to right over the surface (Fig. 19). Optimum
printing speed is 10 cm per second.
3. Position the e-mark create on the right edge.
Fig. 19: Printing from right to left