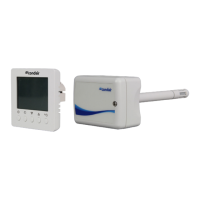
138 Condair APS and APS-NA
11.4 Mounting location
Mount the Condair APS or APS-NA close to the or the pressure measurement connectors in a protected
and easy accessible place on the wall. Observe the following placement note:
– Do not place the Condair APS or APS-NA near heat sources, within the area with direct air draft or
direct sunlight.
11.5 Installation
1. Mount the mounting ring to the desired location on the wall with four screws (see dimensional draw-
ing).
2. Snap the Condair APS or APS-NA into the mounting ring with the snap ring.
3. Loosen the snap-on cover of the Condair APS or APS-NA and remove the cover.
4. Lead connecting cable through the cable gland into the housing and connect wires to the terminals
according to the wiring diagram. .
5. Carefully attach the snap-on cover to the mounting plate.
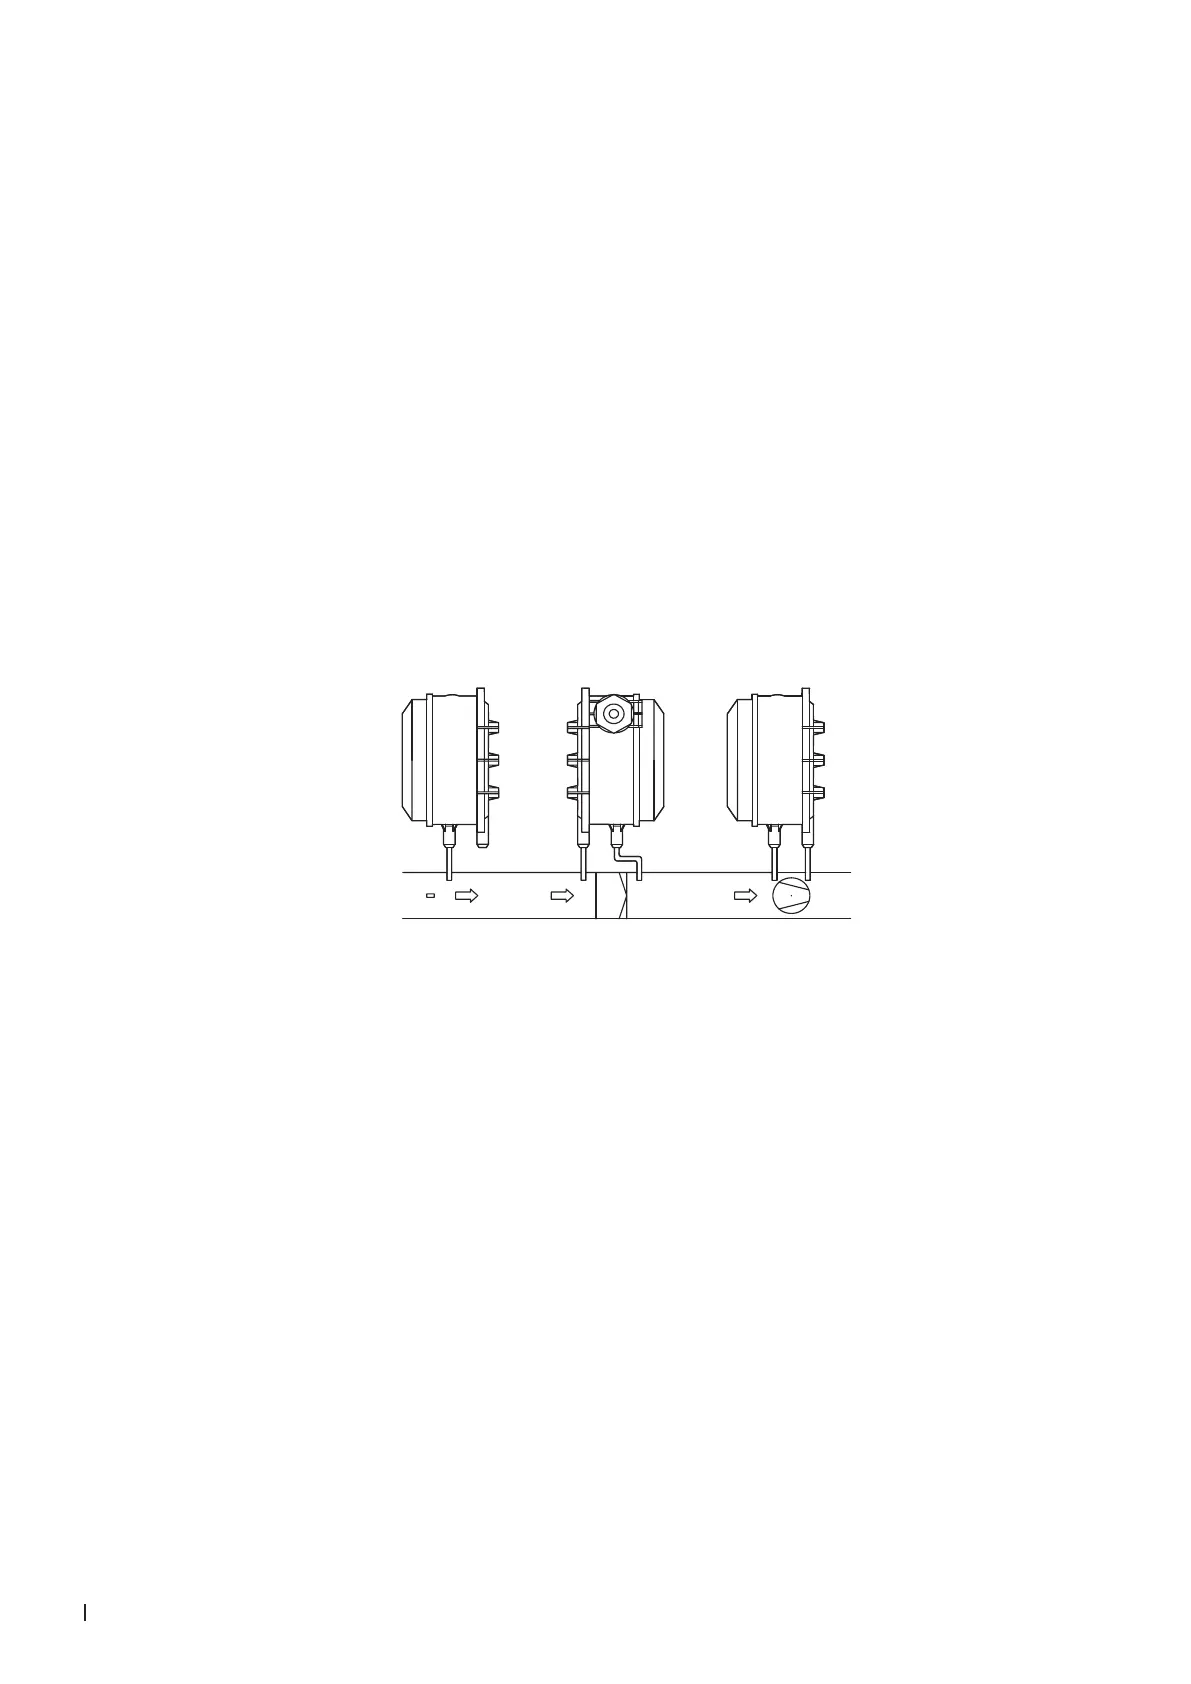
6. Connect the measurement connection or measurement connections in the duct to the Condair APS or
APS-NA using the hose supplied in accordance with the desired monitoring type (see gure below).
+
P1
+
P1
+
P1
–
P2
–
P2
–
P2
(A) (B) (C)
Monitoring types:
(A) Negative pressure:
P1 (+) is not connected, is open to the atmosphere on the air side
P2 (–) Connection in the duct
(B) Filter:
P1 (+) Connection before the lter
P2 (–) Connection after the lter
(C) Fan:
P1 (+) Connection after the fan
P2 (–) Connection before the fan
Note: The pressure connections are marked on the differential pressure switch with "P1 (+)" higher
pressure and "P2 (-)" lower pressure.