34 • HD-MD4X2-4KZ-E and HD-MD4X1-4KZ-E Web Interface Configuration Guide — Doc. 8907B
Configure Priority Routing
NOTE: For Priority Routing to work, make sure that Auto Routing is enabled.
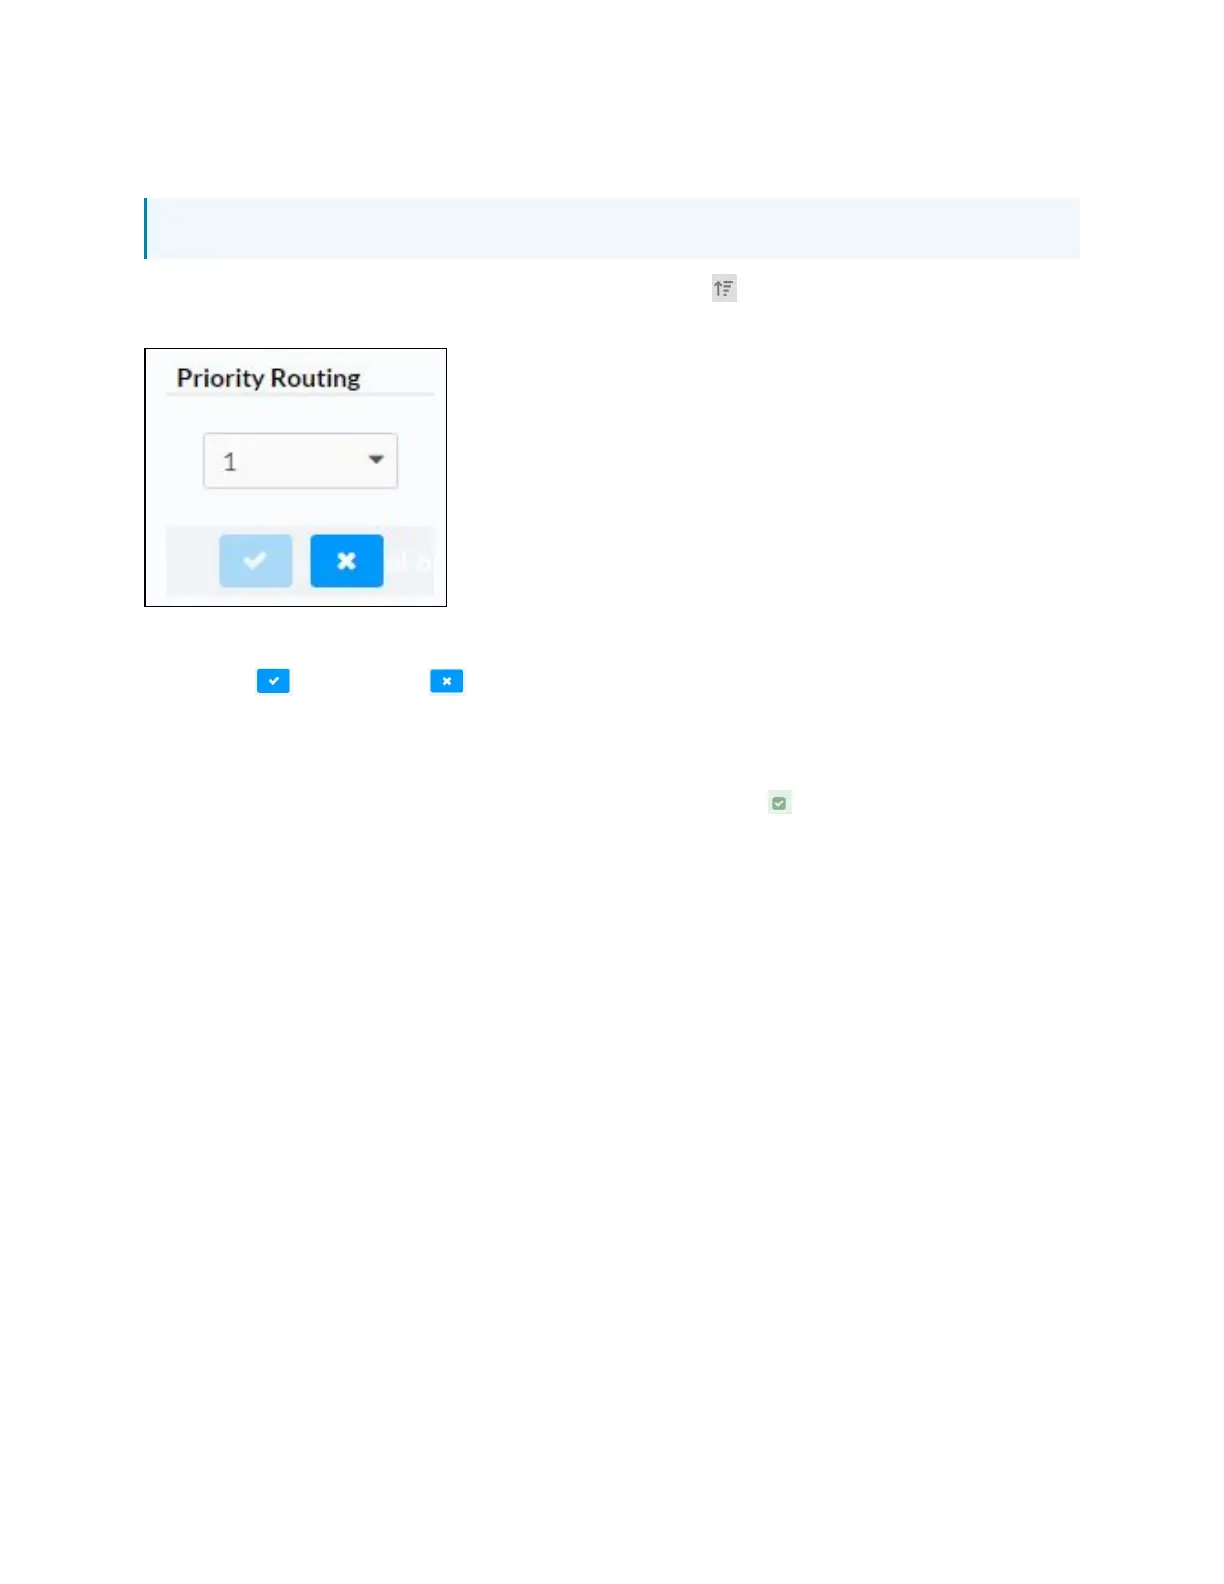
To configure priority routing, click the priority routing icon ( ). The Priority Routing dialog
appears.
1. Select the priority level from the Priority drop-down menu.
2.
Click to save. Click to cancel the changes.
Route a Single Input to all the Outputs
1.
To route a single input to all the outputs, click on the Input icon. The Select For All
Outputs dialog appears.
2. Click OK.
3. Click Save Changes to save the changes.
Manually Route a Local Input to the Output
1. To manually route a local input to the output, click the output box next to the name of the
corresponding input. The input is routed to the output.
2. Click Save Changes to save the changes.
3. Click Revert to revert to the previous settings without saving.