Installing an Optional Tray 2
You can increase the paper handling capacity of your printer by installing an optional tray 2. This tray holds 250 sheets of paper.
1. Power the printer off and unplug all cables from the printer.
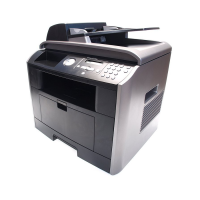
2. Remove the packing tape and the tape fastening the optional tray 2 cable from the bottom of the optional tray 2.
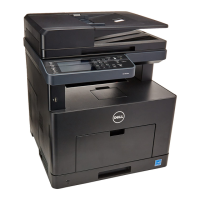
3. Find the location of the connector and the optional tray positioners.
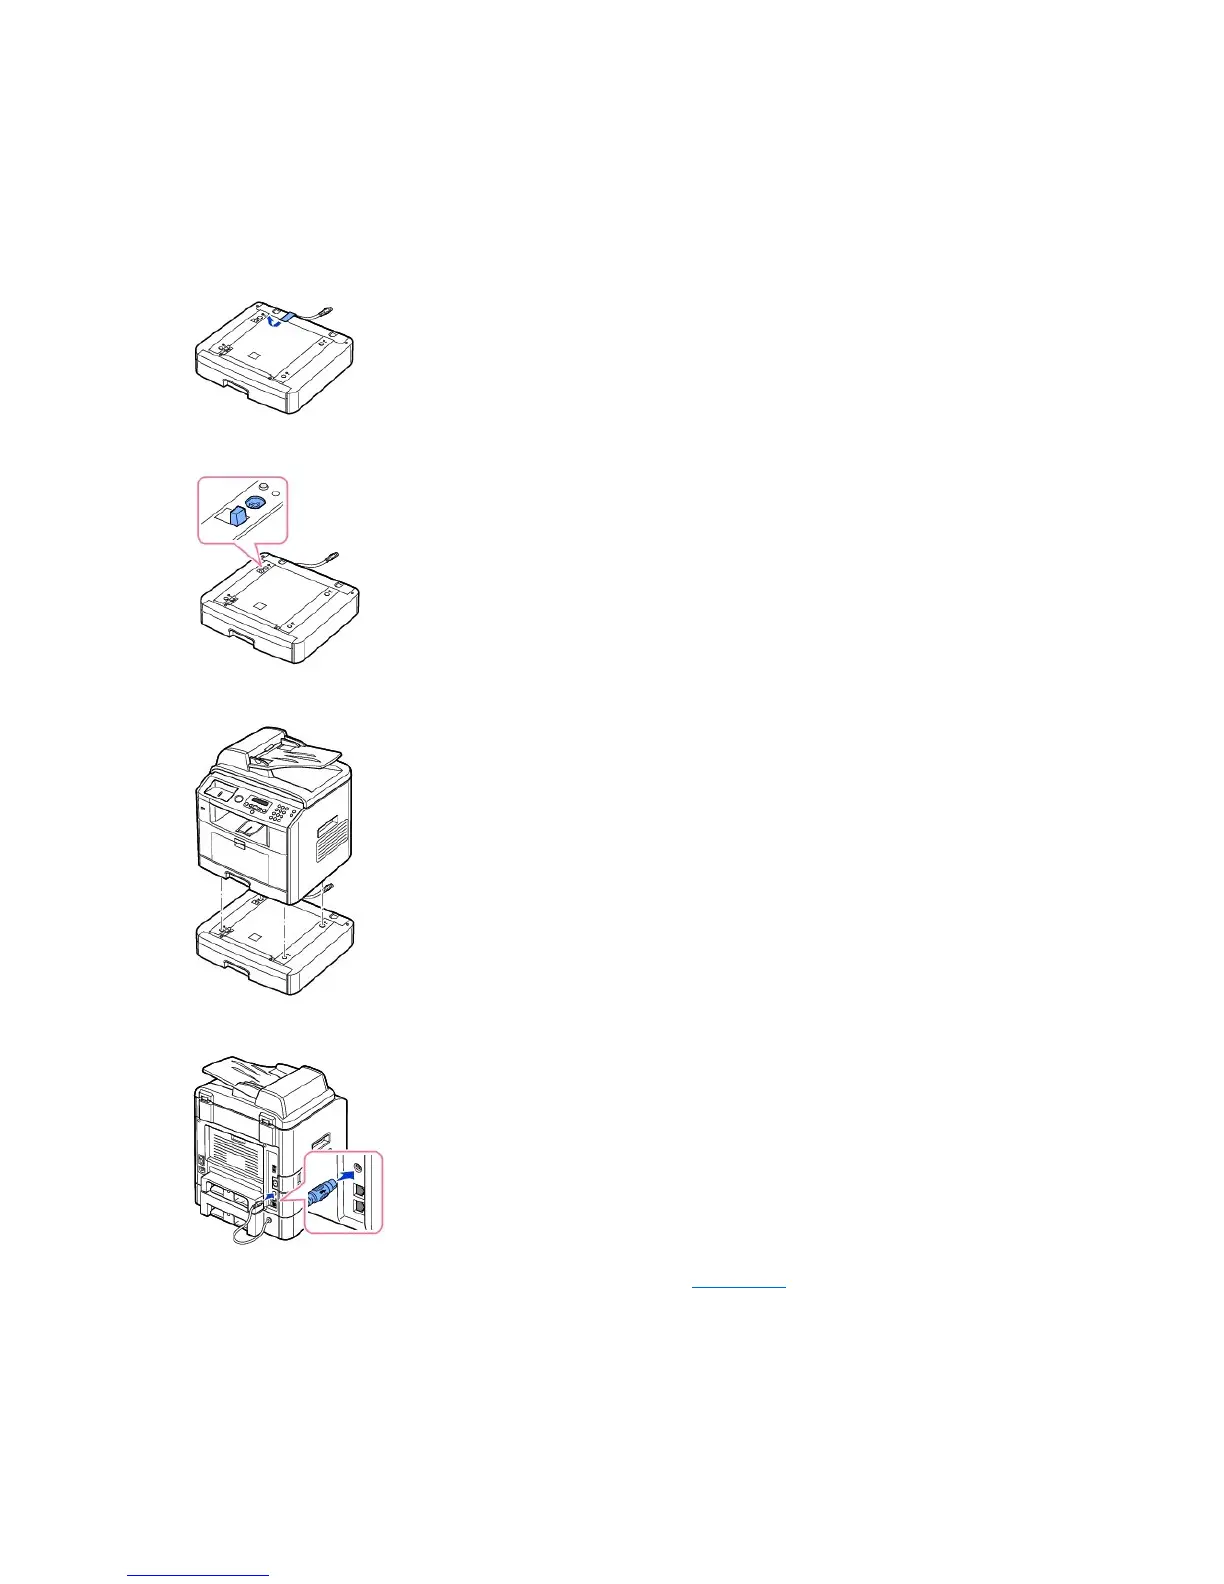
4. Place the printer over the tray, aligning the feet on the printer with the positioners in the optional tray 2.
5. Connect the cable into the connector on the back of the printer.
6. Load paper in the optional tray 2. For information about loading paper in this tray, see "Loading Paper".
7. Reconnect the power cord and cables and then power the printer on.
When you print a document on paper loaded in the optional tray 2, you must configure the properties of the printer driver.