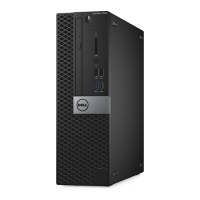
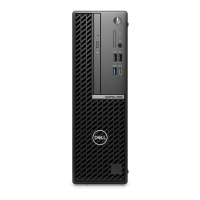
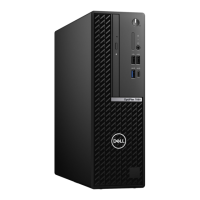
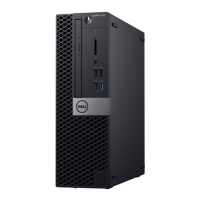
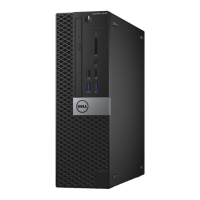
Figure 65. Removing the system board
Steps
1. Remove the screw (#6-32) that secures the front I/O bracket to the chassis.
2. Rotate and remove the front I/O-bracket from the chassis.
3. Disconnect the hard-drive data cable from its connector (SATA-0) on the system board.
4. Remove the hard-drive data cable from its routing guides and keep it away.
5. Remove the two screws (#6-32) that secures the bay-support bracket to the chassis and system board.
6. Lift and remove the bay-support bracket off the chassis.
Removing and installing Field Replaceable Units (FRUs)
109
 Loading...


