2. Gently slide the optical drive out of the disk-drive cage.
3. Pry the slim optical-drive bracket to release it from the slot on the slim optical drive.
4. Remove the slim optical-drive bracket from the slim optical drive.
Installing the optical drive
Prerequisites
If you are replacing a component, remove the existing component before performing the installation procedure.
About this task
NOTE: The optical drive is located within the disk-drive cage. Follow the below-mentioned procedure on the disk-drive
cage to remove or install the optical drive.
The following images indicate the location of the optical drive and provide a visual representation of the installation procedure.
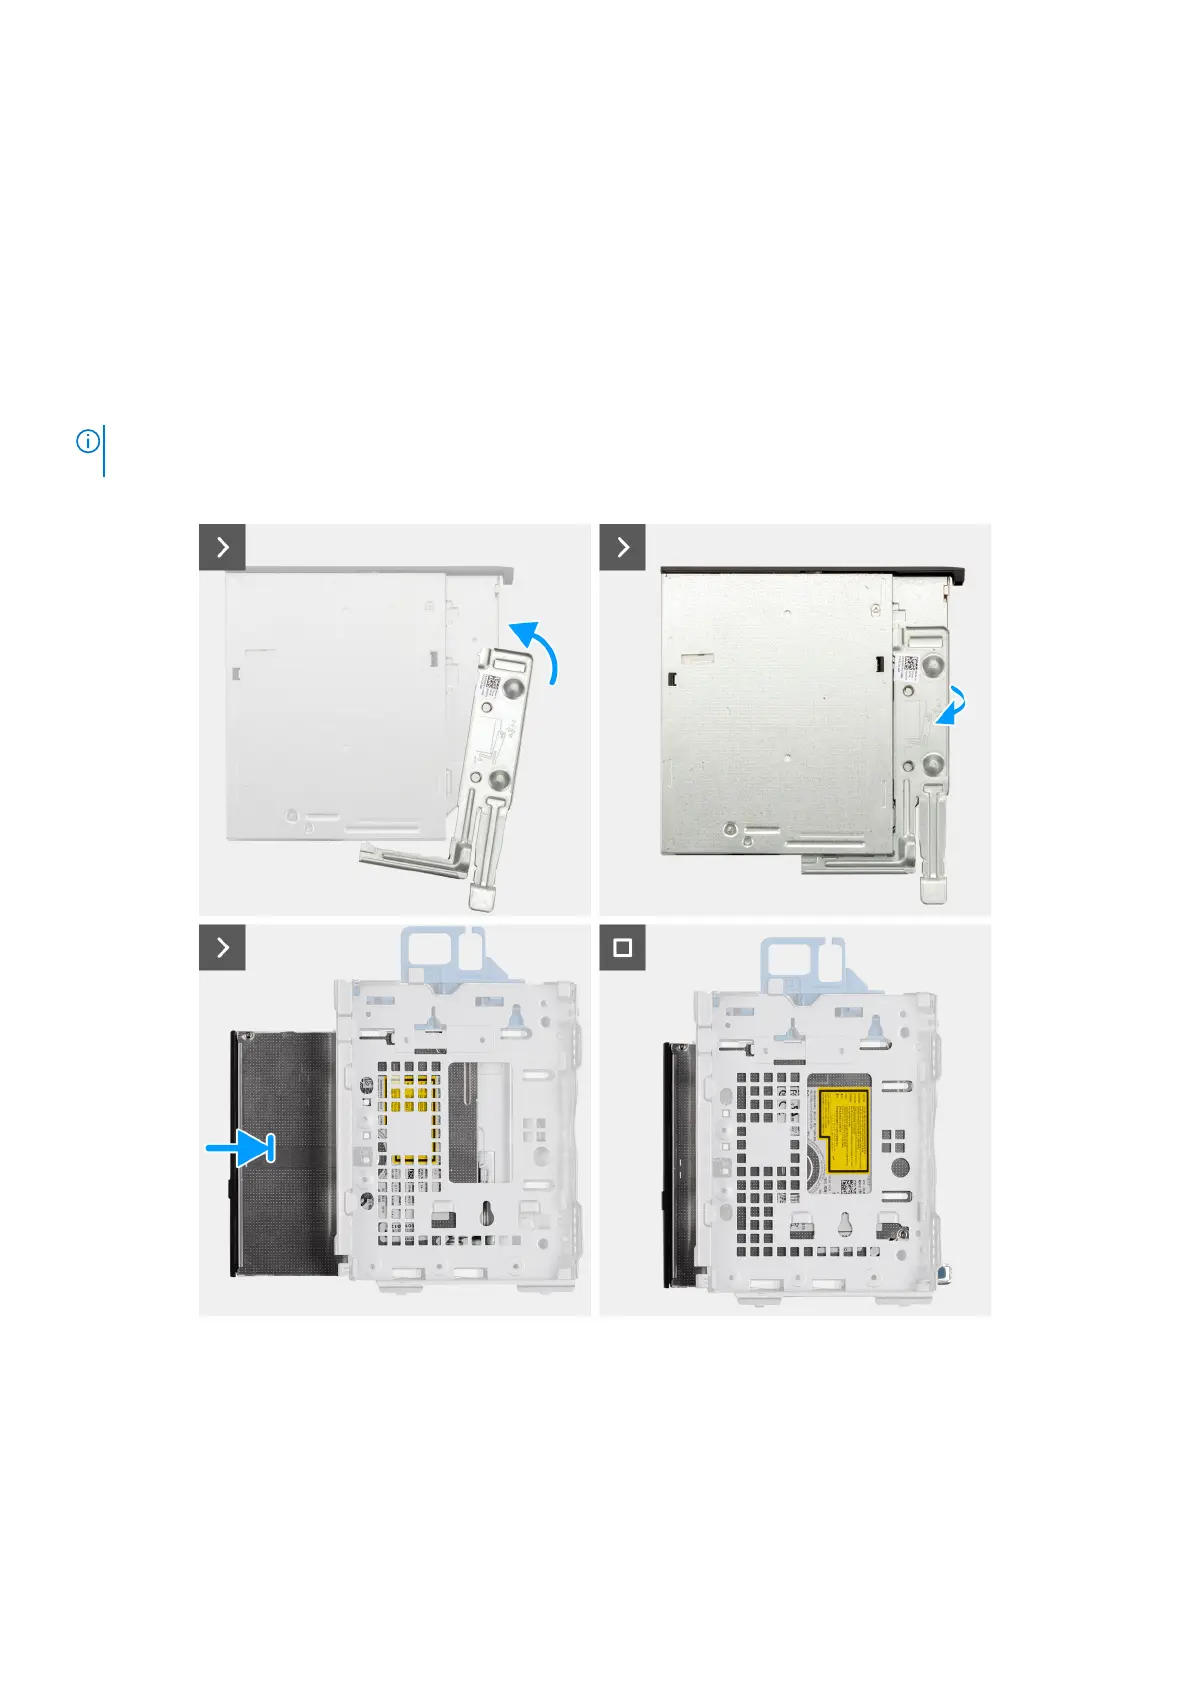
Figure 14. Installing the optical drive
Steps
1. Insert the alignment pins on the slim optical-drive bracket in the slots on the optical drive.
2. Snap the slim optical-drive bracket in the slim optical drive.
3. Slide the optical drive into the disk-drive cage until it snaps into place.
52
Removing and installing Customer Replaceable Units (CRUs)