Wait until all connections have been completed before connecting the
power cord.
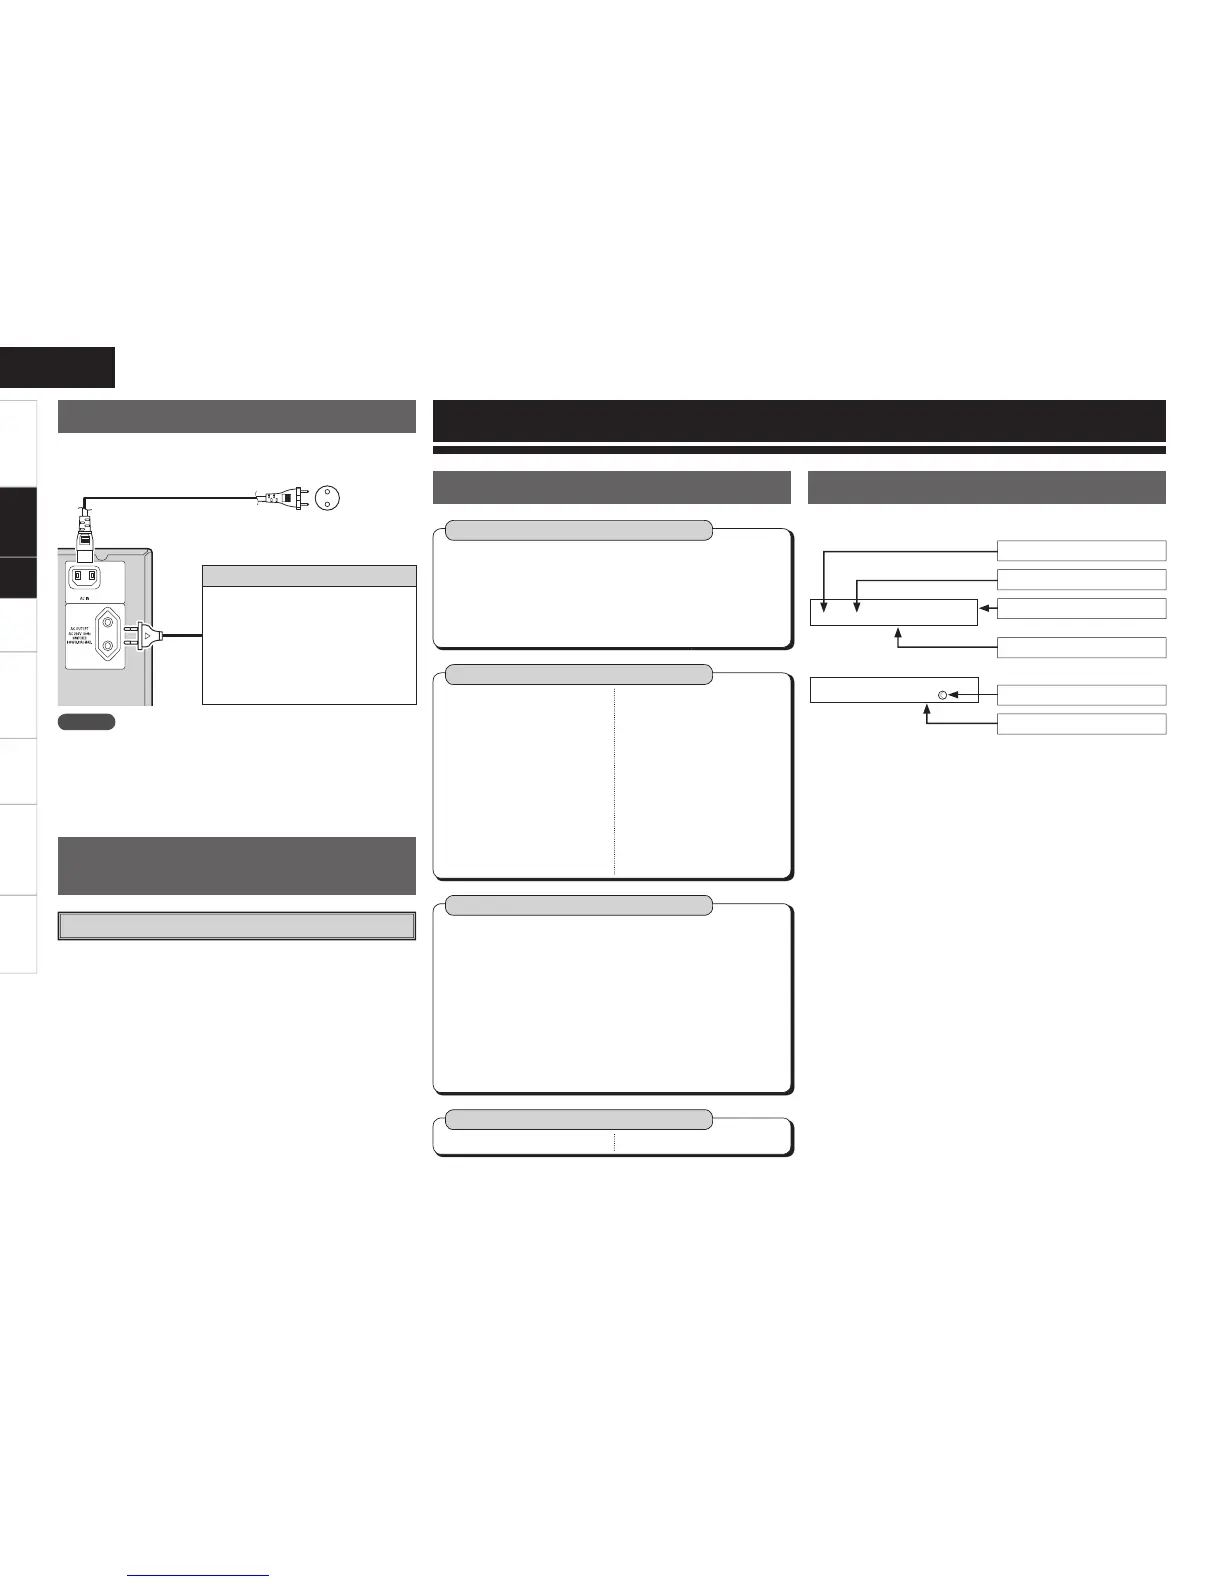
Connecting the Power Cord
NOTE
• Insert the AC plugs securely. Incomplete connections could cause
noise.
• Only use the AC outlet to plug in audio equipment. Do not use
them as power supplies for hairdryers or anything other than audio
equipment.
To household
power outlet
(AC 230 V, 50 Hz)
Power cord
(supplied)
Turning the Power On
(vpage 30)
Once Connections are
Completed
Getting Started Connections Setup Playback Remote Control Multi-Zone Troubleshooting Specifi cations
Connection to the AC outlet
• This outlet supply power to external
audio equipment.
• The power supplied from this outlet
turns on and off together with the set’s
power switch.
• Audio equipment with a total power
consumption of 100 W (0.43 A) can be
connected.
Auto Setup (vpage 15 ~ 17)
n Auto Setup
• Step 1: Speaker Detection
• Step 2: Measurement
• Step 3: Calculation
• Step 4: Check
• Step 5: Store
System Setup (vpage 18 ~ 23)
n Speaker Setup (vpage 19, 20)
• Speaker Confi guration
• Subwoofer Mode Setup
• Distance
• Crossover Frequency
• Test Tone
• Restore
n Input Setup (vpage 21, 22)
• HDMI In Assign
• Digital In Assign
• iPod Assign
• Audio Delay
• EXT. IN Subwoofer Level
• Auto Preset Memory
n Option Setup
(vpage 22, 23)
• Volume Control
· Volume Limit
· Power On Level
· Mute Level
• Auto Surround Mode
• Direct Mode Setup
• Remote ID Setup
b When the setup microphone is connected.
Parameter (vpage 25 ~ 29)
n Surround Parameter
• Mode
• Cinema EQ
• D. Comp
• LFE
• Center Image
• Panorama
• Dimension
• Center Width
• Delay Time
• Effect Level
• Room Size
• SW ATT
• Subwoofer
• Tone Control
• Bass
• Treble
• MultEQ
• Dynamic EQ
• Dynamic Volume
• DV Setting
• RESTORER
• Night Mode
• Default
Information (vpage 29)
n Status n Audio Input Signal
Menu Map
Operations
 Loading...