Getting Started Connections Settings Playback Remote ControlMulti-zone Information Troubleshooting SpecificationsSettings
Making Detailed Settings (Manual Setup)
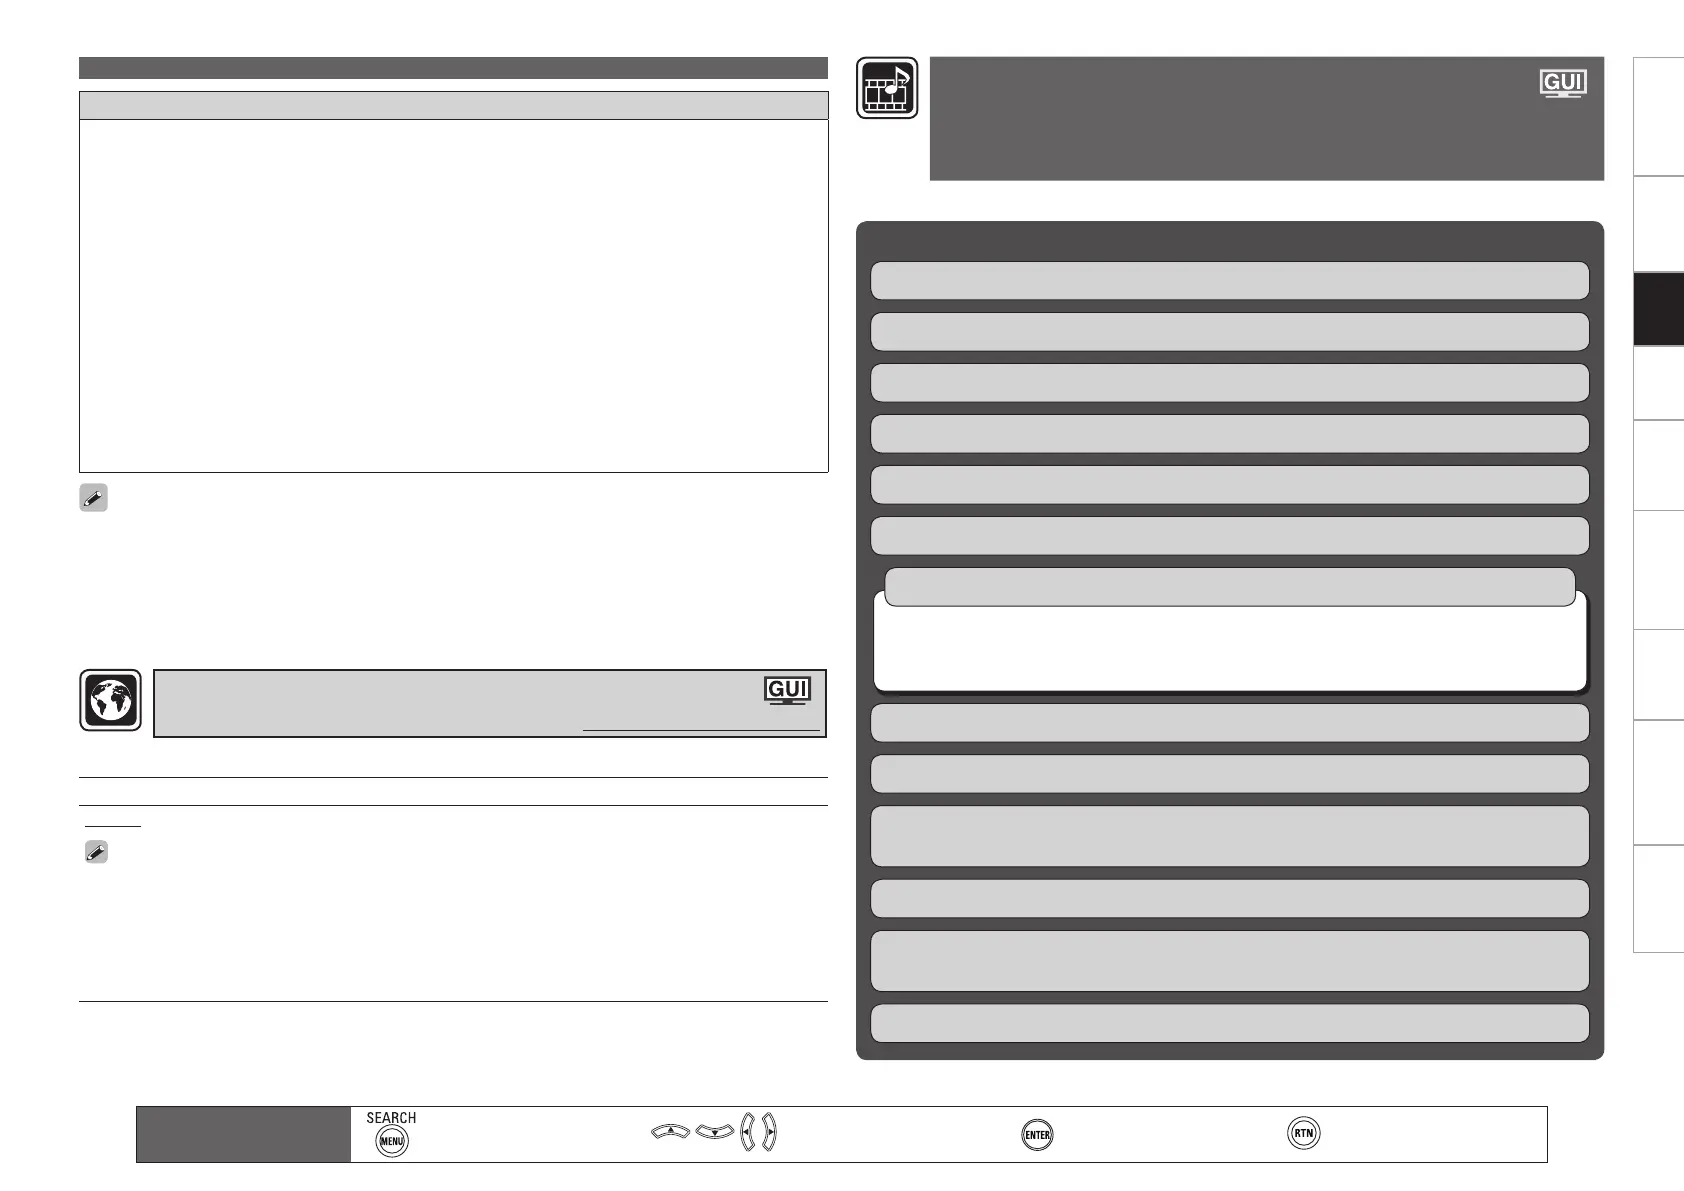
Main remote control unit
operation buttons
:Displaying the menu
Cancel the menu
:Moves the cursor
(Up/Down/Left/Right)
:Confirm the setting :Return to previous menu
Notes concerning use of “Firmware Update” and “Add New Feature”
In order to use these functions, you must have the correct system requirements and settings for a
broadband Internet connection (vpage 26).
Do not turn off the power until updating or upgrating is completed.
Even with a broadband connection to the Internet, approximately 1 hour is required for the updating/
upgrading procedure to be completed.
Once updating/upgrade starts, normal operations on the AVR-4810CI cannot be performed until
updating/upgrading is completed.
Furthermore, updating/upgrading the firmware may reset the backup data for the parameters, etc., set
for the AVR-4810CI.
The following backup data may be erased after an update or upgrade.
•
Internet radio preset channel
•
Internet radio Recently Played data
•
Care of data in Internet radio, media server and USB memory device
In the event of an update error during update or upgrade, turn the AVR-4810CI’s power off and then on
again. “Update retry” appears on the display and update restarts from the point at which update failed.
If the error continues despite this, check the network environment.
•
•
•
•
•
Information regarding the “Firmware Update” function and “Add New Feature” will be announced on
the DENON web site each time related plans are defined.
When usable new firmware is released with “Firmware Update” or “Add New Feature”, a notification
message is displayed on the GUI screen. When you do not want to be notified, set “Update Notification”
(vpage 51) and “Upgrade Notification” (vpage 51) to “OFF”.
•
•
Setting contents
English / Français
The “Language” can also be set by the following procedure. However, the GUI screen is not
displayed.
1. Press and hold the main unit’s DSX and RETURN for at least 3 seconds.
“Video Format” appears on the display.
2. Use ui to set “GUI Language”.
3. Press o p and set the language.
4. Press the main unit’s ENTER, MENU or RETURN to complete the setting.
Set the language for display on the GUI screen.
Making Language Settings (Language)
Default settings are underlined.
Select input source and make playback settings.
Items that can be set with the Source Select proceduren
Changing the Input Terminal Assignments (Input Assign) vpage 58
Making the Video Settings (Video) vpage 60
Changing the Input Mode and Decoding Mode (Input Mode) vpage 61
Changing the Input Source’s Display Name (Rename) vpage 62
Correcting the Input Source’s Playback Level (Source Level) vpage 62
Displaying the Playback Screen for the Different Input Sources (Play) vpage 62
Making the Settings to Play Still Pictures (Still Picture) vpage 63
Automatically Presetting Radio Stations (Auto Preset) vpage 63
Setting Preset Channels so that They are not Displayed When Tuning (Preset Skip)
vpage 63
Giving Names to Preset Stations (Preset Name) vpage 64
iPod (vpage 62)
NET/USB (vpage 62)
Media Server, USB/iPod, Napster and Rhapsody (vpage 63)
n
n
n
Setting the Playback Mode (Playback Mode) vpage 62
Check the XM Radio and SIRIUS Radio Reception Sensitivity (Antenna Aiming)
vpage 64
Setting
SIRIUS
Radio Reception Restrictions (Parental Lock) vpage 65
Making the Input Settings
(Source Select)
For details on how to select, set and cancel settings for each menu, see “GUI Menu
Operation” (vpage 26).
 Loading...