Document No. CO 004844K
12
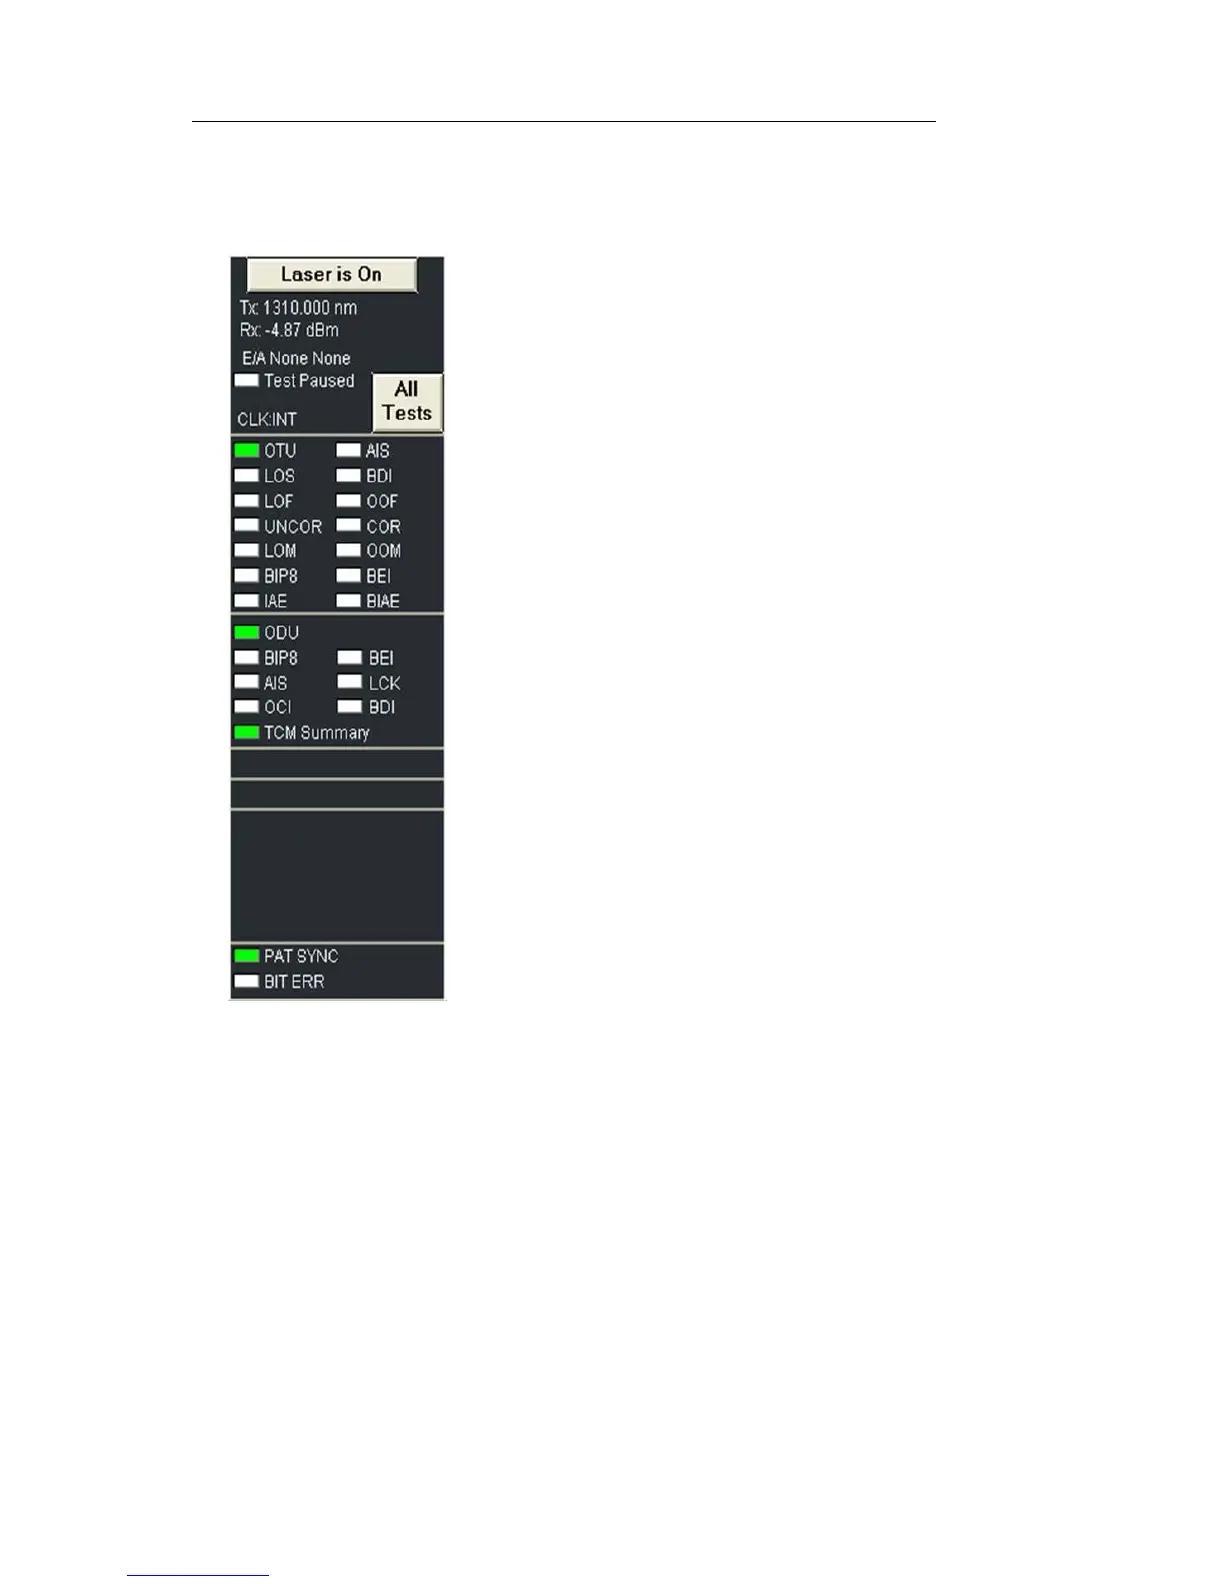
8. Confirm Rx power level is within the NIC’s specifications. Power
level is indicated just below the Laser is On button in the upper left
of the screen.
9.Confirm that no red LEDs are visible in
Alarm and Status indicators.
Note that a red LED indicates a real-time
alarm/error condition. The red text indicates
history, that the condition had existed during
the current test.
10.Press Restart button. The NIC is now running a test.
11.Select Results and Scan. If the test is running error free, you will see
the message “No Errors or Alarms”. For error-rate, select Error. For a
listing of how many seconds each alarm has existed during the cur-
rent test, select Alarm. For a chronological list of all events since the
test started, select Event Log. For a graphical representation of error,
alarm and pointer conditions, select Graphs.
12.To save or print results, see Printing/Saving Results in this Quick
Reference Guide or in the User Guide.
 Loading...