NIC Quick Reference Guide
13
DS1/E1/E3/DS3/E4 Testing Quick Start
The following steps outline the basic procedure for setting up a
Bit Error Rate test on PDH/T-Carrier interfaces at any of the fol-
lowing rates:
• DS1 (1.544Mbps)
• E1 (2.048Mbps)
• E3 (34Mbps)
• DS3 (45Mbps)
• E4 (139Mbps)
This Quick Start guide does not include all testing functions
available. For full information on test setup, see the Online Help
User’s Guide.
Note: This Quick Start assumes that the test set is fully booted
up and that the device or system under test is connected.
1. Select the required rate at the top of the screen.
2. It is a good idea to restore the unit to factory defaults before begin-
ning any test. Select Save/Restore, then select Restore This Test Set
and choose either of the two following options:
Selecting Interface Type
There are essentially two different ways to set up a PDH/T-Car-
rier test, either directly through a DS1, E1, E3, DS3 or E4 inter-
face, or drop/insert to/from a SONET/SDH or OTN rate. The
two different types can be most easily seen by selecting Switch
Matrix at the top of the screen. The following is an example of
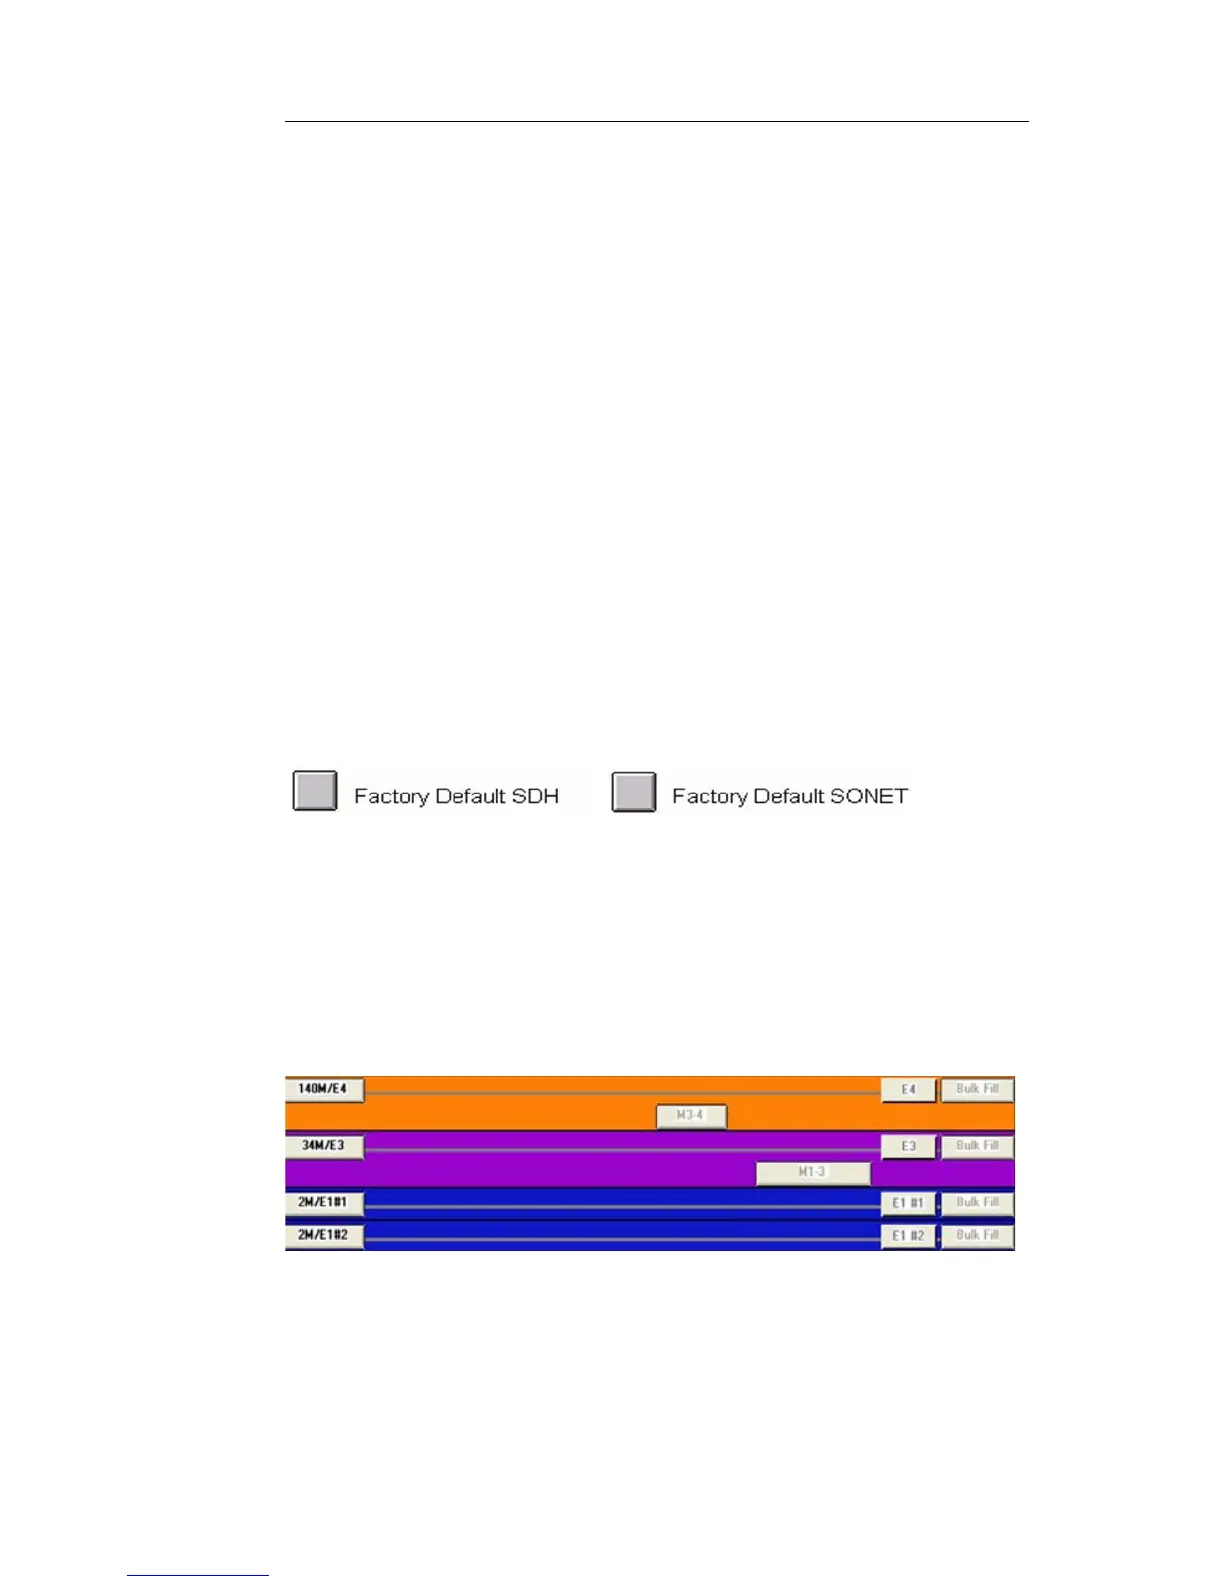
direct connection at the PDH/T-Carrier rates. See figure.
3.
The left side of the screen represents the physical interfaces. The
right side of the screen is mapping down to the pattern genera-
tors and receivers.
The following is an example of a drop/insert configuration, with
STM-1 physical interface mapped down to E1. See figure.
 Loading...