NIC Quick Reference Guide
55
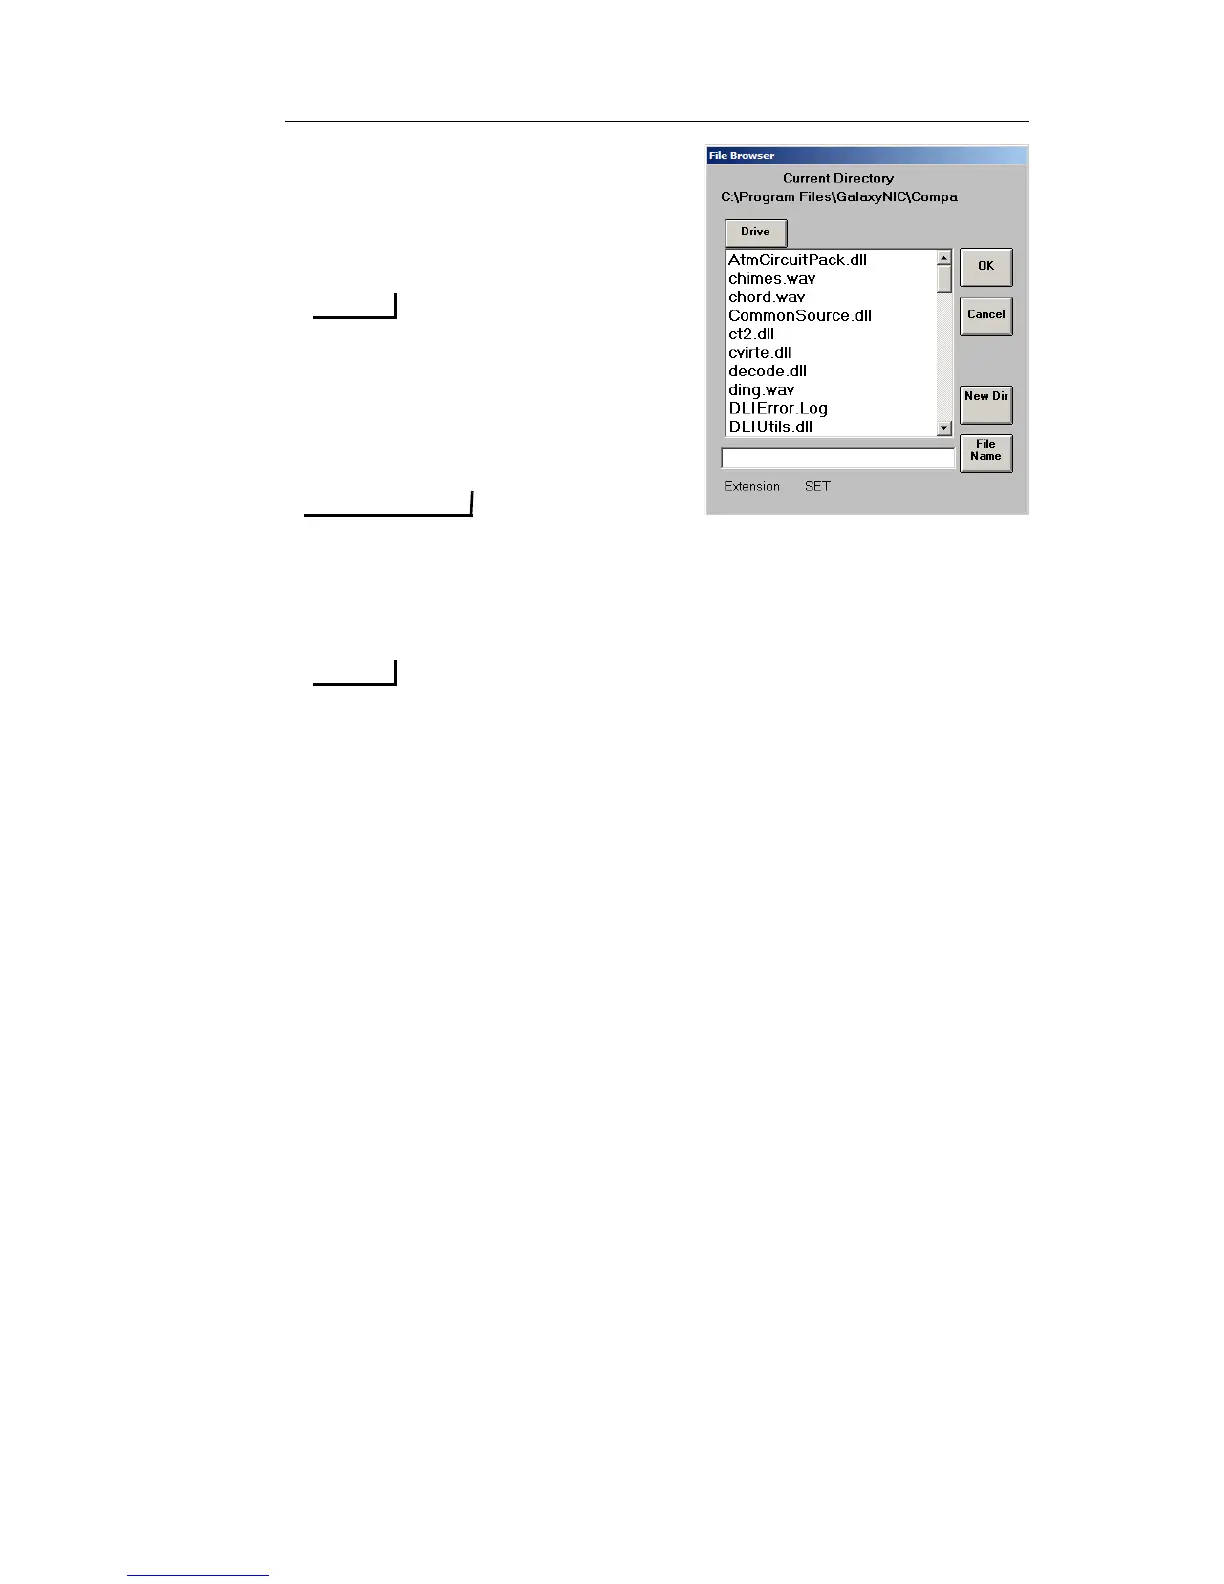
9. Select File Name, and using the
Key board screen that appears,
enter the File Name of your
choosing.
File names should be limited to 8
characters, without any spaces.
The File Extension will
automatically be entered, based
on the report type selected.
If you click OK in the File
Browser dialog box WITHOUT ENTERING A FILE NAME,
the File Browser dialog box will go away and your REPORT
WILL NOT BE SAVED.
It is important to note that, in addition to naming a report file that
is being printed and saved, the File Browser dialog box also
provides capabilities for you to do the following: (a.) you can
select existing files to be overwritten (use caution when
overwriting existing files); (b.) you can navigate upward or
downward (the highest level is FTP\APPL\) to a different
directory on the NIC for saving your report print file; (c.) you can
create a new directory (in FTP\APPL\ or lower) for saving your
report print file; or (d.) you can use the Drive button to navigate to
a USB card for saving your report print file.
Printing a Displayed NIC Screen Capture
The Screen Capture function allows you to print a screen that is
currently displayed on a NIC unit using the test set’s touch screen. This
function captures the screen image and converts it into a bitmap (.bmp)
file that can be printed to a printer that is locally-attached to the NIC
unit or transferred later to a PC for printing.
To print a displayed NIC screen at the NIC unit, perform the following
steps:
 Loading...