revert to the address of the TOP locomotive and you can run your
MU. To run your MU, just turn the THROTTLE KNOB to set the
speed and use the DIRECTION LEVER to change directions. Use
the NUMERIC KEY pad to control the functions on the MU’ed
locos.
If you want to add more locos to the MU, repeat the procedure again.To add
locos to an MU you must add them to the TOP address. It’s a good idea to keep
an MU set up sheet like the following to help you remember which locos are
MUed together:
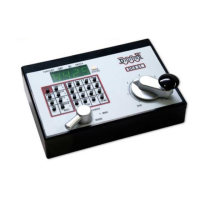
If your MU could not be set up you will see an error message: “Er L”
This happens when you try to link to an address that is already part of an MU.
For example if you MUed address 14 to the top loco 23 and then tried to MU
another address to 14 you would get this error. If you wanted to add another
loco to the MU with 23 as the top loco, the right way to do it is to add that loco
to 23, not to another address in the MU.
17.2 Removing A Loco From An MU
To remove a loco address from an MU:
1. On the DCS50, select the loco address that you want to remove from
the MU by pressing the LOCO key, entering the address and press-
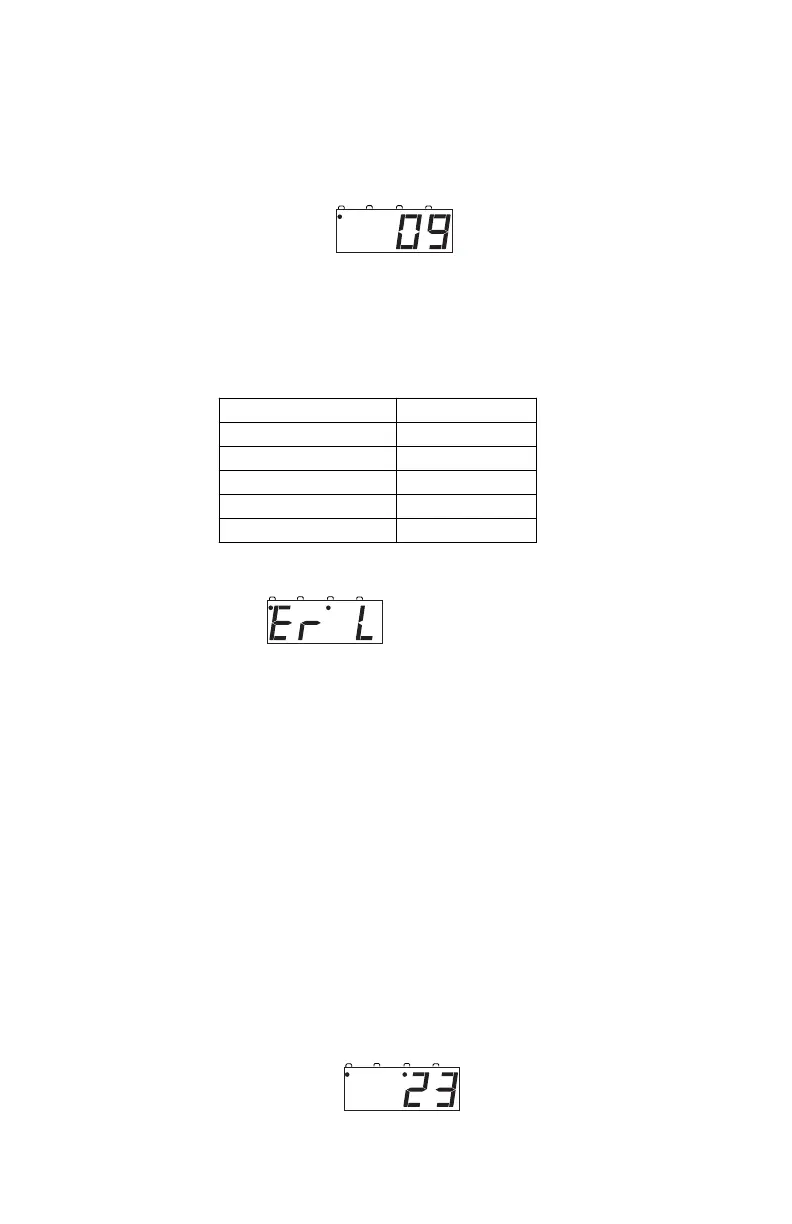
ing LOCO again. In this example, the TOP locomotive address is 09
with address 23 MU’ed to it. We will remove address 23 from the
MU. The display shows address 23 with the FUNCTION and MU
Indicator Dots lit.