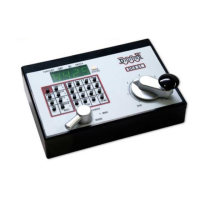
Testing LocoNet Cables with an LT1
1. Disconnect the wire harness from the LT1.
2. Plug one end of the LocoNet cable being tested into the LT1.
3. Connect the other end to any powered Digitrax booster LocoNet Port
A or B. Be sure you have at least one Digitrax throttle connected
to LocoNet.
4. All four LEDs on the LT1 will light if the cable is good. LEDs may
not all be the same brightness, this is normal. NOTE: Only three
LEDs will light if no LocoNet throttle is plugged in to the system.
5. If any of the LEDs fail to light, recrimp the plugs on the LocoNet
cable and retest.
25.0 Shut Down Procedures
LocoNet typically supports a total cable length of up to 2,000 feet with no two
devices connected by more than 600 feet of cable. LocoNet wiring is totally
free-form. We do not recommend looping LocoNet back on itself.
Some users prefer to “dispatch” or release all addresses active in their system
before shutting down. This can prevent unexpected results when you power up
the layout again.
To release/dispatch addresses (this is optional):
1. Press the LOCO Key.
2. Enter the loco address on the numeric keypad. The display will flash
the FUNCTION INDICATOR Dot and the loco address.
3. Press the EXIT Key.
4. Repeat for all locos used in your session.
To clear all decoder and MU information, set Option Switch 36 to c
1. Press the PROG Key.
2. Press the SWITCH Key
3. Enter 036.
4. Press the C Key
5. Press the EXIT Key.