Since the DCC signal travels with the power on the rails, you must have power
to the track in all locations so that the decoders can receive the signal and
respond to your commands.
For more information about layout wiring, see the Digitrax Big Book of DCC
or visit our website at www.digitrax.com.
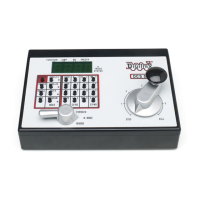
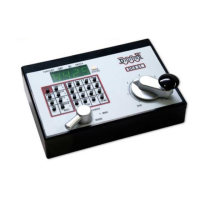
5.0 Zephyr Hook Up-As Easy As 1-2-3!
These simple instructions will help you get up and running quickly. A full
description of all controls and technical reference information are included later
in this manual. This section assumes that you are using a new set straight out
of the box.
4
3
1
5
2
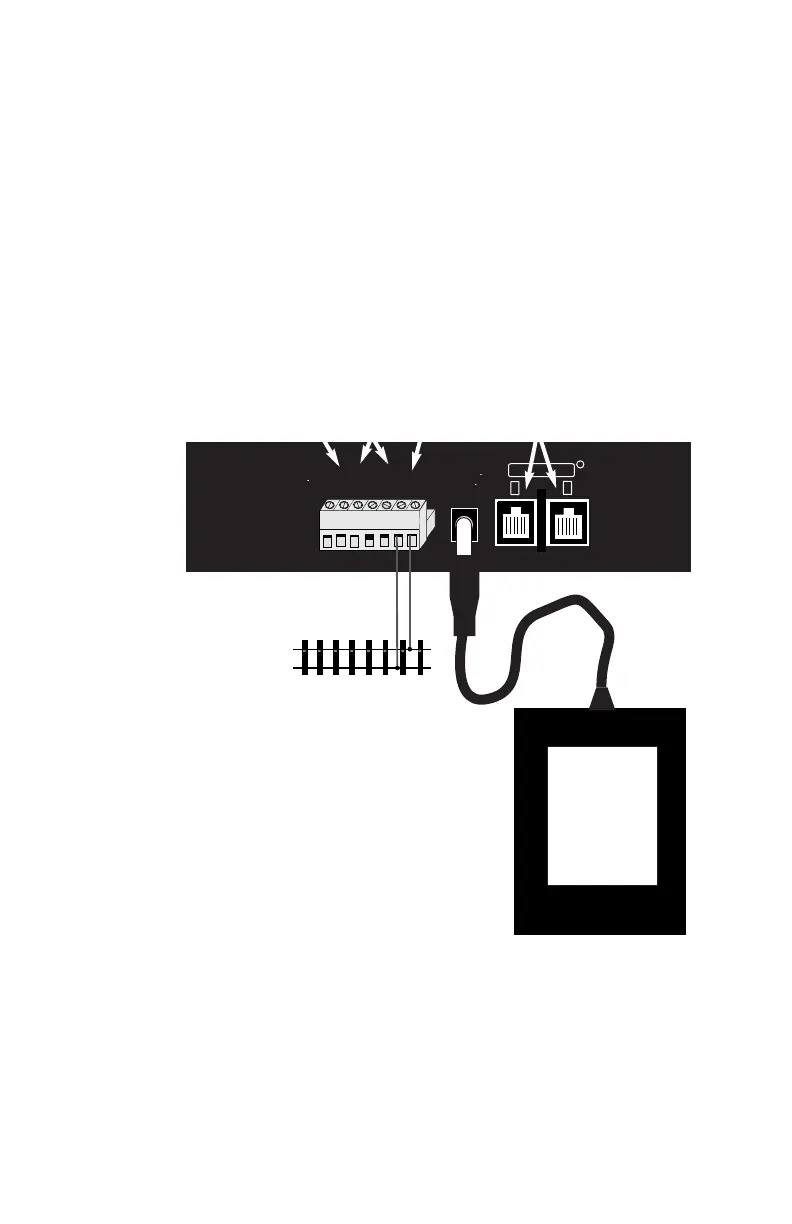
1. RAIL A & B for connecting the
DCS50 to the rails on the layout.
2. PROG A & B for hooking up the
programming track.
3. JUMP 1 & 2 for connecting one or two
smooth DC power packs to the system for
use as additional throttles.
4. POWER IN plug in the PS315 here.
5. LOCONET PORTS A & B for connecting
the DCS50 to other LocoNet devices for
expanding your layout.
6. YOUR LAYOUT. You can connect Zephyr to
most existing layouts.
DCS50 Rear Panel Hook Up Diagram
4
6