Operating Instructions RF-2000
19
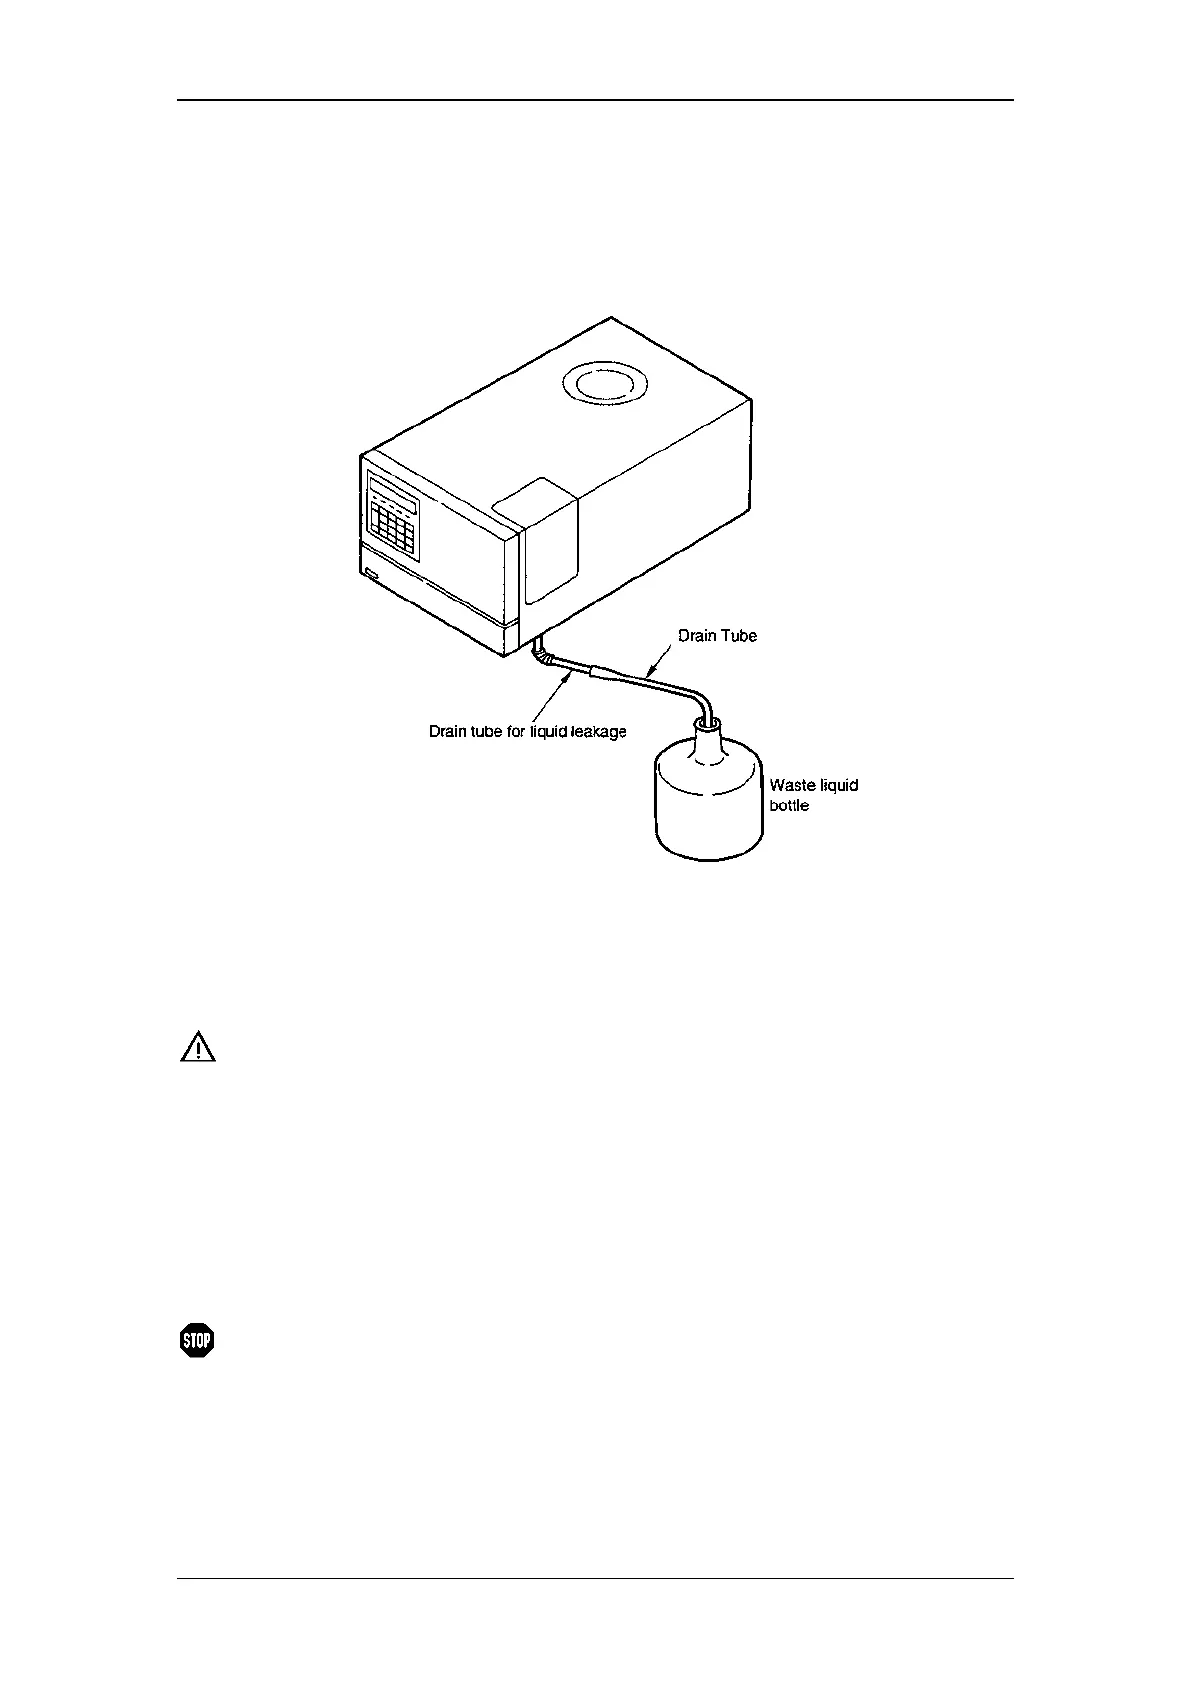
4.5 Connecting a Drain Tube for Solvent Leakage
Each component in the RF-2000 is designed so that liquid leakage in the equipment
is discharged from the liquid leak tube connection port at the right side or the lower
front side of the equipment. Connect liquid leak tube if necessary.
4.5.1 Connecting a Liquid Leak Tube
Cut the drain tube (standard accessory) for liquid leakage at an appropriate length
and connect the waste liquid tube to the drain tube and put the other end in the waste
liquid bottle.
Important:
Place the waste liquid bottle lower than the device at the
bottom. If the flow line of the liquid leak discharging tube is
placed above the bottom face of the RF-2000, the waste liquid
cannot be drained.
4.6 Installing the Xenon Lamp
Be certain that the AC power cable plug is disconnected from this equipment for
prevention of electric shock when installing the xenon lamp.
Warning:
• Be sure to wear protective gears, such as protective mask,
heavy and long sleeve shirt and gloves, when handling the
xenon lamp.
• Since high pressure gas in changed in the xenon lamp, if the
lamp is strongly shocked or the glass surface is scratched,
the lamp may explode and piece of glass may scatter.