15
© 2015 Directed. All rights reserved.
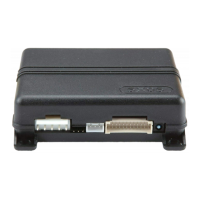
Pairing a Remote Control
1. Open a door
2. Turn key to the ON position
3. Within five seconds, press and release the Control Center button one time.
4. Within five seconds, press and hold the Control Center button. The LED will flash one time and the siren
chirps to confirm entry into remote programing.
5. Press the
button on each remote control to be programmed. The siren will chirp to confirm when each
remote has been programmed.
6. Release the Control Center button and turn the key to OFF.
To exit pairing mode, press and release the
button. The pairing routine also exits if any of the following
occurs:
• The open door is closed
• The ignition is turned off
• There is no activity for 30 seconds
• The control center button is pressed too many times
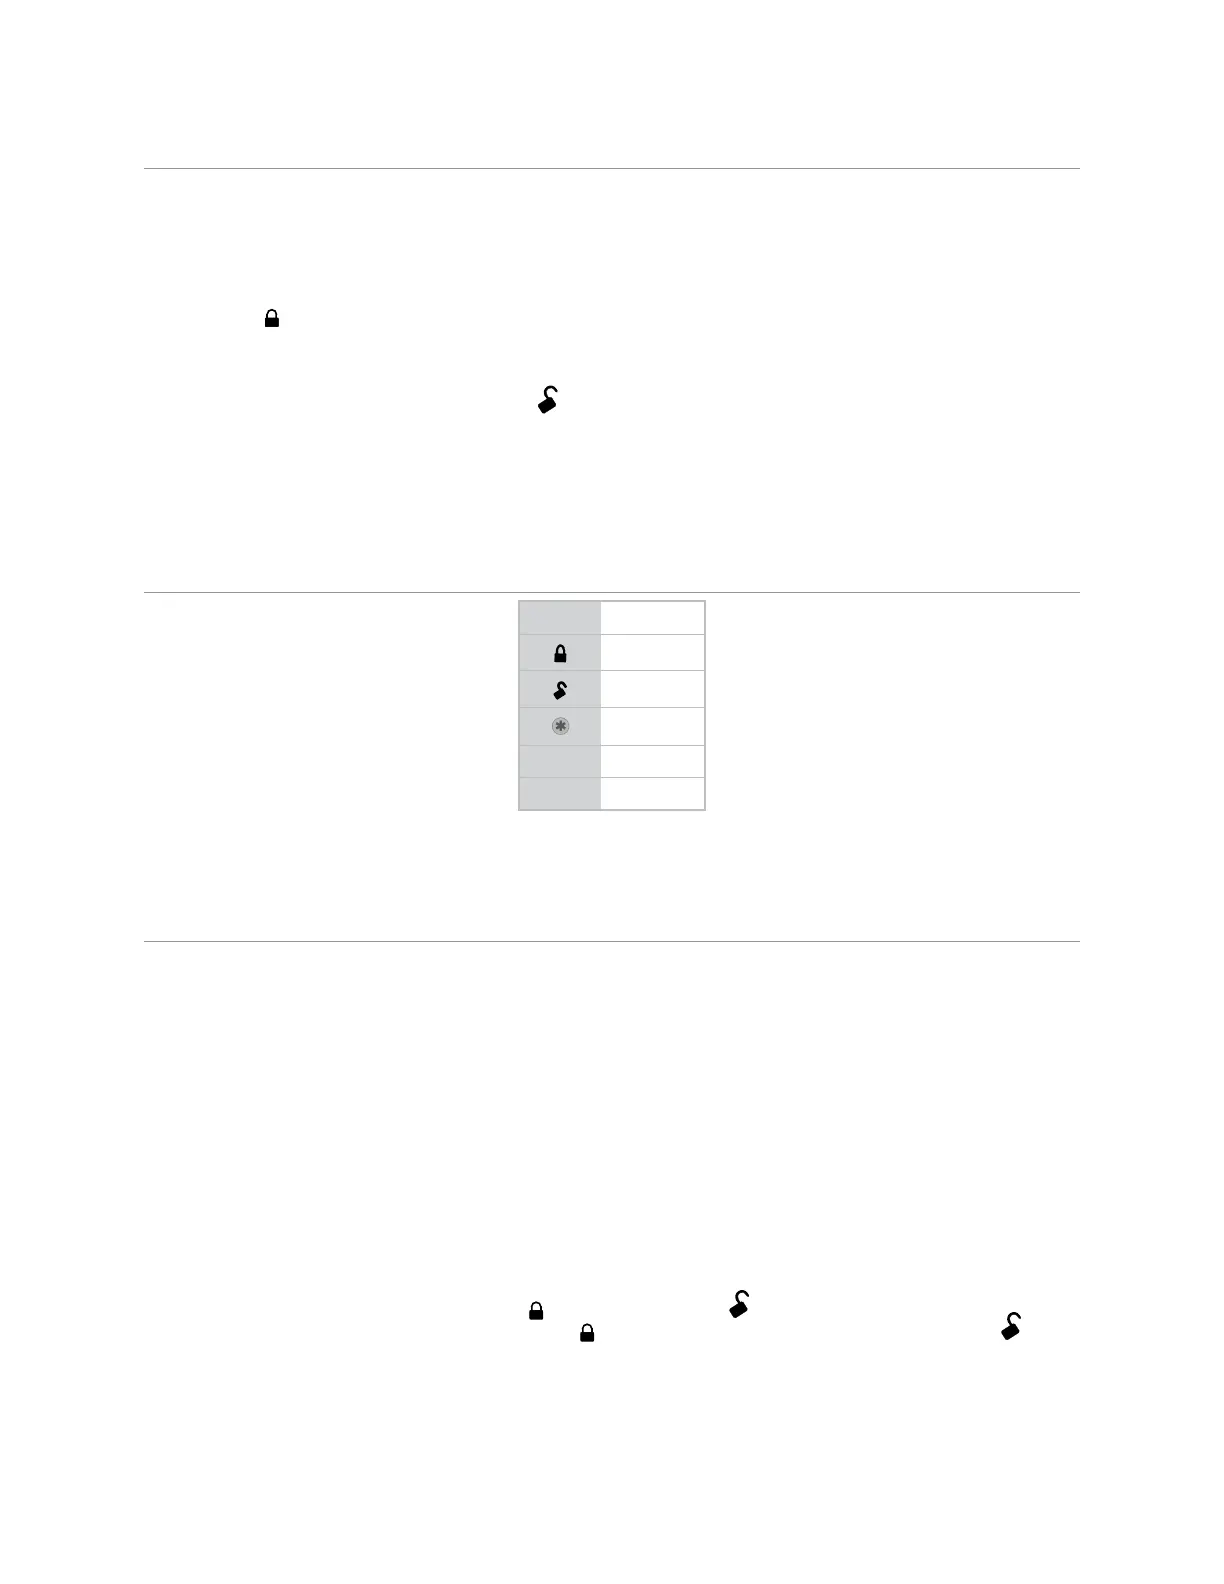
Basic Remote Functions
Button Function
ARM
DISARM
REMOTE START
AUX TRUNK RELEASE
P*
PROGRAMMING
* Only applicable to LCD 2-way remote control.
Note: See Owner’s Guide for more details.
Programming System Features
The System Features Learn Routine dictates how the unit operates. It is possible to access and change most of
the feature settings using the Control Center button.
1. Open a door.
2. Turn the ignition on, then off.
3. Select a Menu. Press and hold the Control Center button. The number of siren chirps indicates the menu
number. 1 LED flash and chirp indicates Menu 1, 2 LED flashes and chirps - Menu 2 and 3 LED flashes
and chirps for Menu 3.
4. When the desired menu chirps are heard, release the Control button.
5. Select a Feature. Press and release the Control Center button the number of times corresponding to the
feature you desire to change. Then, press and hold one more time to select the features.
6. Program the Feature. While still holding the Control Center button, you can program the feature using
the remote control or by pulsing a (-) on the 24 pin White/Blue Activation Input wire.
• With the remote:
For features with only two options;
= option 1, while
= option 2.
For features with more than two options;
selects the options in ascending order, while
selects them in descending order.
• With White/Blue (-) Activation Input:
Each time this input is pulsed with a (-) the next available setting will be chosen.