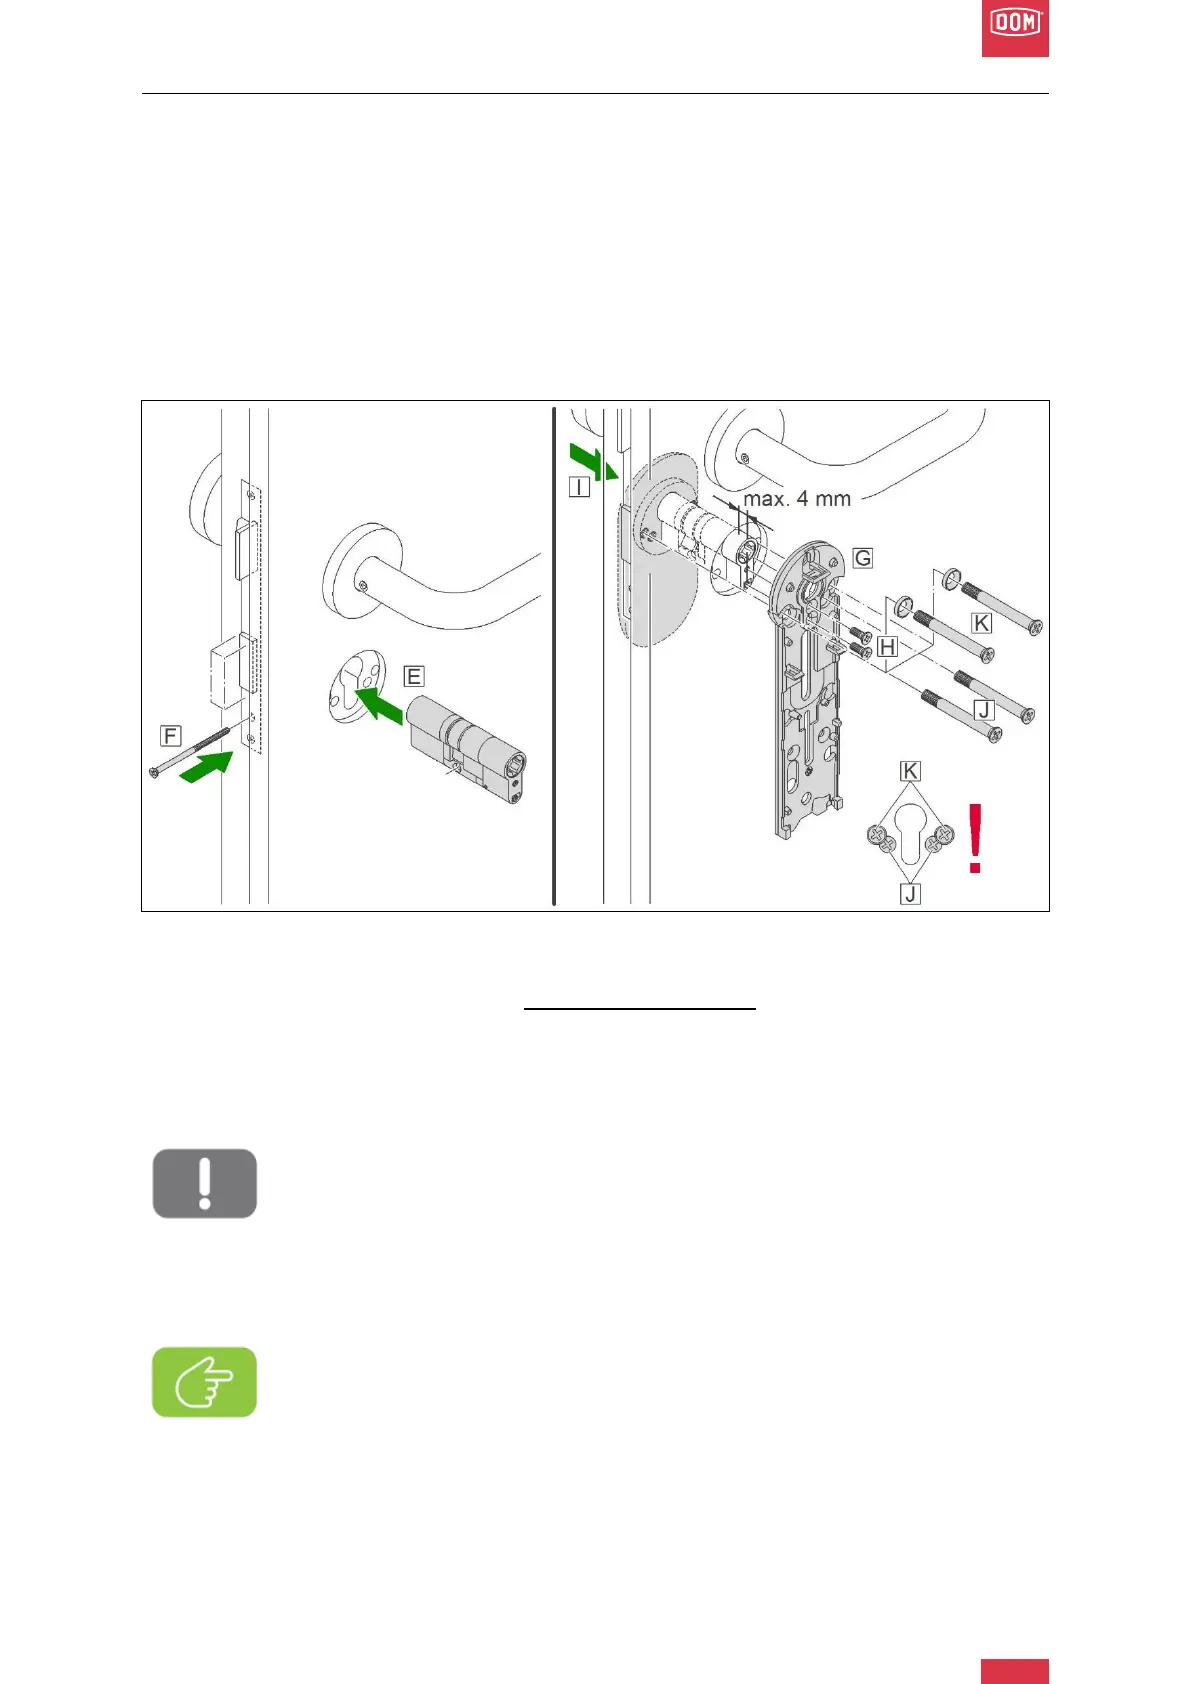
DOM Roq® Spanish Rosette
28
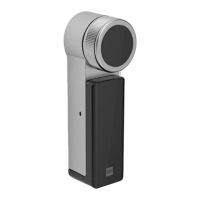
DOM Roq® Smart Lock
2. Remove the connecting screws of the rosette.
3. Remove the base plate of the rosette.
4. Remove the rosette on the outside of the door. (B)
5. Insert the key into the lock cylinder from the inside and then remove the forend screw
(fixing screw of the cylinder). (C)
6. Remove the existing (old) cylinder (D) by turning the key until the locking lug is in the
basic position (flush, 6 o'clock). You will notice that the locking lug is in the basic posi-
tion (flush, 6 o'clock) when you can pull out the cylinder with the key (see also Re-
moving the cylinder, page 12).
DOM Roq® Fig. 20: Spanish Rosette
7. Insert new cylinder (with closing lug in home position, page 13) from the inside. (E)
8. Insert the key from the outside (hold it in from the inside).
9. Check from the outside with the key whether the cylinder can operate the lock (no
grinding or sluggishness).
10. Drive out the latch with the help of the key.
11. Hand-tighten the cylinder with the forend screw. (F)
Attention! Damage due to braced installation.
Make sure that the locking lug does not rub against the side plate of the lock
and that the lock can be easily operated by the cylinder. Otherwise the cylinder
or the motor unit may be damaged.
12. Retract the latch and remove the key.
13. Check that the cylinder only protrudes a maximum of 4 mm.
Note!
The cylinder may only protrude a maximum of 4 mm from the door leaf when
mounted directly on the door leaf. If the cylinder protrudes more than 4 mm,
please contact your DOM specialist dealer.