Service Manual for Electric Convection Oven
16
MOTOR
The motor is attached to the right side of the oven in
the following models:
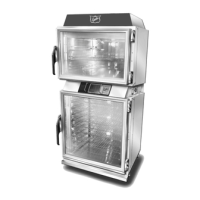
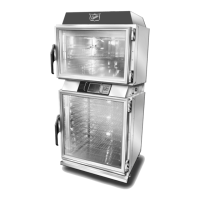
• 5/9 Series Oven
• 5/9 The Oven
• 59-E3C Oven
• 59-E3P Oven
The motor is attached to the back of the oven in the
following models:
• 6/13 The Oven
• “E” Series Oven
Side Mounted Motor
WARNING: DISCONNECT OVEN FROM POWER
SOURCE BEFORE PERFORMING
ANY SERVICE.
Screws
Rack
Shelf
Right
Inside
Panel
Screws
1. Open Oven Doors.
2. Remove shelves.
3. Remove two side racks.
4. Remove four screws attaching right inside panel and
remove panel to gain access to Motor Terminals.
JUMPER
POSITIONS
View of Back of Control Board
JUMPER
JUMPER
4. Reattach the Control Panel.
5. Turn the oven on and check the parameter settings.
6. Refer to the Operation & Installation Manual for
programming instructions.
Seven Menu Jumper Settings
(Popeye’s Chicken only)
1. Turn the power off to the unit.
2. Remove screw at top center of Control Panel
assembly and slide Control Panel out to allow
access to the Control Circuit Board.
3. Place the jumper in the #4 position; see the diagram
above for jumper location.
4. Reattach the Control Panel.
5. Turn the oven on and check for parameter settings.
6. Refer to the Operation & Installation Manual for
programming instructions.
 Loading...