DuraLabel.com | 800.788.5572
3.2 Using a USB Cable | 17
3. Connecting the Printer
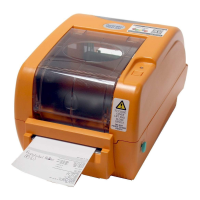
Connect the power supply from the DuraLabel PRO/PRO 300 printer to an electrical
outlet. Next, connect the USB or parallel cable from the DuraLabel PRO to your PC, then
power ON your printer.
3.1 Inserting the Installation CD
Before inserting the installation CD, please refer to the specific instructions for the type
of cable you’re using. When using a USB cable, follow instructions in Section 3.2, Using
a USB Cable. When using a parallel cable, follow instructions in Section 3.3, Using a
Parallel Cable.
NOTE::KHQSULQWLQJ57.DUFÁDVKDQGRWKHUGLHFXWRU%0DUNODEHOV\RXPXVWVHWXS
the print driver and printer. Refer to Section 4.2, Die-Cut Label Printing Instructions,
or Section 4.3, B Mark Label Printing Instructions.
3.2 Using a USB Cable
NOTE: You may need IT administrator privileges to install a driver.
NOTE: The following instructions are only for those using a USB cable. Skip to Section
3.3, Using a Parallel Cable, if installing manually.
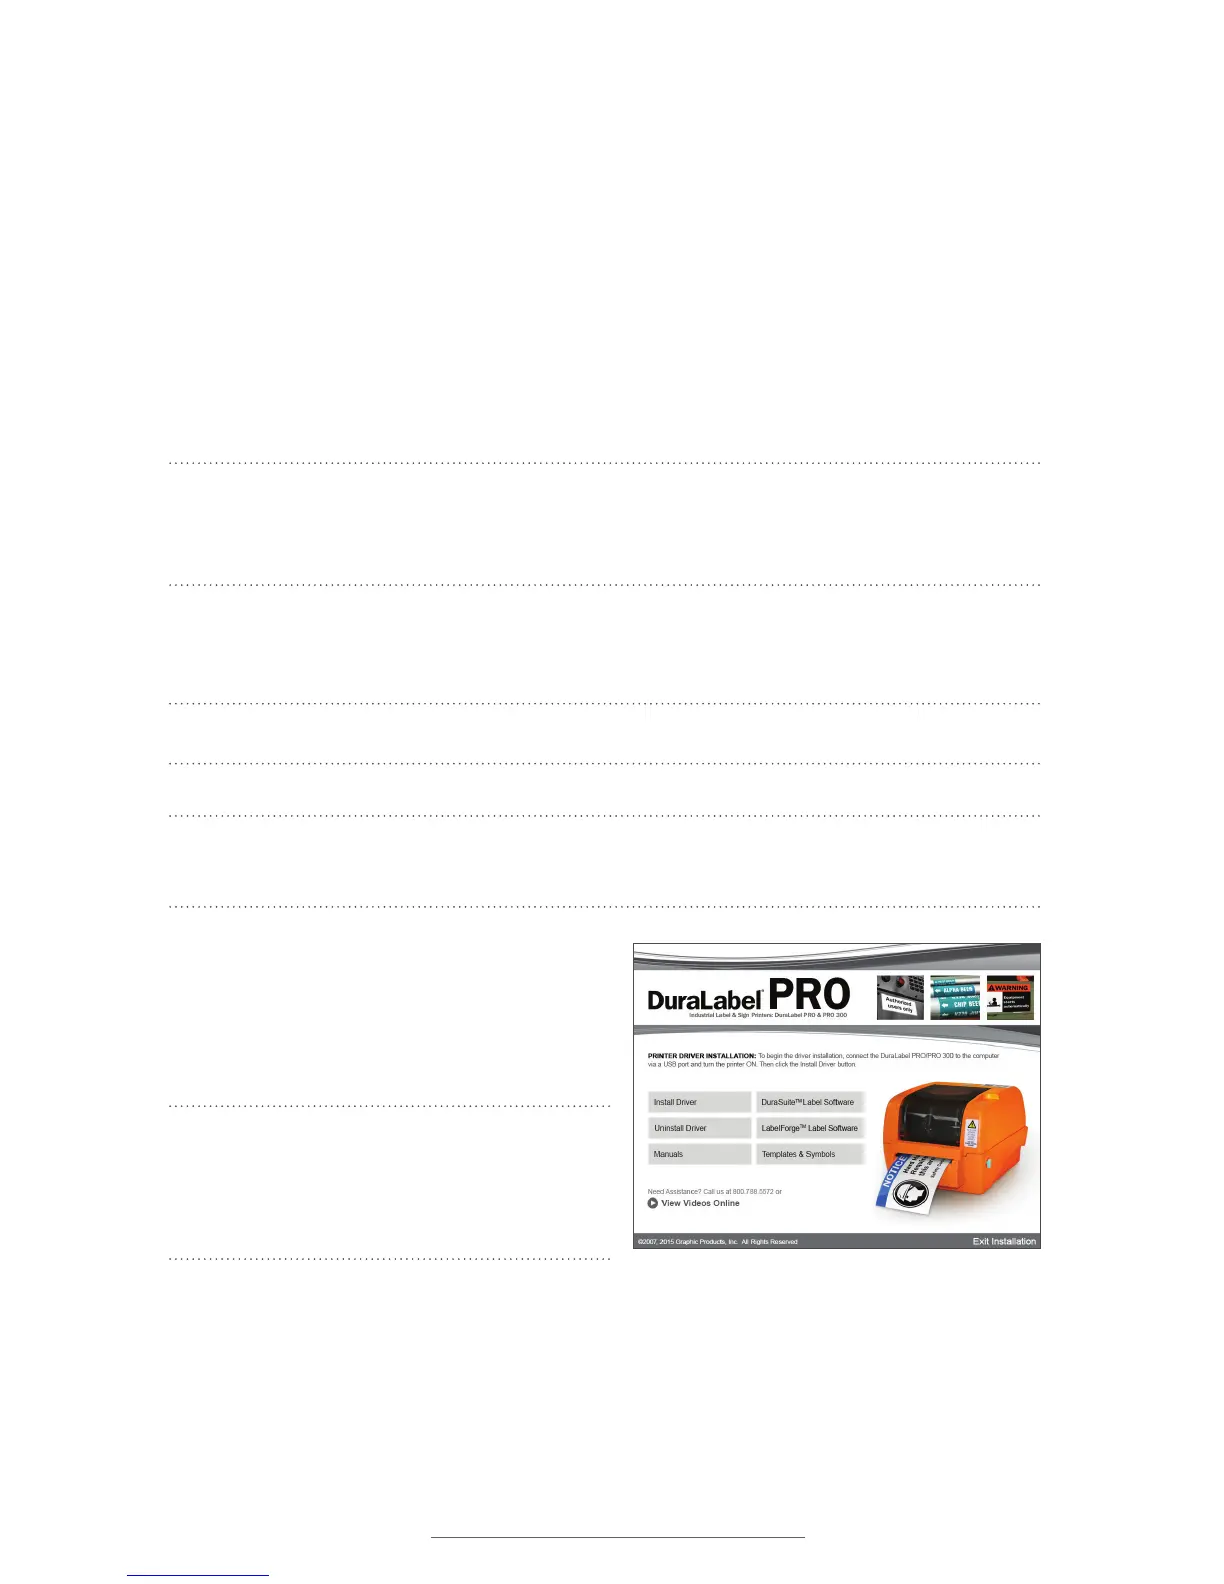
A. Insert the DuraLabel PRO or DuraLabel
PRO 300 Installation CD in your
computer’s disk drive. A DuraLabel
PRO/PRO 300 startup screen appears.
NOTE: If the CD does not run automatically,
go to Start > Computer and double-click on
your CD/DVD drive, which should show the
DL icon.
B. Click on Driver Wizard, then click Next in the Driver Wizard setup window that
appears.
C. Click I Agree on the Windows Printer Driver License Agreement window that
appears.
Figure 1 DuraLabel PRO 300 startup screen