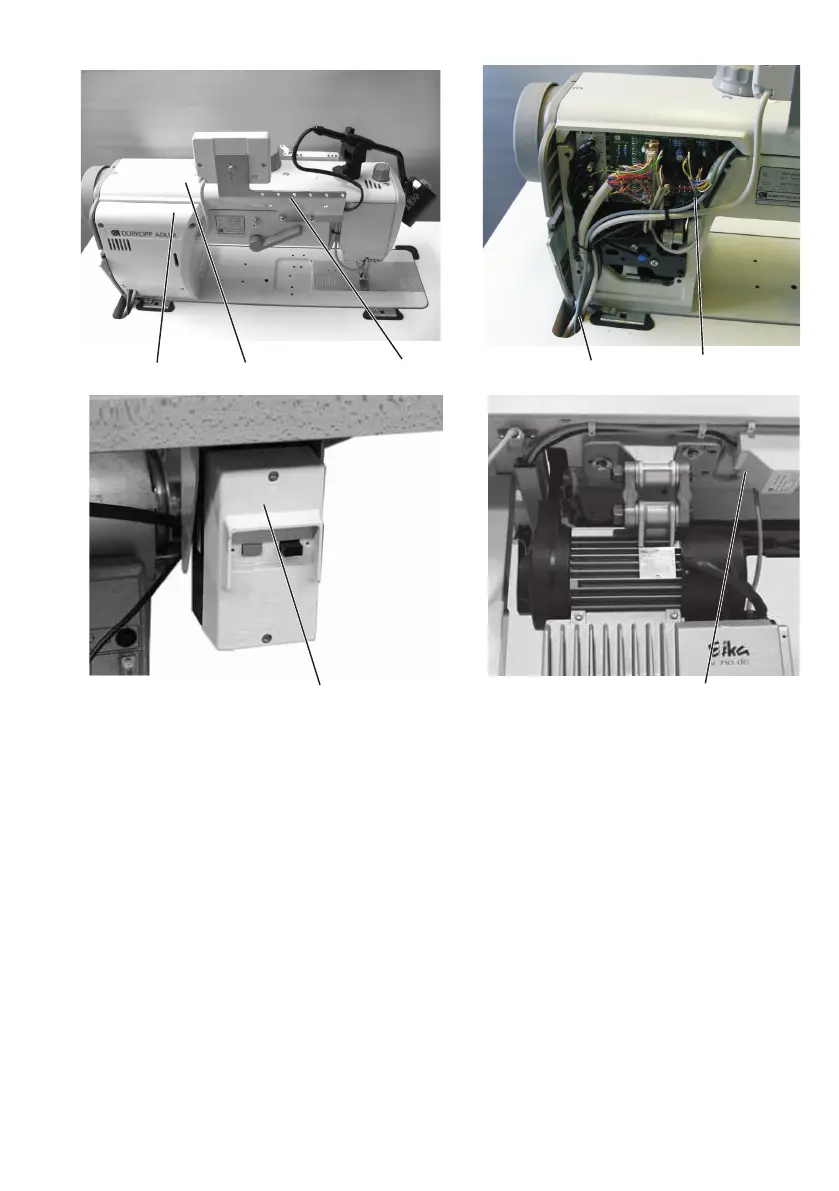
The sewing lamp can be mounted on the operating-panel bracket if
present.
–
Stick the safety warning label on the front of the main switch 7.
–
Fix the sewing light on the holder 2.
–
Lift off the arm cover 3 a nd the valve cap 4.
–
Lay the power supply cable in the cutout of the machine arm.
–
Pass the power supply cable down through the hole in the table
plate or the arm and the base plate.
–
Attach the transformer 8 under the table plate with chipboard
screws.
–
Attach the power supply cable under the table plate with cable
ties.
–
Plug in the sewing-light transformer lead.
–
Fit the arm cover 1 and valve cap 4.
13
7
8
43 1
65
 Loading...


