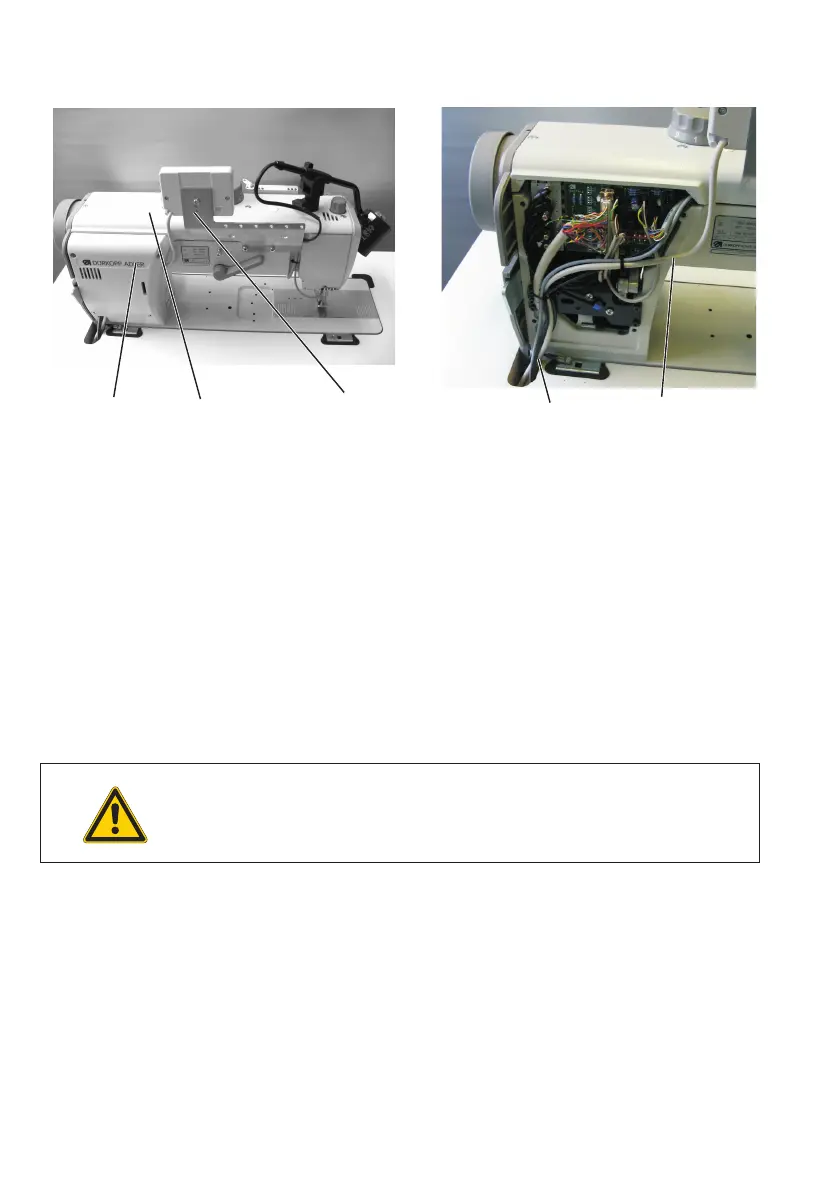
5.3 Fitting the operating panel
–
Unscrew the thread guide 2 from off the sewing machine head.
–
Fix the control panel fixing angle 1 together with the thread
guide 2.
–
Lift off the arm cover 3 a nd the valve cap 4.
–
Lay the power supply cable 5 of the operating panel:
along the arm and down through the opening in the table plate 6
or
down through the arm and the base plate - and secure it.
–
Insert the connection plug into the B776 socket of the drive
control.
–
Replace the arm cover 3.
–
Replace the valve cap 4.
5.6 Fitting the sewing lamp (optional equipment)
Caution !
Tur ning off the main switch does not tur n off the current to
the sewing lamp.
Remove the mains plug before connecting.
12
43 1
65