24 E4D NEVO Version 5.0 10822801.C
9. Scan the occlusal of the bite registration material and any of the proximal tooth data that was removed
and is not covered by the bite registration.
The Align Bite Registration icon displays a green light if the models are aligned. A red light means that
alignment must be done manually.
10. Click the Align Bite Registration button to verify the alignment. See below for how to manually align
the models if needed. Click the button again to deactivate it and return to the main scan screen.
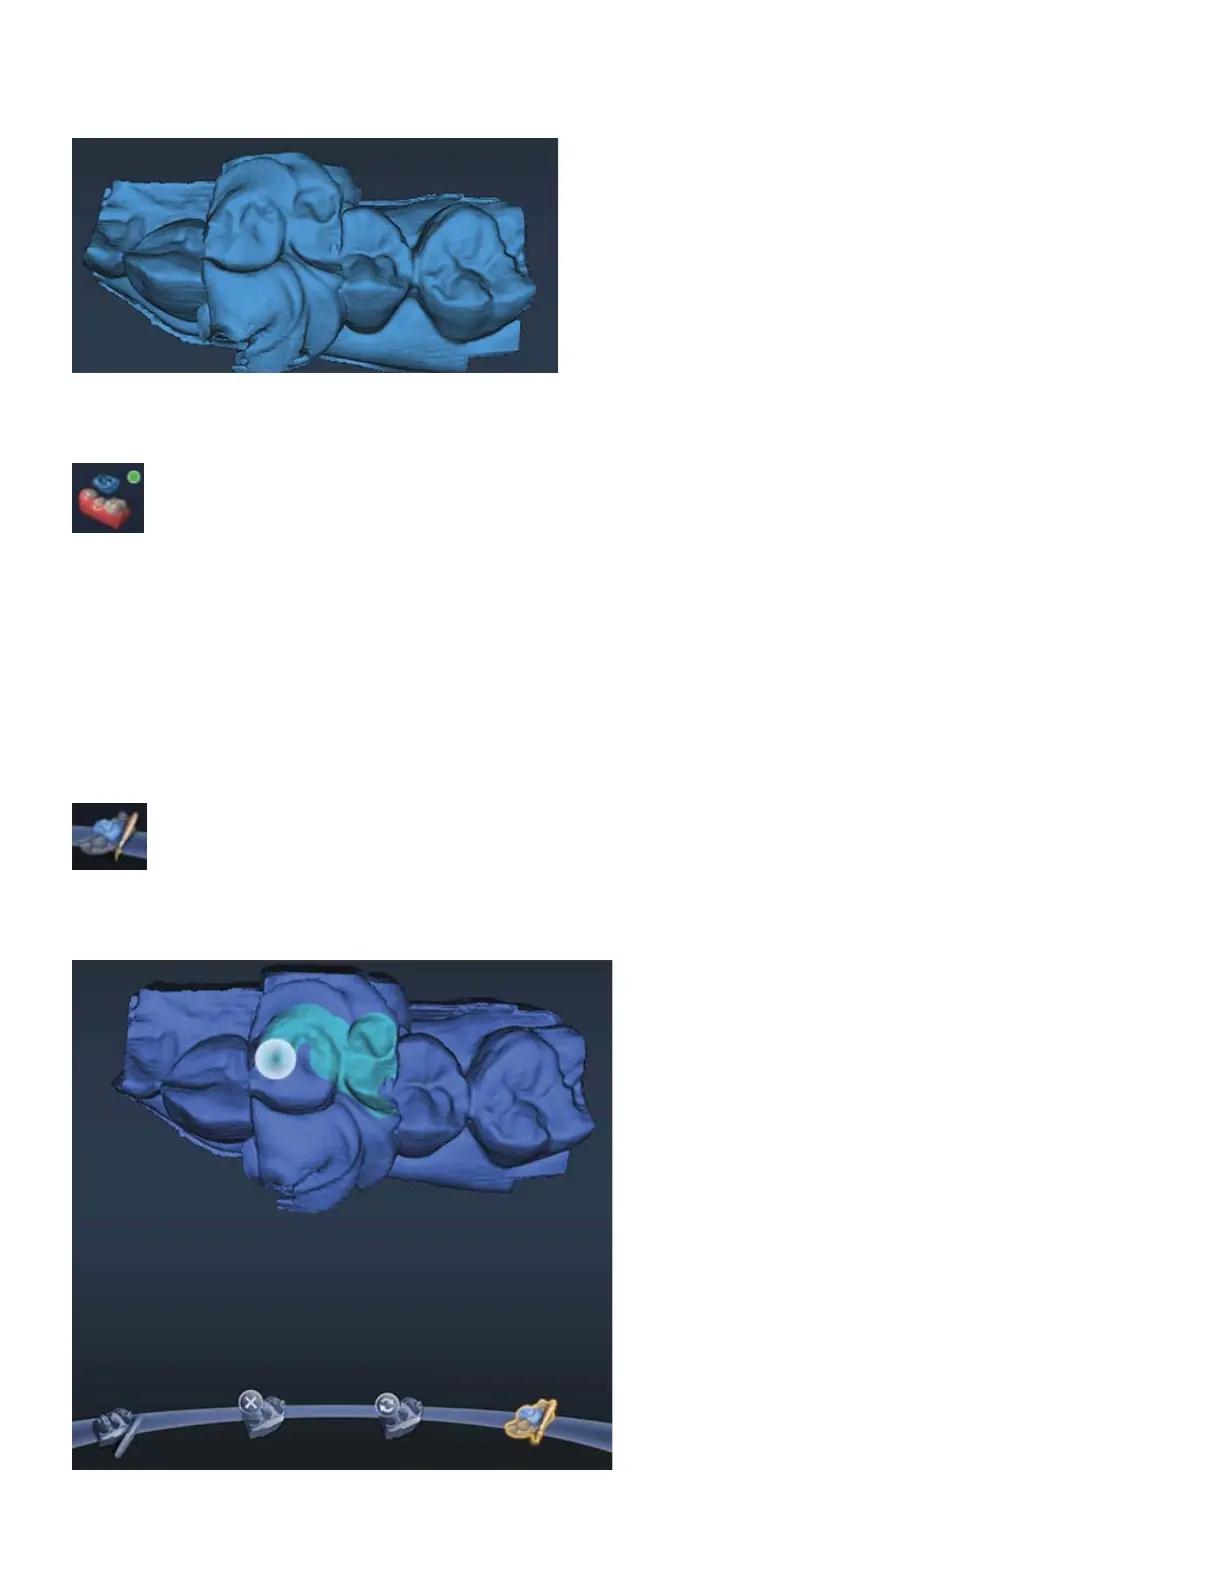
Selecting the Bite Registration
Instead of drawing the outline of the opposing dentition on the bite registration model, you now highlight
the opposing dentition.
1. Click Bite Selection at the bottom of the screen. This icon only appears on the Scan Bite screen.
2. Click and drag to highlight the areas of the opposing dentition that would come into contact with the
restoration.