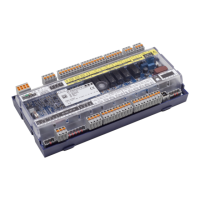
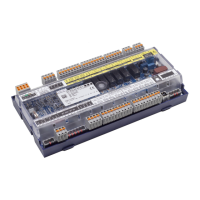
6.9.2.1 Update for controller with 9-pole DIP switch
Controller characteristic: 9-pole DIP switch
The settings depend on the controller type!
The steps described in the chapter must have Voraussetzungen für das Firmware-Update, page 54
been performed once for each PC in order to perform a successful firmware update.
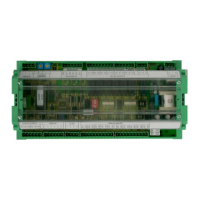
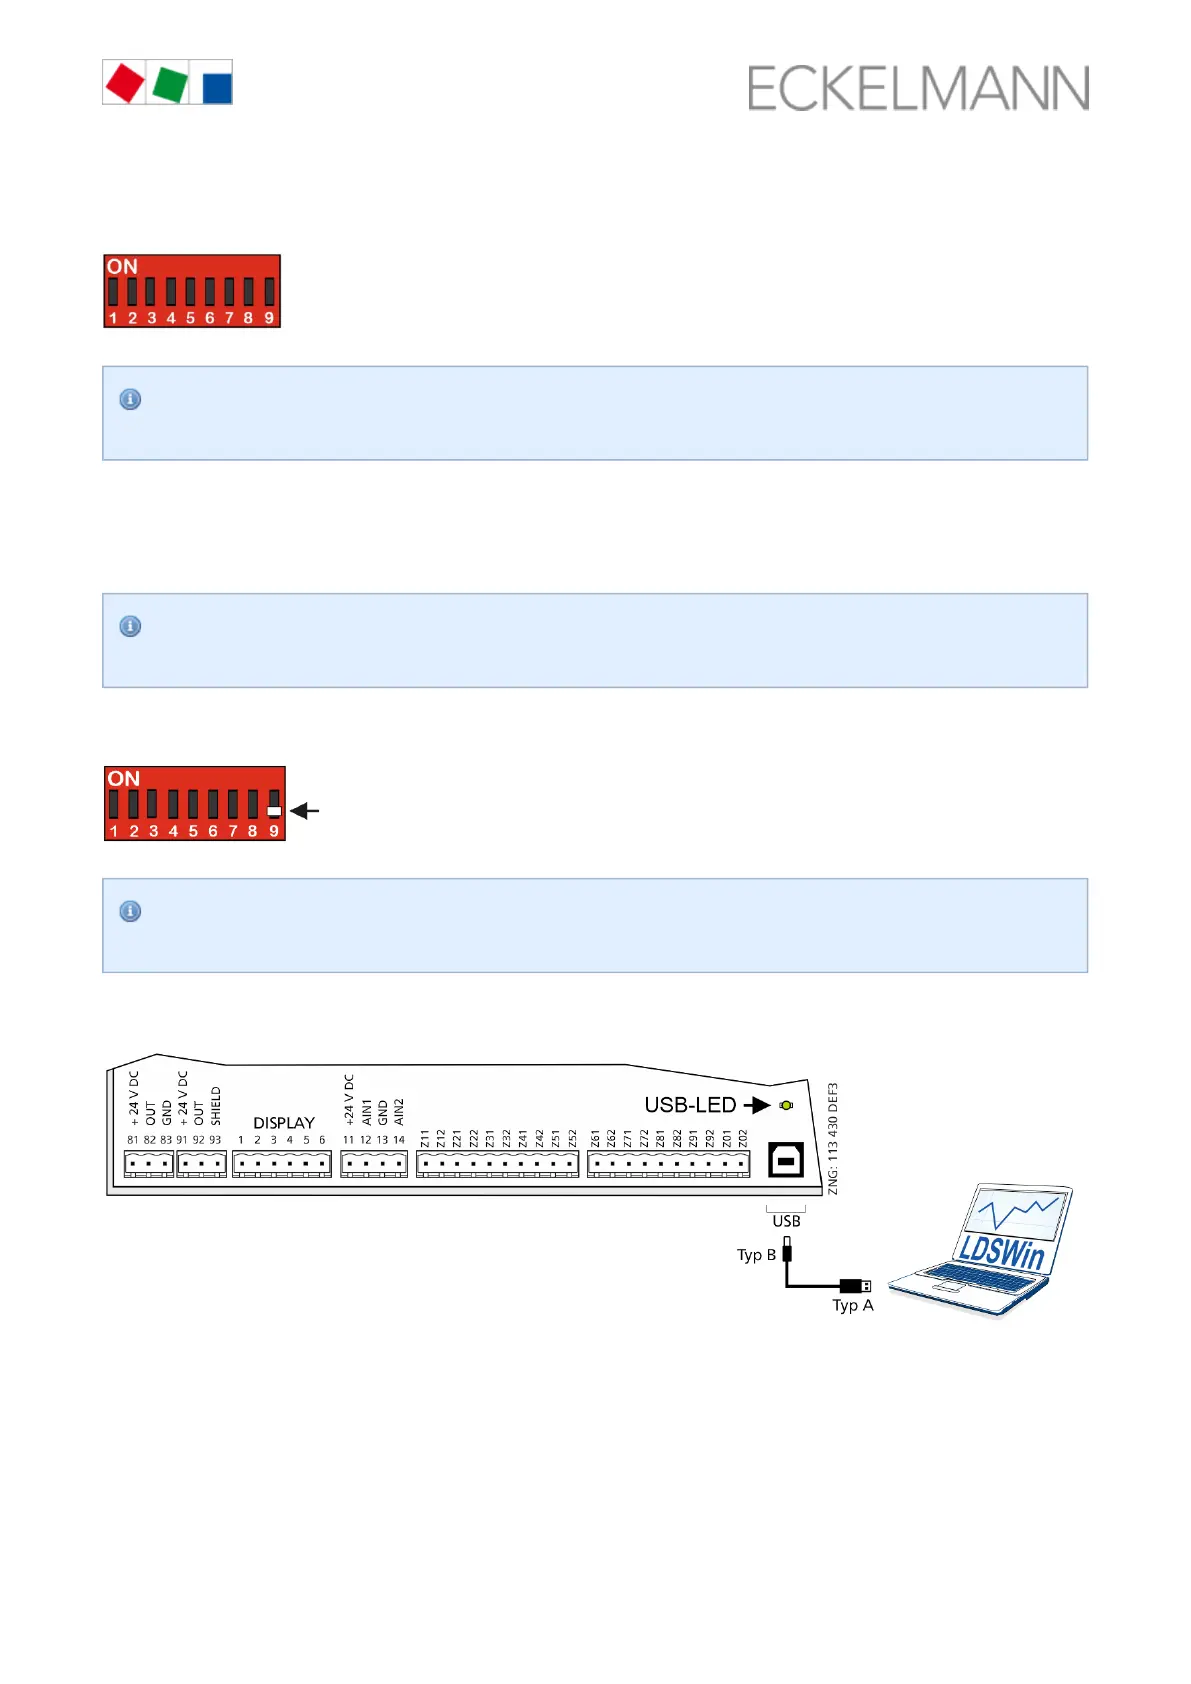
Step 1: Set DIP switch S3 and connect controller to PC
Practical tip: The original position of the coding switches 1..9 of the DIP switch S3 should be
documented, e.g. with a mobile telephone photo.
Before starting the firmware update, only coding switch 9 of the DIP switch S3 be set to :must OFF
After the firmware update has been performed, the coding switch 9 of DIP switch S3 must be reset to
.its original position
Connect the controller to the PC via a USB A-B cable while :disconnected from the power supply
then supply the controller with power again, see chapter .Power supply, page 47
Step 2: Perform firmware installation
Under " ", start the program " ".
Start / Programs / ECKELMANN / Firmware Uploader KGL Firmware Uploader
The following window opens:
 Loading...