6. You have now successfully created the print queue
that your NetWare print server will serve. Press the
Escape
key until the Available Options main menu is displayed.
7. Select Print Server Information.
8. Press the
Insert
key to add a new NetWare print
server.
9. Press
Enter
to select the newly created print server.
10. Select Print Server Configuration.
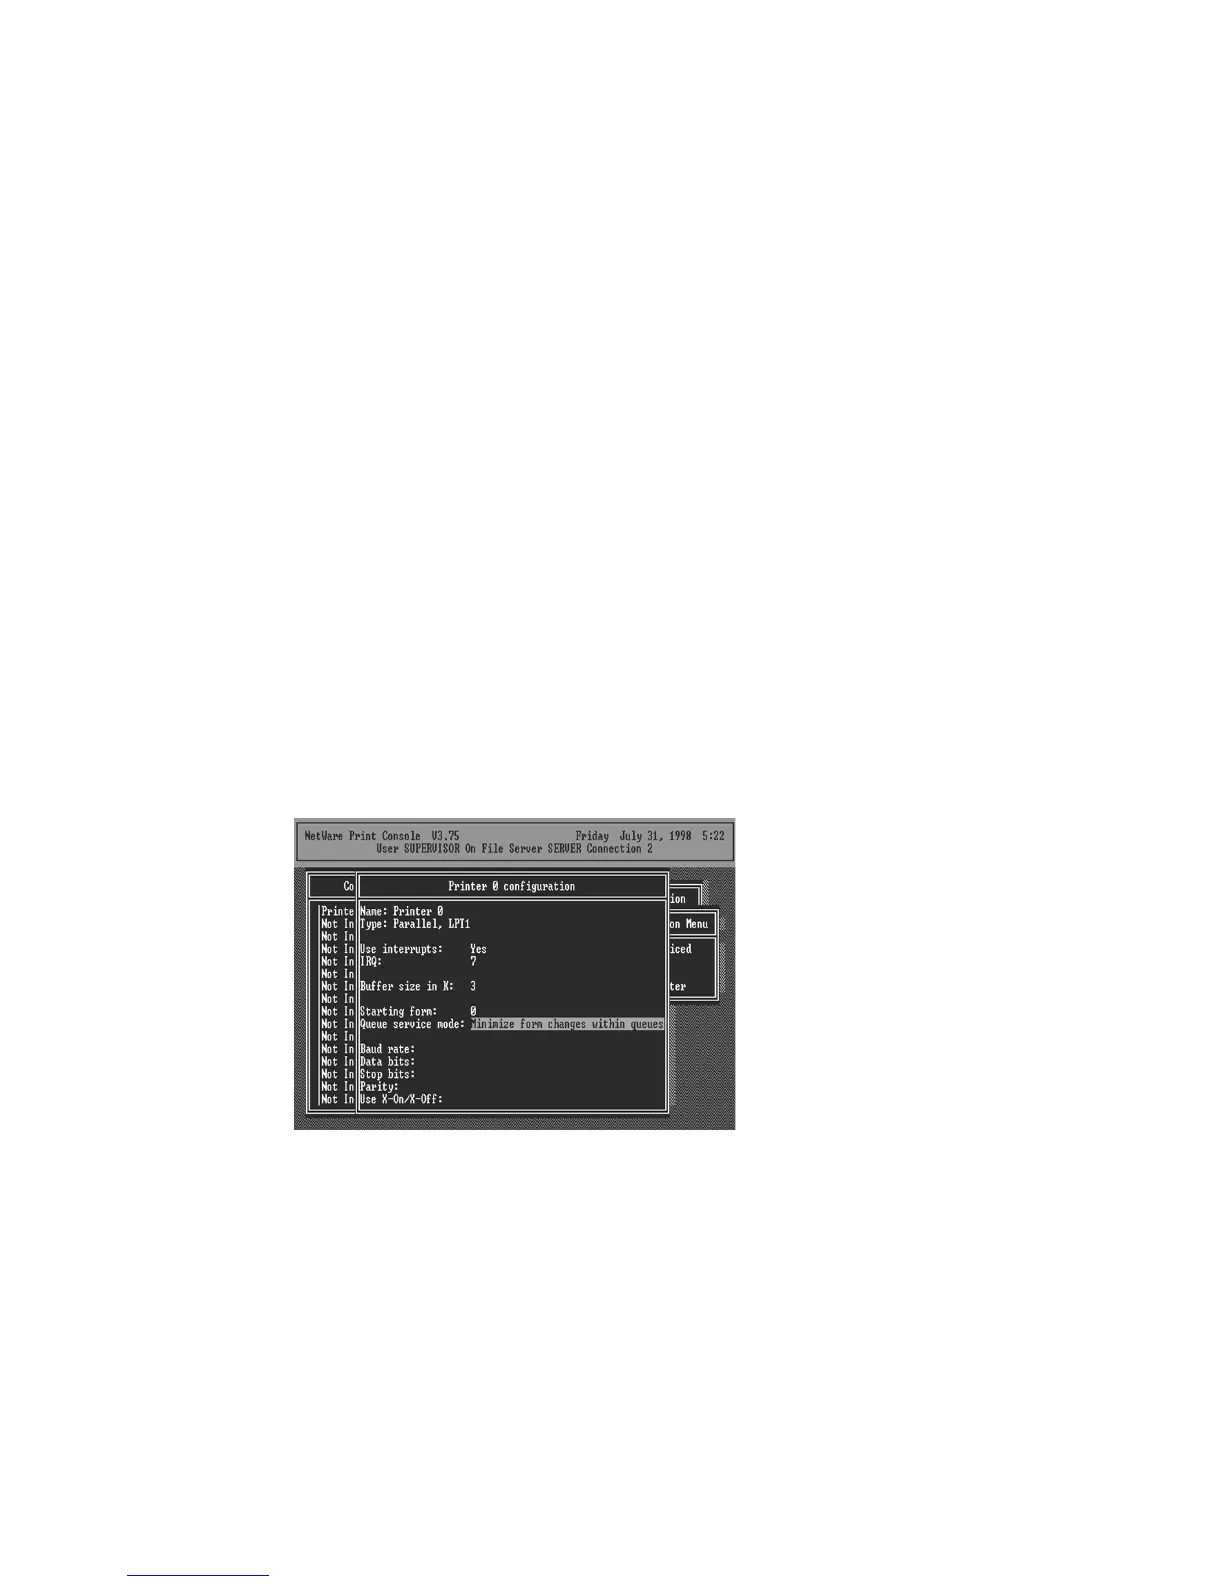
11. Select Printer Configuration.
12. Select Printer 0 (or Printer 1, Printer 2), press Enter,
and then select Remote Parallel in the Type field.
13. Press
Escape
, and answer
Yes
to the
Save Changes
question.
14. Select
Queues Serviced by Printer
, then select
Printer 0 and press Enter.