52Installation and Service Guide Color Controller E-46A
Replacing parts
5 Place the E-46A on a flat surface. Carefully position the E-46A so that it is standing in its normal position.
To remove the side panels
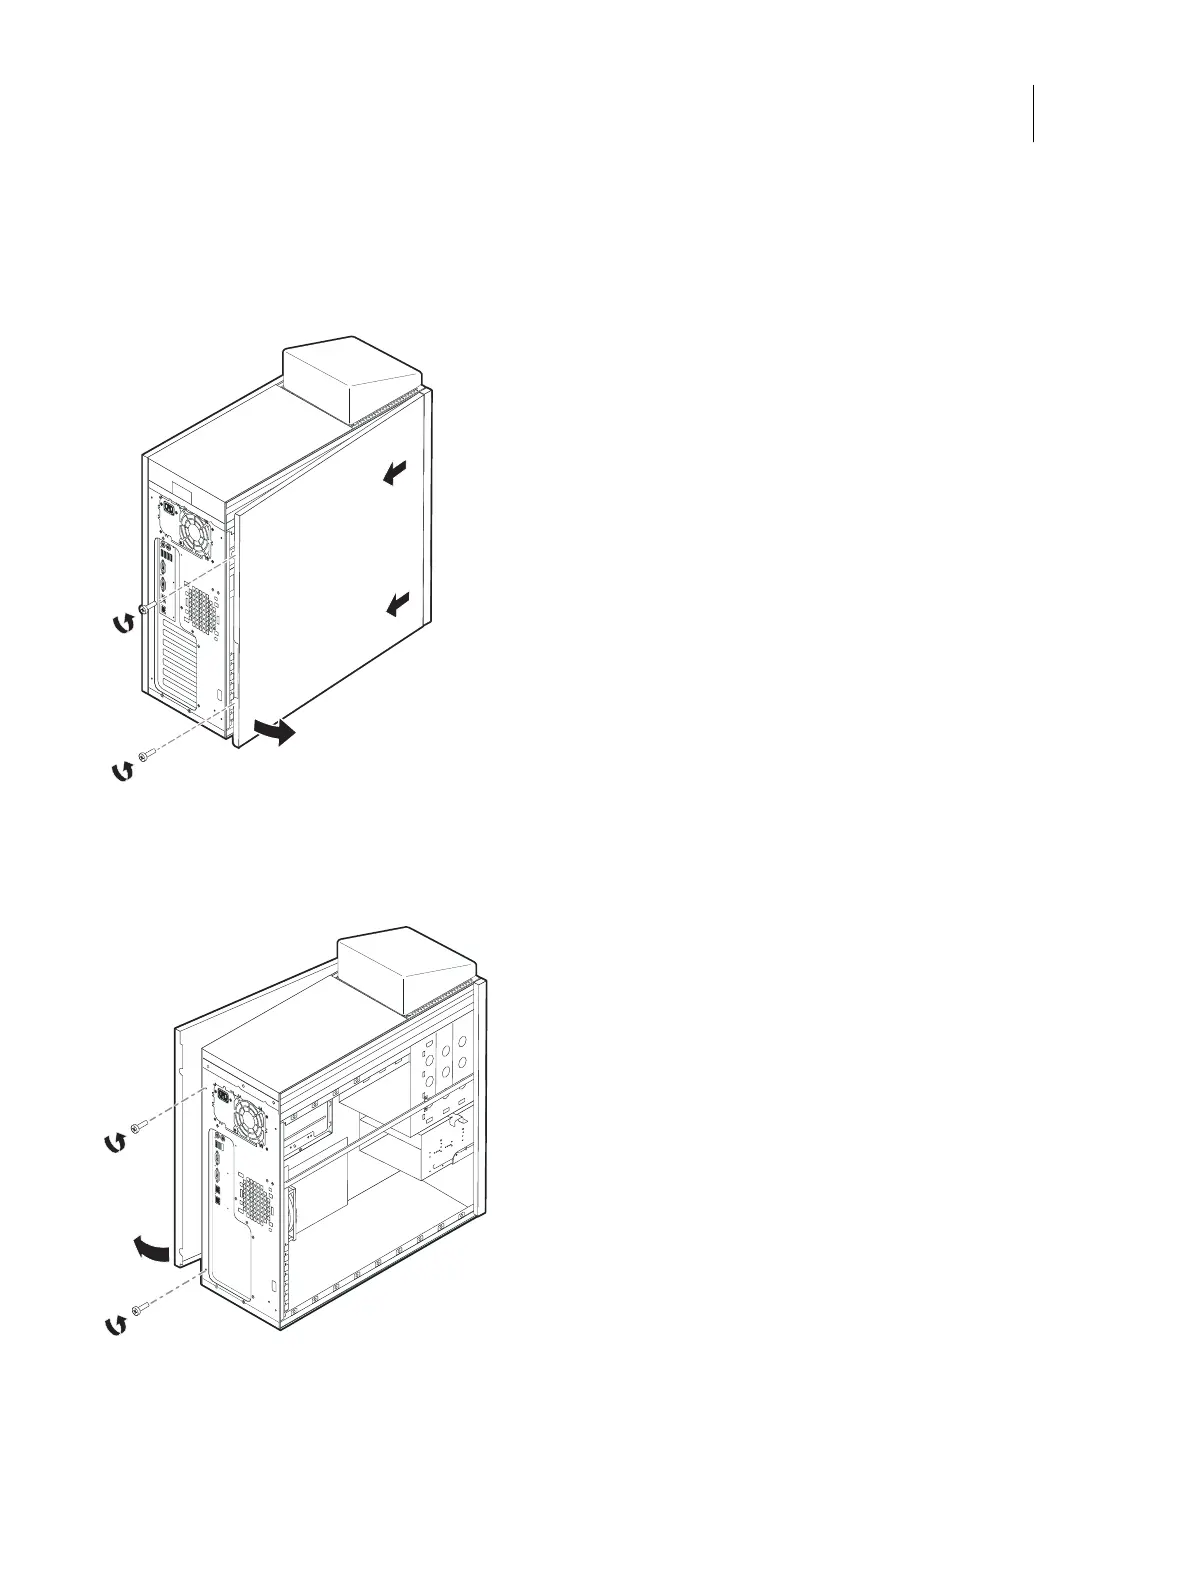
1 Remove the two screws at the rear right of the chassis.
Figure 28: Removing the left panel
2 From the back of the unit, slide the right side chassis cover toward the rear of the unit and remove.
3 Remove the two screws at the rear left of the chassis.
Figure 29: Removing the right panel
4 From the back of the unit, slide the left side chassis cover toward the rear of the unit and remove.