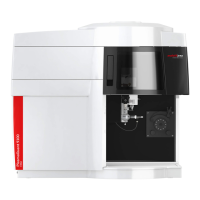
Optimizing hardware PlasmaQuant MS product family
60
Fig. 27 Automatic torch alignment
1. Click the arrow next to the Instrument icon on the Main Toolbar and select
I
NSTRUMENT SETUP to open the INSTRUMENT window. Alternatively select WINDOW
INSTRUMENT SETUP.
2. On the I
NSTRUMENT window, click the PLASMA ALIGN tab.
3. When the instrument is ready, aspirate the 1 µg/L (1 ppb) tuning solution in time
scan mode as described (see section "Warming up the PlasmaQuant MS" p. 56) and
wait until the signal has stabilized.
4. Click [S
TOP].
5. Select the A
UTOMATIC ALIGNMENT checkbox directly above the SCAN TYPE menu.
6. Click [S
TART]. The instrument scans horizontally across the interface, then
vertically, then horizontally again. When finished, the instrument finds and stores
the optimum XY position for maximum signal.
6.3 Peak resolution and trim
The Resolution and Trim optimization routine correctly positions the lightest and the
heaviest isotopes in the calibration solution. Furthermore, the routine ensures that the
peaks have the smallest possible overlap at maximum signal intensity. The optimal
signal width is determined at 5 % peak height. Both, the peaks for high masses and for
low masses must be within ±0.05 amu of the target peak width.
The optimization routine allows selecting the elements for low and high masses. By
default, the selected low mass is
9
Be and the selected high mass is
208
Pb for devices
with and without AMR option. For devices without AMR option it is possible to use
232
Th as an alternative high mass. Note: The default settings are restored when
restarting the software.