100
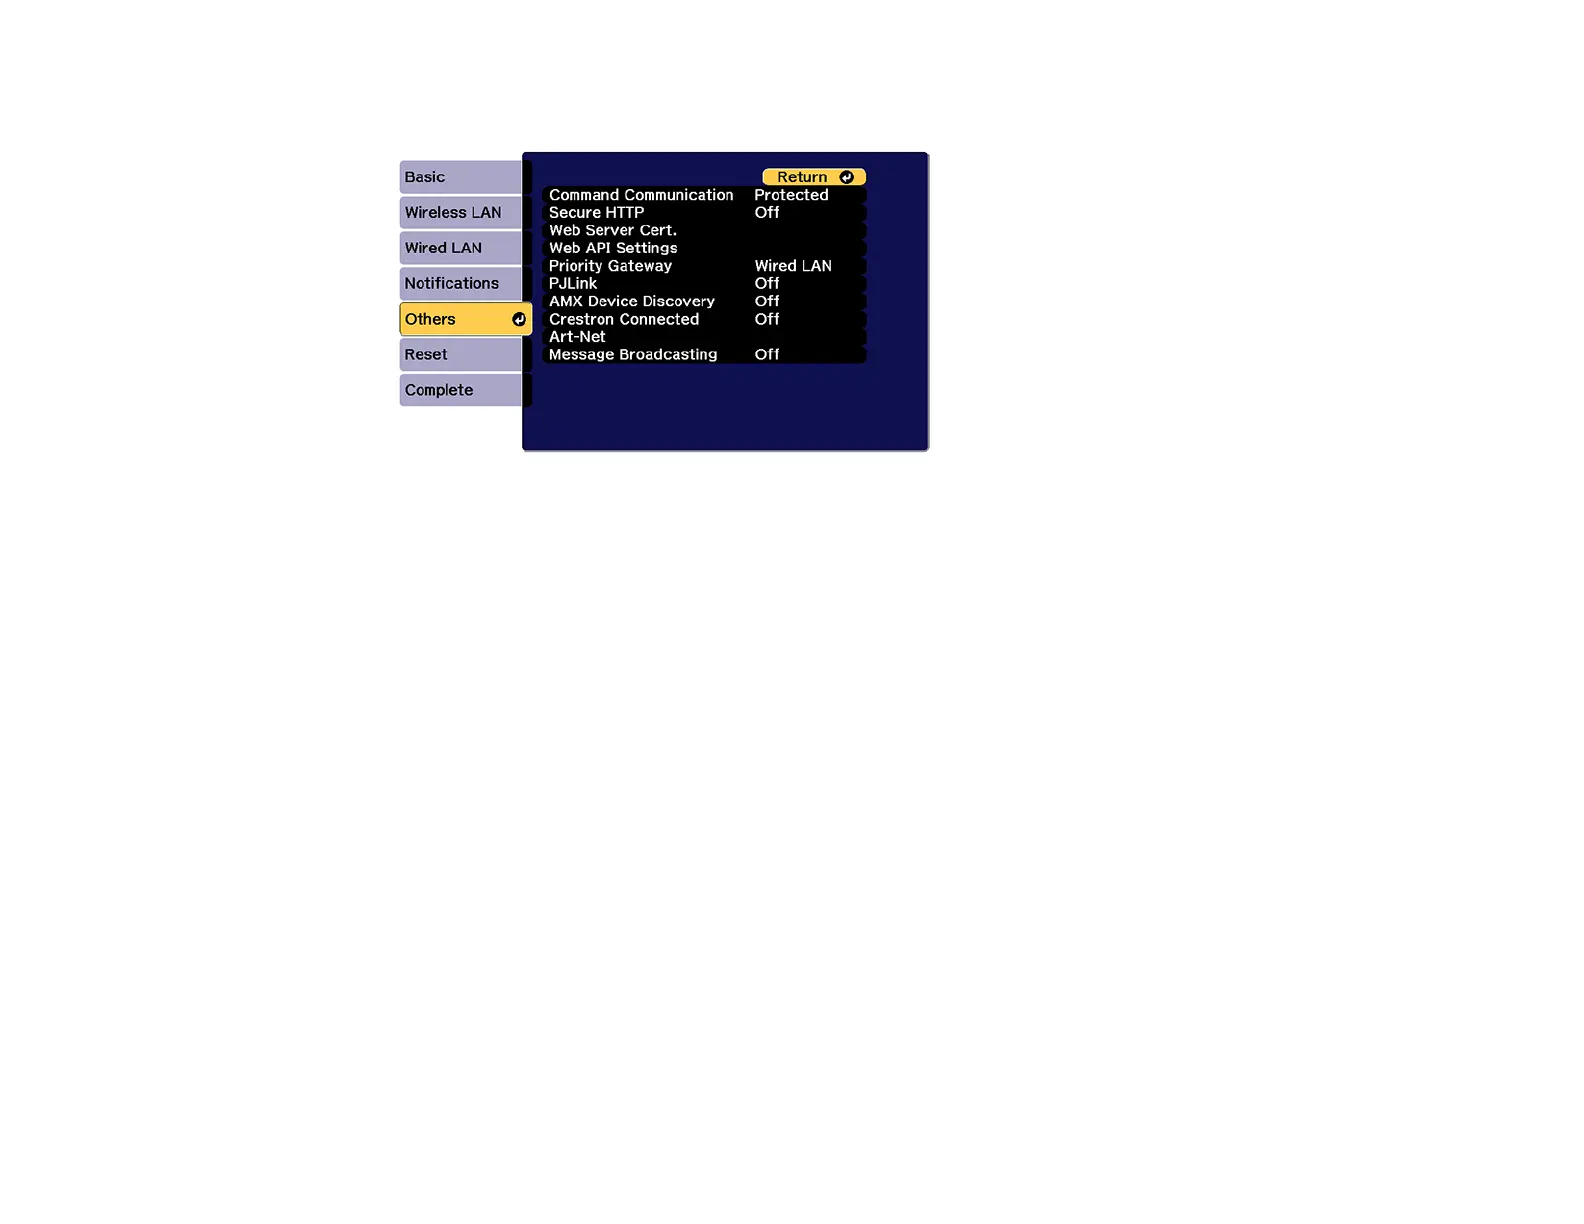
5. Select the Others menu and press Enter.
6. Select On as the Secure HTTP setting.
7. Select the Web Server Cert. setting and press Enter.
8. Select Register and press Enter.
9. Remove the screw securing the wireless LAN module port cover, then remove the port cover.
10. Insert a USB flash drive into the projector's USB-A port. If the wireless LAN module is installed,
remove it before inserting the USB flash drive.
11. Press Enter to display the certificate list.
12. Select the certificate you want to import from the displayed list.
A message is displayed prompting you to enter the password for the certificate.
13. Enter the password and press Enter.
The certificate is imported and a completion message appears.
14. Remove the USB flash drive, then re-insert the wireless LAN module and secure the port cover.
Parent topic: Registering a Digital Certificate on the Projector
Registering Digital Certificates from a USB Device
You can register the digital certificates for files on a USB device connected to the projector.
1. Make sure your digital certificate file is compatible with projector registration.