206
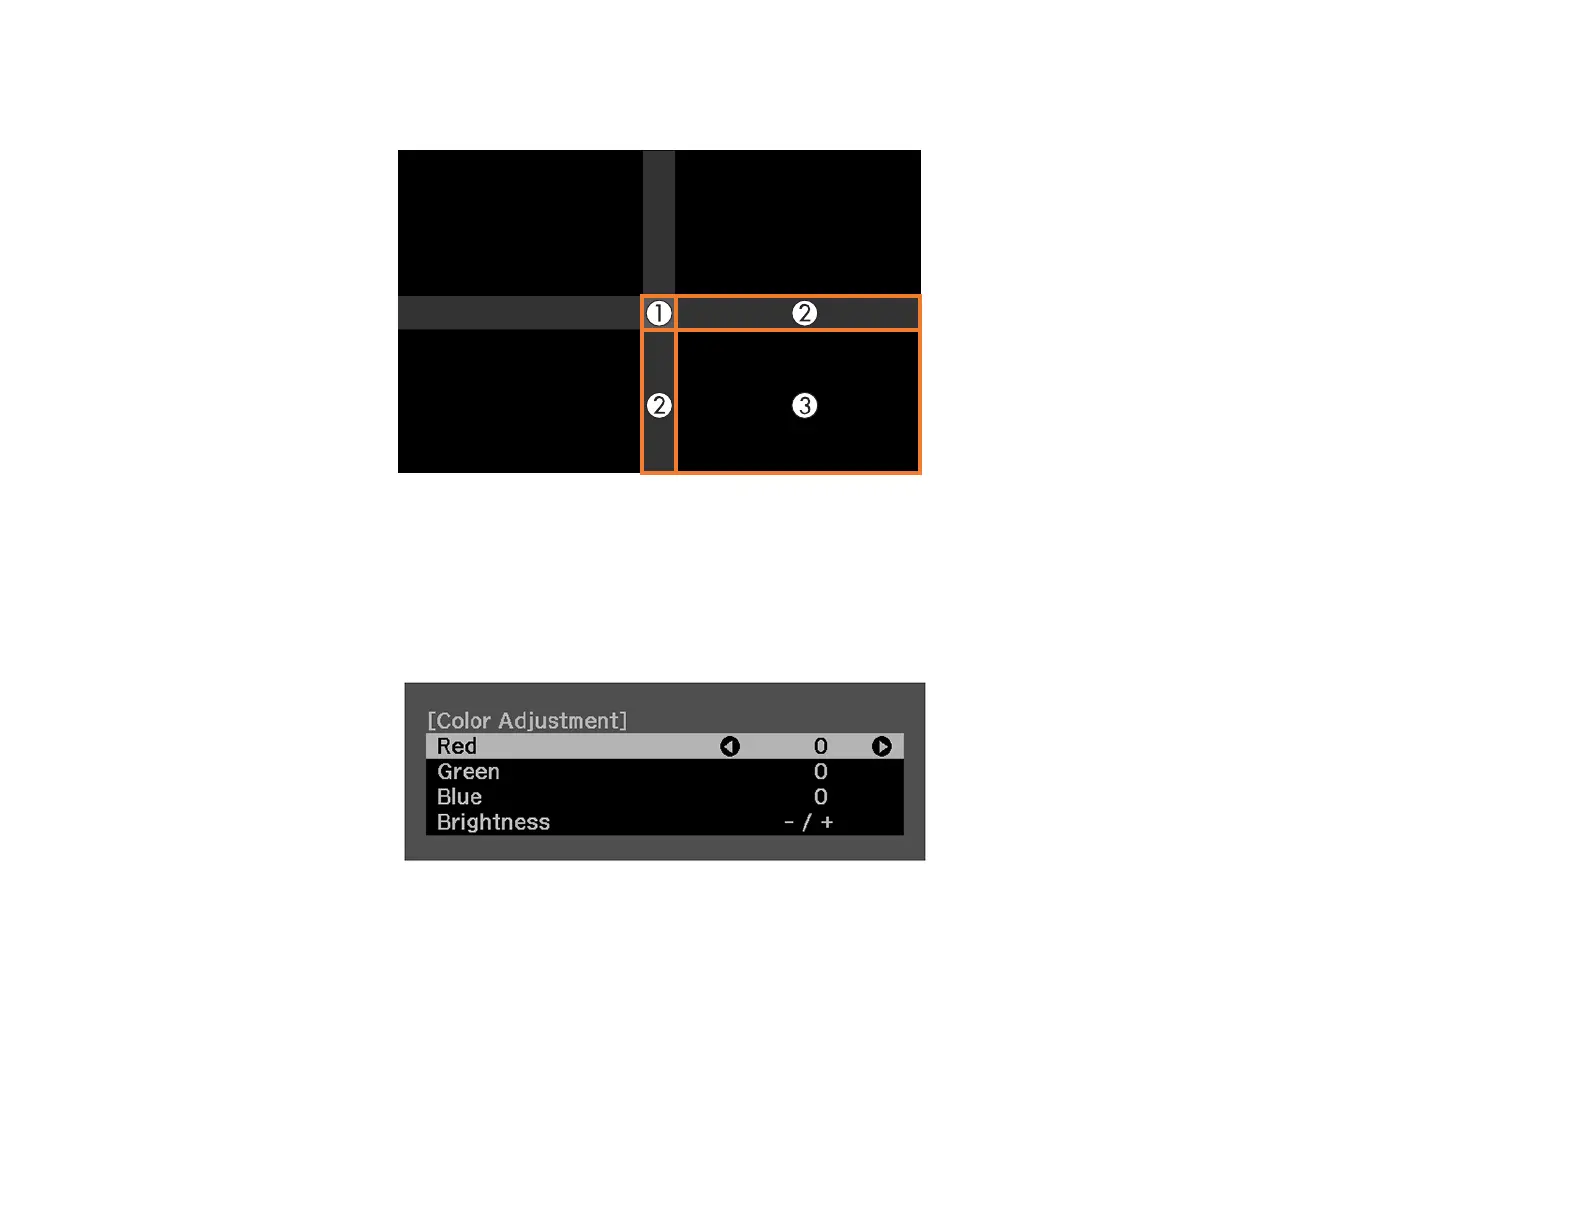
6. Select the area you want to adjust and press Enter.
Note: The area you selected is displayed in orange. Adjust overlapping areas starting with the
brightest areas first. For example, adjust area 2 to match area 1, then adjust area 3 to match area 2.
7. Adjust the brightness and tone of the areas that do not overlap to match the areas that overlap using
the displayed adjustment sliders.
8. Repeat the previous two steps as needed until all areas match.
9. If the tone of some areas do not match, you can adjust them using the Area Correction setting.
Continue with the next step. Otherwise, press the Menu button to exit.
10. Press the Esc button to return to the Black Level screen.
11. Select the Area Correction setting and press Enter.